
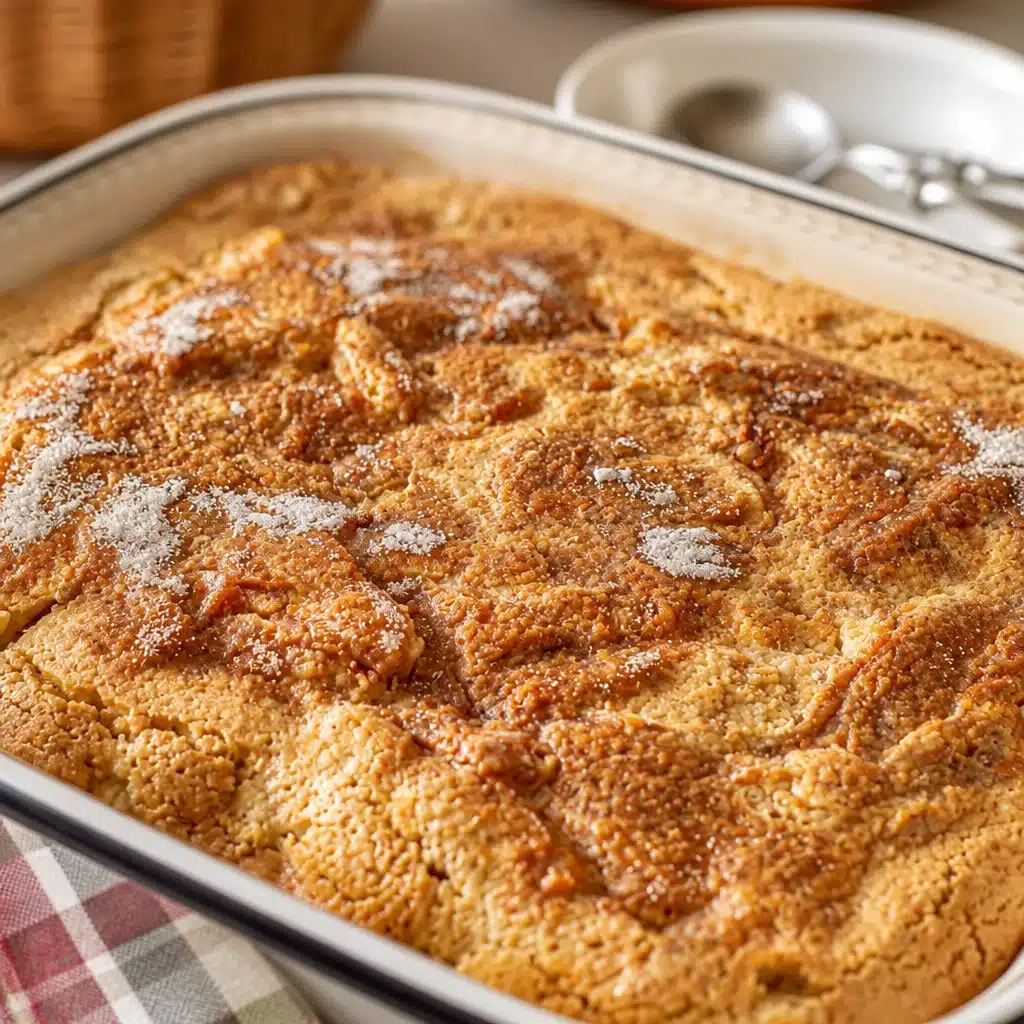
– Homemade Apple Pudding (Easy Vintage Recipe) is my go to answer when you want something warm and sweet but you do not want to babysit a fussy dessert. You know those nights when you have apples on the counter that are getting a little too soft, and everyone keeps asking, what’s for dessert? This is the kind of cozy dish that makes your kitchen smell like cinnamon and home. It’s simple, it’s forgiving, and it tastes like something your grandma would have served with a smile. If you’ve never made apple pudding before, don’t worry, I’ll walk you through it like we’re cooking together.
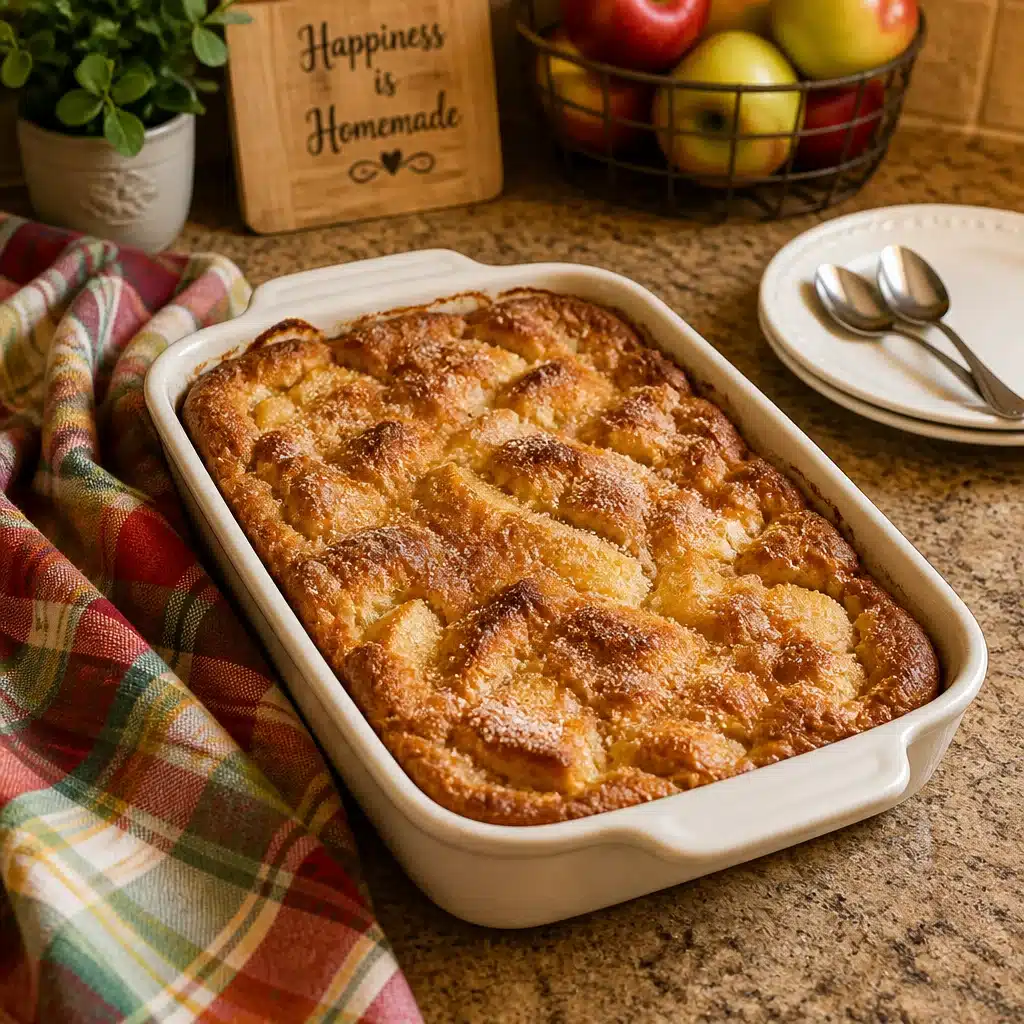
Easy Baked Apple Dessert With Few Ingredients
What I love most about this is how little you need to pull it off. You are basically making a soft, lightly spiced batter that bakes up around tender apples. It’s not a fancy pastry situation. It’s a spoon dessert, the kind you scoop into bowls and top with whatever you’ve got.
This Vintage Homemade Apple Pudding Recipe | Simple and Delicious works best when you keep it simple and let the apples do their thing. If you have a couple of baking basics in the pantry, you are halfway there already.
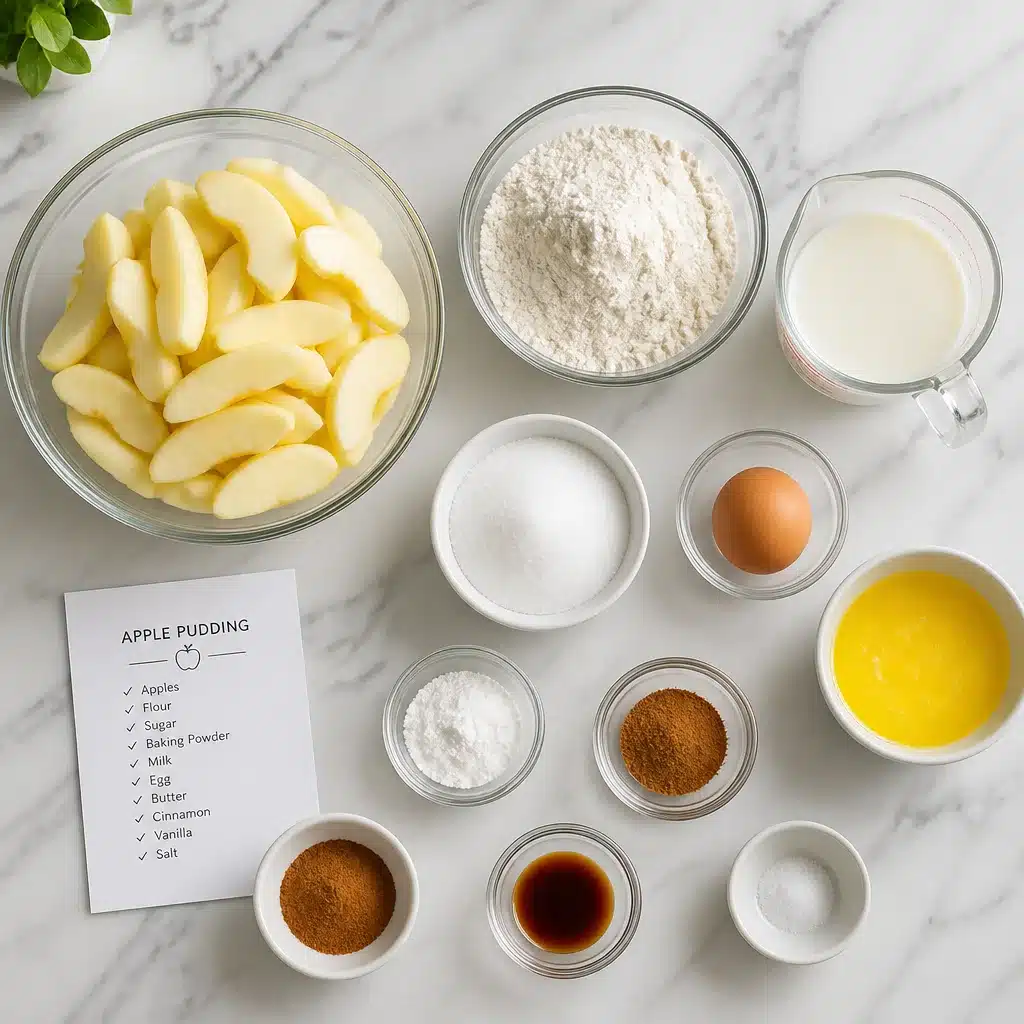
What you will need
- Apples: about 3 medium, peeled and sliced (or chopped if you like it more rustic)
- All purpose flour: 1 cup
- Sugar: 1/2 cup (plus 1 to 2 tablespoons for topping if you want)
- Baking powder: 2 teaspoons
- Salt: 1/4 teaspoon
- Cinnamon: 1 to 1 1/2 teaspoons
- Milk: 3/4 cup
- Egg: 1 large
- Butter: 3 tablespoons, melted (plus a little for greasing the dish)
- Vanilla: 1 teaspoon (optional but really nice)
Apple tip from my kitchen: use what you have. I usually reach for Granny Smith if I want more tang, or Honeycrisp if I want it naturally sweeter. Even those “meh” apples that are getting a little wrinkly will bake up great.
Also, if you’re in an apple mood and want another cozy bake later, I have a soft spot for anything bundt shaped and cinnamon scented. This one is worth bookmarking: apple cinnamon ricotta bundt cake.
How To Make Old Fashioned Apple Pudding
This is the part where people think it’s going to be complicated, but it really isn’t. The steps are simple and you do not need a mixer. A bowl, a whisk, and a baking dish will do the job.
Here’s how I make my Vintage Homemade Apple Pudding Recipe | Simple and Delicious so it comes out soft in the middle, golden on top, and full of tender apple pieces.
Step 1: Heat the oven. Set it to 350 F. Grease an 8 inch square baking dish or a similar size. A pie dish works too.
Step 2: Prep the apples. Peel and slice them. If you like a chunkier bite, chop them instead. Toss them with about half the cinnamon (just eyeball it) and set aside.
Step 3: Mix the dry stuff. In a medium bowl, whisk flour, baking powder, salt, the rest of the cinnamon, and sugar.
Step 4: Mix the wet stuff. In a measuring cup or small bowl, whisk milk, egg, melted butter, and vanilla.
Step 5: Combine. Pour wet into dry and stir just until you do not see dry flour. Do not overmix. The batter will be thick but spoonable.
Step 6: Layer it up. Spread half the batter in the dish, scatter the apples over it, then dollop and spread the remaining batter on top. It does not have to be perfect. It all settles while baking.
Step 7: Bake. Bake for 35 to 45 minutes, until the top is golden and a toothpick comes out mostly clean (a few moist crumbs are fine).
Step 8: Cool a little. Give it 10 to 15 minutes before serving. It sets up slightly and scoops better.
Little note: if you want a slightly crisp top, sprinkle 1 to 2 tablespoons of sugar on top before baking. It gives that old fashioned feel, like the desserts I remember at family get togethers.
Baked Apple Pudding
So what does it taste like? Think tender apples, warm cinnamon, and a cake like pudding texture that’s somewhere between a simple cake and a spoon bread. It’s cozy, not too sweet, and honestly perfect with something creamy on top.
When I make this Vintage Homemade Apple Pudding Recipe | Simple and Delicious, I usually serve it warm because that’s when it feels the most comforting. But it’s also pretty great the next day, straight from the fridge, especially if you like firmer desserts.
Serving ideas I actually use: vanilla ice cream, whipped cream, plain yogurt with a drizzle of honey, or even a splash of warm milk if you want it super homey. If you’re serving guests, a little dusting of cinnamon on top makes it look like you tried extra hard, even if you didn’t.
“I made this last night because I had apples to use up, and it tasted like the desserts my mom used to bake. My kids asked for seconds and my husband ate his cold this morning with coffee.”
And if you’re the type who loves handheld apple treats too, you might want to check out these apple mascarpone turnovers for another day when you want something a little more bakery style.
Recipes Variations and Tips
This recipe is super flexible, which is probably why it has lasted so long. Vintage recipes tend to be like that. They were made by people who cooked with what they had, and I respect that energy.
Here are a few easy ways to change it up without messing it up:
Make it extra spiced: Add a pinch of nutmeg or cloves. Keep it light though because cloves can take over fast.
Add crunch: Sprinkle chopped walnuts or pecans over the top for the last 10 minutes of baking.
Raisin lovers: Stir in a small handful of raisins or dried cranberries with the apples.
Make it a bit richer: Swap a few tablespoons of milk for cream if you have it.
Want it less sweet: Drop the sugar to 1/3 cup, especially if your apples are sweet.
My best tip: slice apples fairly evenly. If some pieces are tiny and some are thick, you’ll get a mix of mushy and too firm. Even slices bake more evenly, and the texture comes out just right.
Also, if you like that old school vibe, bake it in a ceramic dish. It holds heat better, and it stays warm on the table longer, which is helpful when people go back for another scoop.
Common Mistakes to Avoid
I’ve made this enough times to mess it up in a few ways, so you do not have to. Here are the big ones that matter.
Overmixing the batter: If you stir too much, the pudding gets a bit tough instead of soft. Mix until combined and stop.
Using very watery apples: Super juicy apples can make the middle too wet. It will still taste good, but it may need a little longer in the oven. If your apples are extra juicy, slice them and let them sit on a paper towel for a few minutes.
Baking too short: The top can look done before the center is set. If the middle jiggles a lot, give it another 5 to 10 minutes.
Cutting in too soon: I know it smells amazing, but resting time matters. If you scoop immediately, it can be overly loose. Ten minutes makes a difference.
Too much cinnamon: Cinnamon is lovely, but it can turn bitter when it’s heavy. Start with 1 teaspoon and add more next time if you want.
Common Questions
Can I make baked apple pudding ahead of time?
Yes. Bake it, cool it, cover it, and keep it in the fridge. Reheat portions in the microwave or warm the whole dish in the oven at 300 F until heated through.
What apples are best for this recipe?
Granny Smith, Honeycrisp, Braeburn, or Gala all work. I like mixing one tart apple with one sweet apple if I have them.
How do I know when it’s done?
The top should be golden and the center should look set, not liquid. A toothpick should come out with moist crumbs, not raw batter.
Can I freeze it?
You can, but the texture softens a bit after thawing. If you do freeze it, wrap it well, thaw in the fridge overnight, and rewarm gently.
Is this more like cake or bread pudding?
Somewhere in between. It has a cake style batter, but the fruit and moisture give it a pudding feel when you scoop it.
A sweet little wrap up
If you’re craving a cozy dessert that feels like it came from an old family cookbook, this Vintage Homemade Apple Pudding Recipe | Simple and Delicious really delivers without making you work too hard. It’s warm, comforting, and perfect for using up apples that are hanging around your kitchen. Try it once, then tweak it with your favorite add ins and toppings and make it your own. And if you want another helpful walkthrough for a similar treat, this linked guide for Baked Apple Pudding Recipe | Homemade & Yummy is a nice read too. Now go grab those apples and bake something that makes your place smell amazing.
Print
Vintage Homemade Apple Pudding
- Total Time: 55 minutes
- Yield: 4 servings
- Diet: Vegetarian
Description
A cozy dessert with warm cinnamon and tender apples, perfect for using up ripe fruit.
Ingredients
- 3 medium Apples, peeled and sliced
- 1 cup All-purpose flour
- 1/2 cup Sugar (plus 1 to 2 tablespoons for topping)
- 2 teaspoons Baking powder
- 1/4 teaspoon Salt
- 1 to 1 1/2 teaspoons Cinnamon
- 3/4 cup Milk
- 1 large Egg
- 3 tablespoons Butter, melted (plus a little for greasing the dish)
- 1 teaspoon Vanilla (optional)
Instructions
- Heat the oven to 350°F and grease an 8-inch square baking dish.
- Prep the apples by peeling and slicing them, then toss with half the cinnamon.
- Mix the dry ingredients in a medium bowl: flour, baking powder, salt, remaining cinnamon, and sugar.
- Mix the wet ingredients in a measuring cup: whisk together the milk, egg, melted butter, and vanilla.
- Combine the wet and dry ingredients, stirring just until no dry flour remains.
- Layer half the batter in the dish, scatter the apples on top, and dollop the remaining batter over them.
- Bake for 35 to 45 minutes until golden and a toothpick comes out mostly clean.
- Cool for 10 to 15 minutes before serving.
Notes
For a crisp top, sprinkle sugar on top before baking. Serve warm with vanilla ice cream or whipped cream.
- Prep Time: 15 minutes
- Cook Time: 40 minutes
- Category: Dessert
- Method: Baking
- Cuisine: American