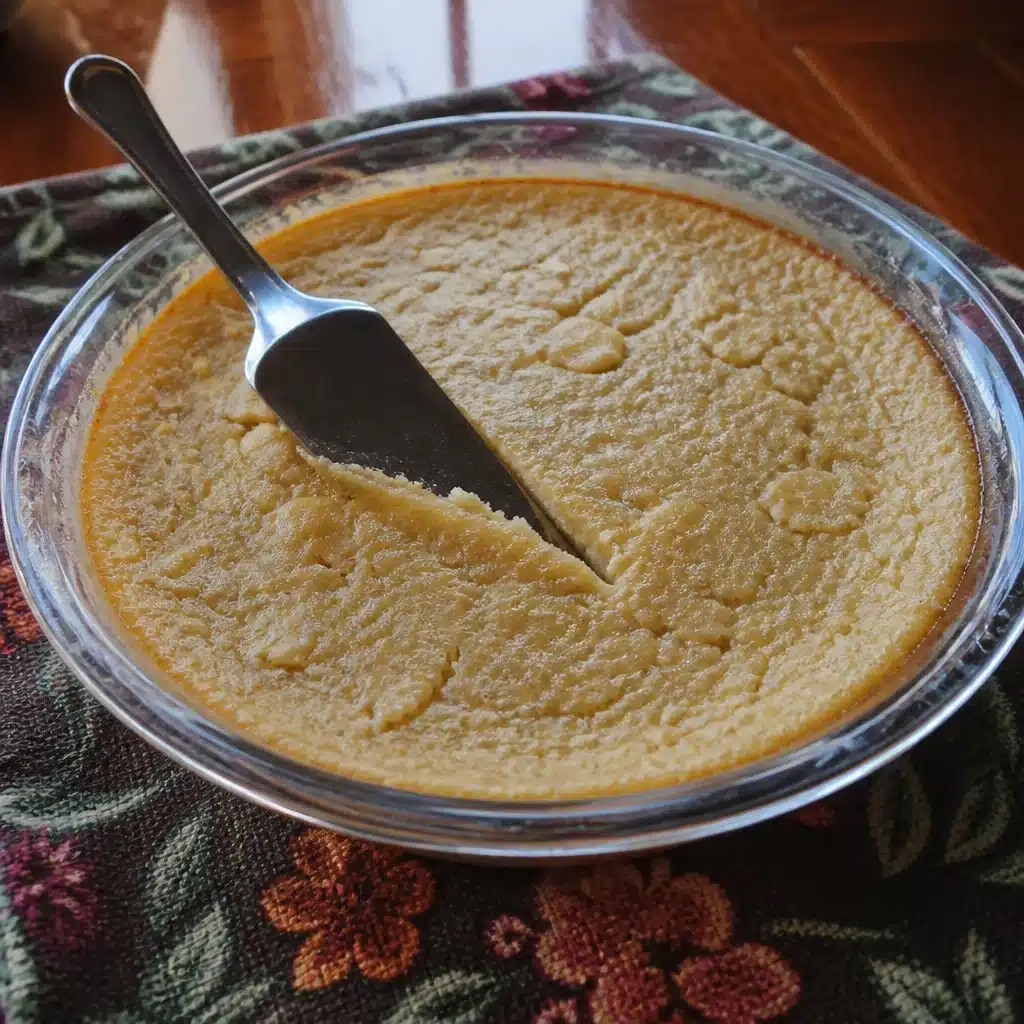
Homemade Apple Custard (Easy Vintage Recipe) is what I reach for when I want something cozy but I do not want to fuss with fancy steps. You know those nights when you have apples on the counter that are getting a little too soft, and everyone is asking for dessert, and you just want a win? This is that kind of recipe. It tastes like baked apples, warm vanilla, and the kind of simple comfort you remember from old family gatherings. Plus, it is the sort of dessert that makes your kitchen smell incredible with basically no effort. 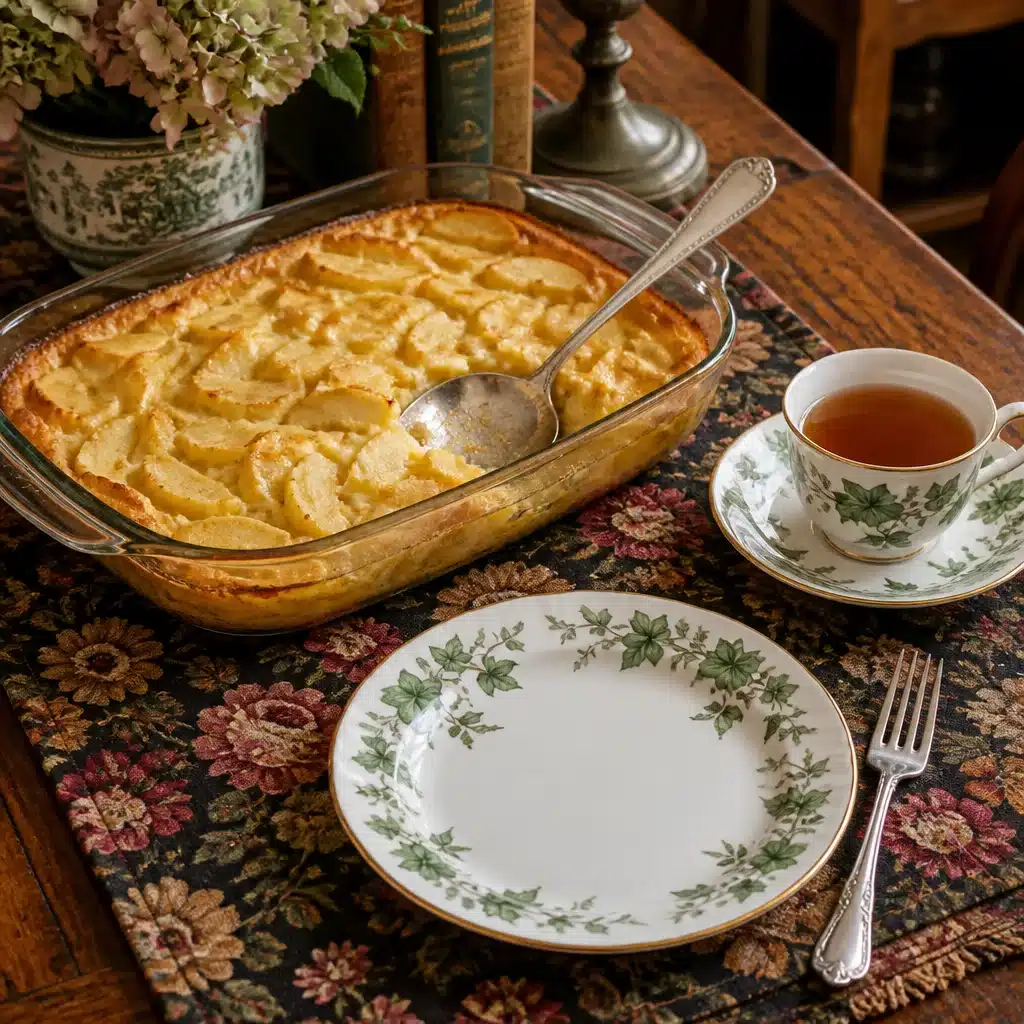
Old-Fashioned Baked Applesauce Custard
This is the heart of the whole idea: soft, lightly spiced apples tucked into a creamy custard that bakes up gently in the oven. When I say vintage, I mean the kind of recipe that feels like it came from a stained index card in a recipe box. No wild ingredients, no complicated tools, just honest flavors that work.
I usually make a quick applesauce first. Not the perfectly smooth baby food type. More like a chunky, homey applesauce with little bits of apple still hanging around. That texture is what makes each spoonful interesting, because the custard sets around the apples instead of becoming one flat pudding.
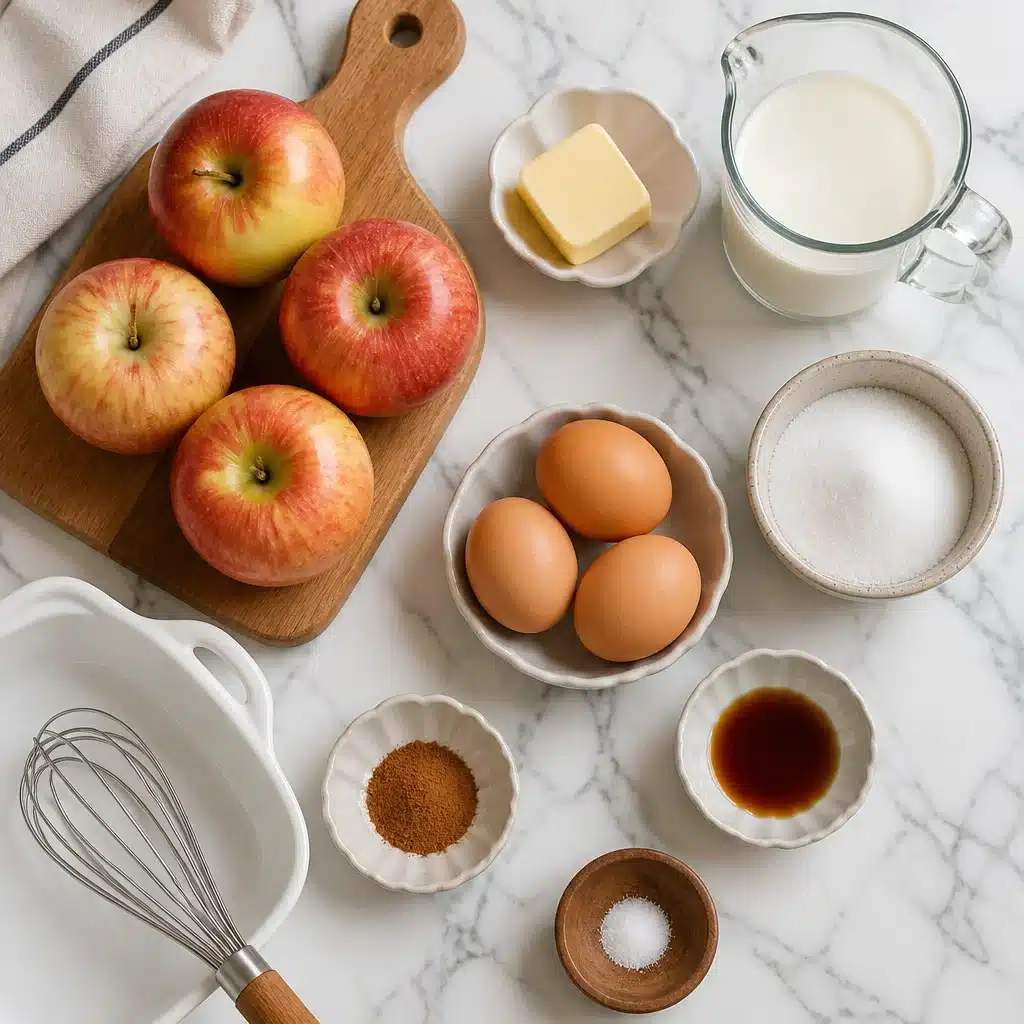
What you will need and how I do it
- Apples (about 4 medium, any kind you like)
- Butter (a small knob for cooking the apples)
- Sugar (for the apples and the custard, adjust to taste)
- Cinnamon (optional, but I always add it)
- Eggs (usually 3 for a cozy, sliceable custard)
- Milk or half and half (milk works fine, richer dairy is extra dreamy)
- Vanilla
- A pinch of salt
Peel and chop the apples (or do not peel them if you like a rustic feel). Cook them in a saucepan with butter, a spoonful or two of sugar, and a sprinkle of cinnamon until they are soft enough to mash. I mash with a fork because I like it chunky. Let that cool a bit.
For the custard, whisk eggs, milk, sugar, vanilla, and salt. Then fold in your applesauce. Pour it into a buttered baking dish. Set that dish into a larger pan with hot water, so the custard bakes gently and does not crack. Bake until it is set but still has a little wobble in the center.
This is one of those recipes where you learn to trust your senses. When it smells like warm vanilla and baked apple, you are close. When the center jiggles like soft gelatin, it is done. Let it cool, then chill if you want cleaner slices.
And if you are in an apple mood and want a cake to go alongside this kind of dessert night, I have to point you to this cozy bake: apple cinnamon ricotta bundt cake. It has that same comforting apple energy, just in a totally different form.
Homemade Apple Pie with a Double Crust
Okay, let us talk about the other classic that always shows up when apples are involved: a homemade apple pie with a double crust. I know this post is about custard, but I get asked all the time how I decide between pie and custard. My honest answer is: custard for an easy vintage recipe night, pie for when you want something you can proudly carry to a get together.
A double crust apple pie is basically the coziest edible package. Bottom crust to hold all the juices. Top crust to trap that buttery steam and keep everything tender. I like to cut a few vents so it does not bubble over like a science project. That said, even when it bubbles over, it still tastes amazing.
There is also a sweet little middle ground: serve a warm slice of pie with a spoonful of chilled Homemade Apple Custard (Easy Vintage Recipe) on the side. It sounds extra, but it is not hard. It is just smart dessert planning.
I made this for my family after Sunday dinner and it tasted like something my grandma would have served. The apples and custard together were so comforting, and it was easy enough that I did not feel stressed at all.
Best Apple Pie Ingredients
Ingredients matter, but not in a scary way. You do not need specialty items. You just need a few good choices, especially with apples. For pie, you want apples that hold their shape. For custard, softer apples work fine because they get mashed anyway.
Here is what I look for when I want that classic apple pie flavor (and yes, these tips help your custard taste better too):
Apples: If you can, use a mix. One tart and one sweet. Granny Smith plus Honeycrisp is a classic combo. If you only have one kind, do not overthink it.
Sugar: Brown sugar gives a deeper, caramel like flavor. White sugar keeps it clean and simple. I often use a little of both.
Spice: Cinnamon is the main character. Nutmeg is optional but cozy. A tiny pinch of cloves can be great, but go easy.
Acid: A splash of lemon juice wakes up the apples. It keeps the flavor from turning flat.
Thickener: Flour or cornstarch for pie filling. For custard, the eggs are doing that job already, so you do not need much else.
Salt: Always. Even in dessert. It makes the apple flavor pop and keeps the sweetness from feeling heavy.
Also, if you love apples with creamy sauces, you might enjoy this dessert idea too: Irish apple cake with mascarpone custard sauce. It is the kind of thing you make when you want to impress people without acting like you are trying too hard.
How to Make Apple Pie
If you are already making applesauce for custard, you are halfway into apple season cooking mode anyway, so pie will not feel like a huge leap. Here is my simple, no panic overview.
My plain and simple method
1) Make or buy your pie crust. Homemade is great, store bought is also totally fine.
2) Peel and slice apples. Toss them with sugar, cinnamon, a pinch of salt, lemon juice, and your thickener.
3) Put bottom crust in the pie dish, add filling, then add top crust. Seal the edges and cut a few vents.
That cooling step is where people get impatient. I get it. But if you cut too soon, the filling runs. I usually tell myself I will just wait 30 minutes and then suddenly an hour passes because life happens. And magically the pie is perfect.
When I am making Homemade Apple Custard (Easy Vintage Recipe) and pie in the same week, I like to prep apples in one go. Peel, chop, slice, get it all done, then store what you need in the fridge. It makes everything feel easier.
Tips for Making Homemade Apple Pie
This is the part I wish someone had told me years ago, back when I thought pie was only for people with perfectly floured countertops.
Little fixes that make a big difference
- Do not drown the apples in sugar. Start modest, taste, then add more if needed.
- Mix apple varieties when you can for better flavor.
- Chill the crust before baking so it stays flaky.
- Use a sheet pan under the pie. Apple juices love to escape.
- Let it cool before slicing, even if it feels impossible.
And for the custard side of life, here is my biggest tip: do not crank the oven too high. Custard likes gentle heat. If you bake it slowly, it turns out creamy and smooth, not rubbery. That is why I keep coming back to Homemade Apple Custard (Easy Vintage Recipe) when I want dessert that feels special but still doable on a regular day.
Also, taste your apples before you do anything. Some are sweet enough that you barely need sugar. Others are sharp and need a little more. That tiny moment of tasting makes you look like a better cook than you even feel.
Common Questions
Can I use store bought applesauce for the custard?
Yes, especially if you are short on time. Just choose one that is not super watery, and if it is sweetened, reduce the sugar in the custard a bit.
What apples are best for Homemade Apple Custard (Easy Vintage Recipe)?
Honestly, whatever you have. Softer apples like McIntosh break down fast and make great applesauce. Tart apples are great too, just add a touch more sugar if needed.
How do I know when the custard is done baking?
The edges should look set, and the center should still have a small wobble. It firms up more as it cools, so do not bake it until it is stiff.
Can I make it ahead?
Yes. It is actually nicer after chilling for a few hours because the flavors settle. Cover it and keep it in the fridge for up to 3 days.
What should I serve with it?
A little whipped cream is great. Vanilla ice cream is also perfect. Or serve it with coffee for a simple, not too sweet dessert moment.
A sweet wrap up before you start baking
If you have apples sitting around and you want something comforting, Homemade Apple Custard (Easy Vintage Recipe) is such a good place to start. It is simple, warm, and it feels like an old family dessert in the best way. If you want to go deeper into the vintage roots, I enjoyed reading Old-Fashioned Baked Applesauce Custard – the food historian because it adds context that makes the recipe feel even more special. Now go make it, let your kitchen smell like cinnamon and vanilla, and tell yourself you will save some for tomorrow, even if you secretly know you will not.
Print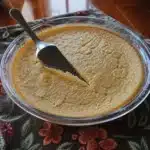
Old-Fashioned Baked Applesauce Custard
- Total Time: 45 minutes
- Yield: 6 servings
- Diet: Vegetarian
Description
A cozy and simple dessert that combines soft, spiced apples with creamy custard, reminiscent of vintage family gatherings.
Ingredients
- 4 medium Apples (any kind)
- A small knob Butter (for cooking the apples)
- Sugar (to taste for apples and custard)
- Cinnamon (optional)
- 3 Eggs
- 1 cup Milk or half and half
- 1 teaspoon Vanilla
- A pinch of Salt
Instructions
- Peel and chop the apples. Cook them in a saucepan with butter, a spoonful or two of sugar, and cinnamon until soft enough to mash.
- Mash the apples with a fork to keep a chunky texture and let cool.
- Whisk eggs, milk, sugar, vanilla, and salt together.
- Fold in the applesauce and pour it into a buttered baking dish.
- Set the dish into a larger pan with hot water to bake gently.
- Bake until the custard is set but has a little wobble in the center.
- Cool and chill if desired for cleaner slices.
Notes
Serve with whipped cream or vanilla ice cream for a delightful dessert experience.
- Prep Time: 15 minutes
- Cook Time: 30 minutes
- Category: Dessert
- Method: Baking
- Cuisine: American