
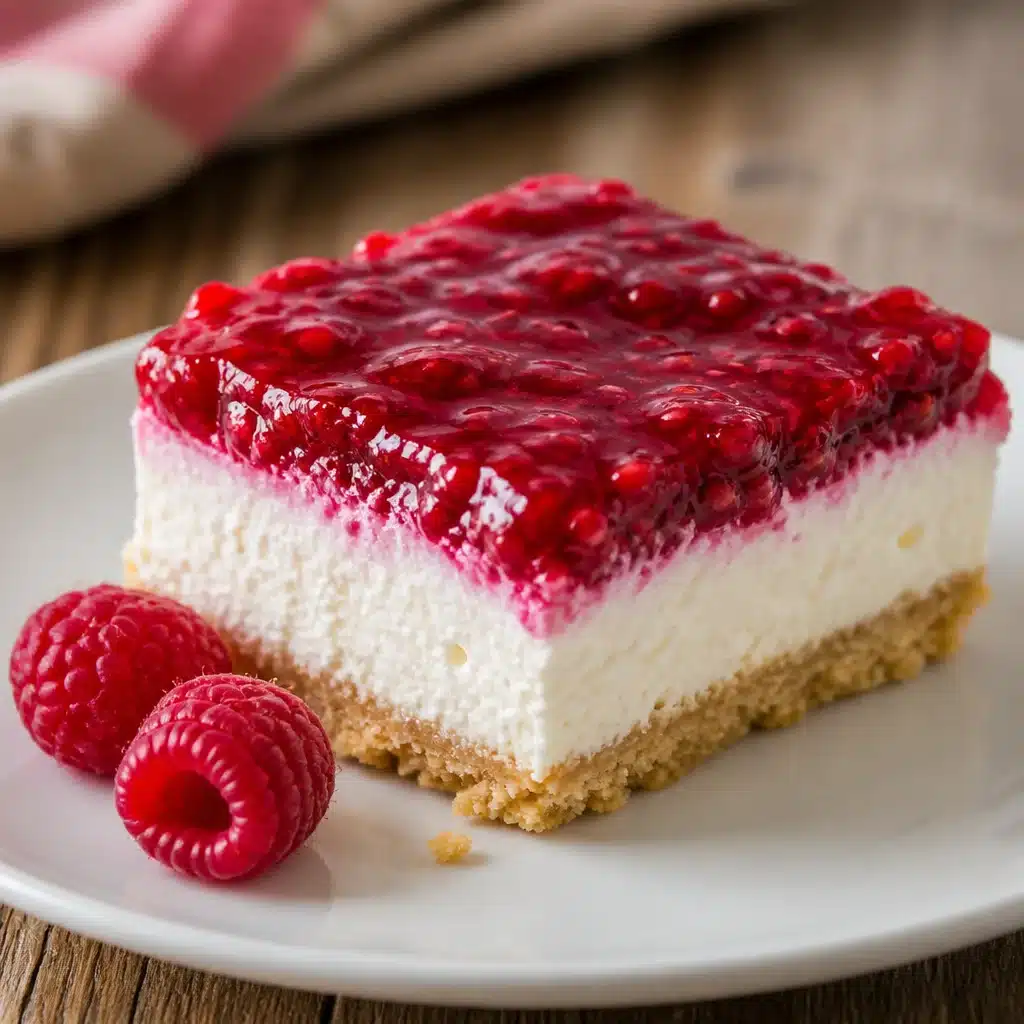
Homemade Raspberry No Bake Pie (Easy Vintage Recipe) is my go to dessert for those days when you want something sweet and pretty, but you truly do not want to turn on the oven. Maybe it is hot outside, maybe you are tired, or maybe you just promised to bring dessert and forgot until the last second. This pie is one of those simple vintage treats that feels fancy even though it is basically stir, chill, and slice. It is creamy, a little tangy, and packed with that bright raspberry flavor that tastes like summer. If you have a fridge and a pie plate, you are already halfway there.
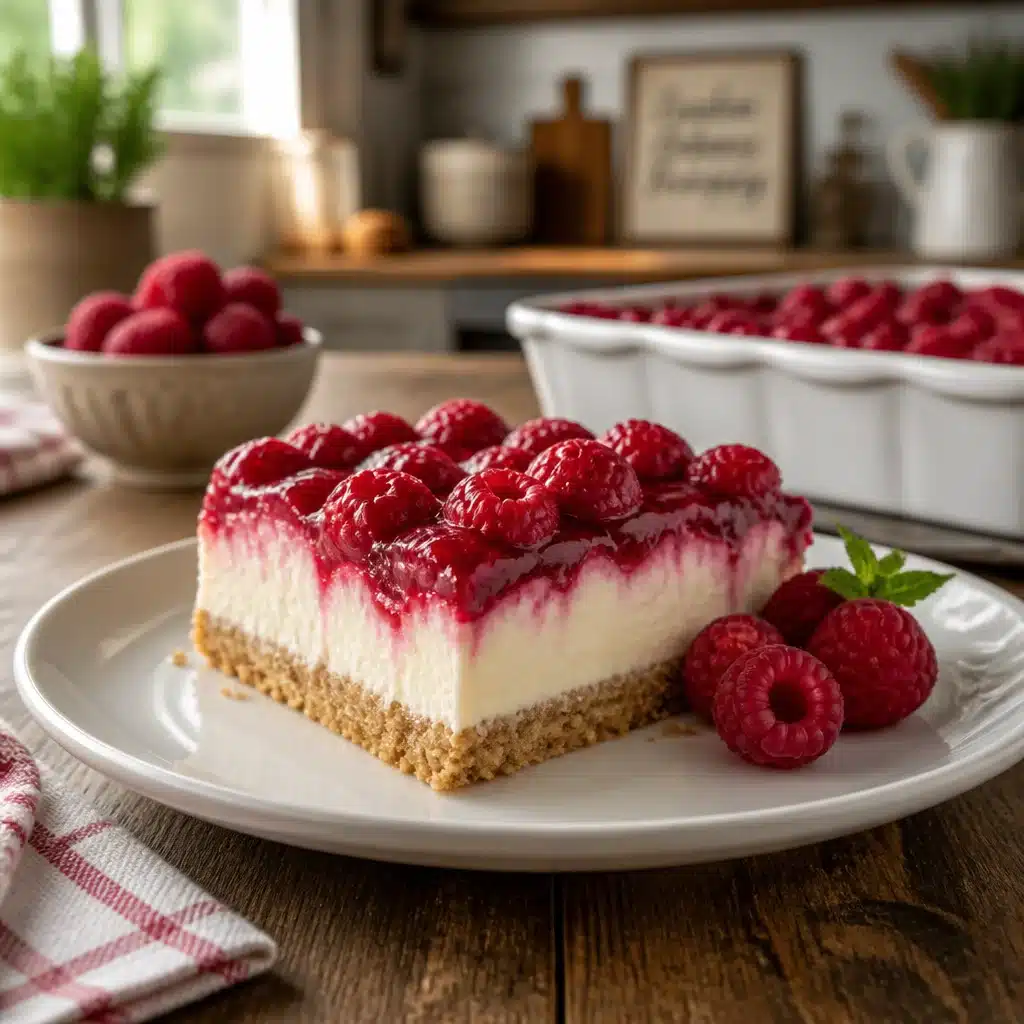
Raspberry Lemonade Pie Recipe
This is the heart of the whole thing. I call it a raspberry lemonade style pie because it has that sweet tart pop that reminds me of lemonade stands and backyard cookouts. The filling is smooth and fluffy, and the crust gives you that buttery crunch that makes every bite feel complete. And yes, this is absolutely a Homemade Raspberry No Bake Pie kind of moment: no oven, no drama, and it still looks like you tried.
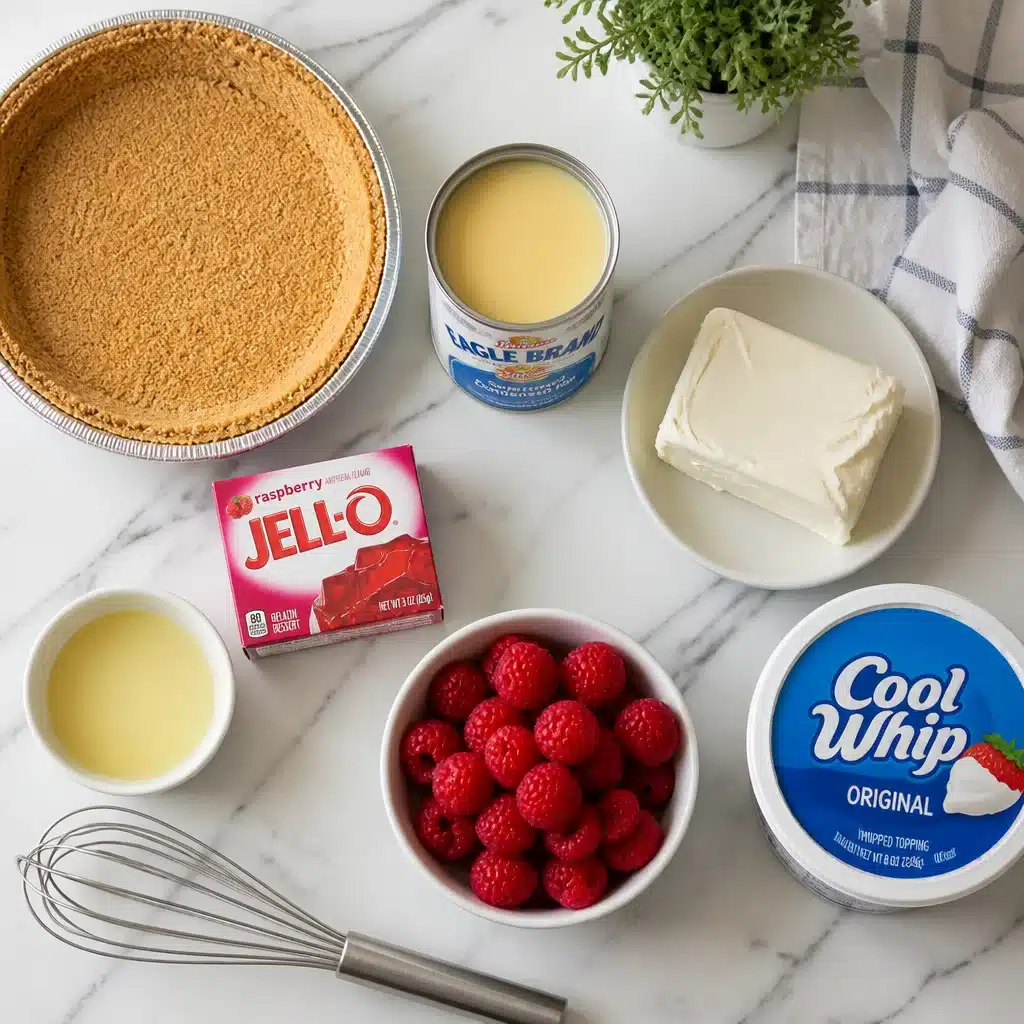
What you will need
I am keeping this simple, with ingredients you can usually find at a regular grocery store. If you love a super strong berry flavor, grab an extra handful of raspberries for topping.
- Graham cracker crust (store bought or homemade)
- 1 can sweetened condensed milk
- 8 ounces cream cheese, softened
- 1 tub whipped topping (or 2 cups homemade whipped cream)
- 1 packet raspberry gelatin mix (the dry powder)
- 1 to 2 tablespoons fresh lemon juice (this is what gives it that lemonade vibe)
- 1 cup raspberries (fresh or frozen and thawed)
- Optional: a little lemon zest, extra raspberries, or white chocolate curls for topping
Easy directions
Here is how I make it without overthinking it. The only real key is starting with soft cream cheese so you do not end up with little lumps.
1) In a mixing bowl, beat the softened cream cheese until it is smooth.
2) Add the sweetened condensed milk and mix again until creamy.
3) Sprinkle in the dry raspberry gelatin powder and mix until the color is even.
4) Add lemon juice and mix. Taste it. If you want it brighter, add a touch more lemon.
5) Fold in the whipped topping gently. You want it light and fluffy.
6) Fold in raspberries. If they are very juicy, drain them a bit so the filling stays thick.
7) Spoon into the crust, smooth the top, and chill at least 6 hours. Overnight is even better.
When you slice it, wipe your knife between cuts. It makes those clean bakery style slices that everyone loves to see.
Also, if you are into raspberry plus chocolate together, you should try these chocolate raspberry mascarpone no bake cups. They are cute for parties and hit that same no bake comfort zone.
Tips for Perfecting Your Raspberry Desserts
I have made plenty of raspberry desserts that turned out a little too runny, a little too tart, or just not as flavorful as I wanted. Over time, I have learned a few tricks that help every single time, especially with a Homemade Raspberry No Bake Pie where texture matters.
Soften the cream cheese properly. I leave it on the counter for about 45 minutes. If you rush this, you will fight lumps.
Chill long enough. This pie is not hard, but it does need time to set. If you cut it too early, it will slump. Still tasty, but messy.
Do not drown it in liquid. If you are using thawed frozen raspberries, drain them well. Too much juice can thin out the filling.
Balance the lemon. Lemon juice makes the raspberry flavor pop, but too much can take over. Start small, taste, and adjust.
Make it ahead. This is honestly one of the best desserts to make the night before. It gets firmer and the flavors settle in.
“I brought this to a family potluck and everyone asked for the recipe. My aunt said it reminded her of the pies her mom used to make, but lighter. I loved how easy it was.”
One more thing: if you are serving kids, they usually love extra whipped topping on top. If you are serving adults, a few fresh berries and a little lemon zest makes it look more grown up with basically zero effort.
Popular Variations on Raspberry Desserts
This is where you can have fun. The basic idea stays the same, but you can tweak the flavor and vibe depending on what you have in the kitchen. I have done a few versions when I was short on ingredients, and honestly, some of them became favorites.
Swap the crust: Try a vanilla wafer crust, shortbread crust, or even a chocolate cookie crust for a richer bite.
Make it extra creamy: Replace some whipped topping with lightly whipped heavy cream for a more homemade taste.
Add a swirl: Spoon a little raspberry jam on top and swirl it with a butter knife before chilling. It looks so pretty when sliced.
Go tropical: Add a small spoonful of coconut cream or sprinkle toasted coconut on top. Raspberry and coconut are surprisingly good together.
Turn it into mini pies: Use cupcake liners and a muffin tin for personal sized treats.
If you like dessert cups that feel vintage but still fun, I have another one you might like. These no bake caramel latte pie cups are totally different in flavor, but they have that same easy chill and serve vibe.
And just to bring it back to the main point, a Homemade Raspberry No Bake Pie is also super forgiving. Even if your top is not perfectly smooth, cover it with berries and nobody will ever know.
Nutritional Information
I am not a nutritionist, but I do like to give a realistic idea of what you are getting. Since brands and portion sizes vary, this is a general guide for one slice if the pie is cut into 8 pieces.
Typical range per slice:
Calories: about 300 to 430
Fat: about 12 to 22 grams
Carbs: about 40 to 55 grams
Protein: about 4 to 7 grams
Sugar: about 28 to 40 grams
Fiber: about 1 to 3 grams (higher if you load it with raspberries)
If you want to lighten it up a bit, you can use reduced fat cream cheese and a lighter whipped topping. The texture will be slightly softer, but still very sliceable after a long chill. Also, adding more fresh raspberries on top makes it feel fresher without changing the base recipe much.
And yes, it is dessert. I enjoy it like dessert, and I do not stress about it. I just keep the slices reasonable, and I serve it with fruit if I want it to feel a little more balanced.
Recommended Serving Suggestions
This pie is one of those desserts that fits almost any situation. Backyard BBQ, baby shower, casual Sunday dinner, or that random Tuesday when you just need something sweet in the fridge. Here are my favorite ways to serve it.
- Classic: A slice topped with fresh raspberries and a small dollop of whipped cream
- Lemon lover style: Add lemon zest and a thin lemon slice on the side
- Chocolate twist: Sprinkle mini chocolate chips or drizzle melted white chocolate
- Ice cream shop: Serve with a scoop of vanilla ice cream for extra indulgence
- Party ready: Cut into thin slices and serve on a platter with extra berries
A quick tip: keep the pie in the fridge until the last second. This is especially important in warm weather. The filling holds up best when it stays cold, and leftovers stay prettier too.
Common Questions
1) How long does it need to chill?
At least 6 hours, but overnight is best. If you want clean slices, give it that extra time.
2) Can I use frozen raspberries?
Yes. Thaw them first and drain well. Too much liquid can make the filling softer than you want.
3) What if I do not have raspberry gelatin?
You can use strawberry gelatin in a pinch and still get a berry pie. The flavor shifts a little, but it is still delicious.
4) How long will it last in the fridge?
About 3 to 4 days, covered. The crust softens a bit over time, but the flavor stays great.
5) Can I freeze it?
Yes, you can freeze it for up to a month. Thaw in the fridge overnight. The texture is a little more like an ice cream pie when it is very cold, which is not a bad thing.
A sweet little fridge dessert you will make again
If you are craving something easy, nostalgic, and bright, this Homemade Raspberry No Bake Pie really delivers without making you sweat in the kitchen. It is creamy, pretty, and practical for make ahead plans, which is basically my favorite kind of dessert. If you want to explore a similar vibe with a citrusy twist, check out Raspberry Lemonade Pie – The Salty Marshmallow for more inspiration. Now grab that pie plate, clear a little space in your fridge, and treat yourself to a slice tomorrow when it is perfectly set.
Print
Raspberry Lemonade Pie
- Total Time: 360 minutes
- Yield: 8 servings
- Diet: Vegetarian
Description
A sweet no-bake dessert with creamy raspberry filling and a crunchy crust, perfect for warm days.
Ingredients
- 1 graham cracker crust (store bought or homemade)
- 1 can sweetened condensed milk
- 8 ounces cream cheese, softened
- 1 tub whipped topping (or 2 cups homemade whipped cream)
- 1 packet raspberry gelatin mix (dry powder)
- 1 to 2 tablespoons fresh lemon juice
- 1 cup raspberries (fresh or frozen and thawed)
- Optional: lemon zest, extra raspberries, or white chocolate curls for topping
Instructions
- In a mixing bowl, beat the softened cream cheese until it is smooth.
- Add the sweetened condensed milk and mix again until creamy.
- Sprinkle in the dry raspberry gelatin powder and mix until the color is even.
- Add lemon juice and mix. Taste it. If you want it brighter, add a touch more lemon.
- Fold in the whipped topping gently. You want it light and fluffy.
- Fold in raspberries. If they are very juicy, drain them a bit so the filling stays thick.
- Spoon into the crust, smooth the top, and chill at least 360 minutes. Overnight is even better.
Notes
For clean slices, wipe your knife between cuts.
- Prep Time: 15 minutes
- Cook Time: 0 minutes
- Category: Dessert
- Method: No Bake
- Cuisine: American