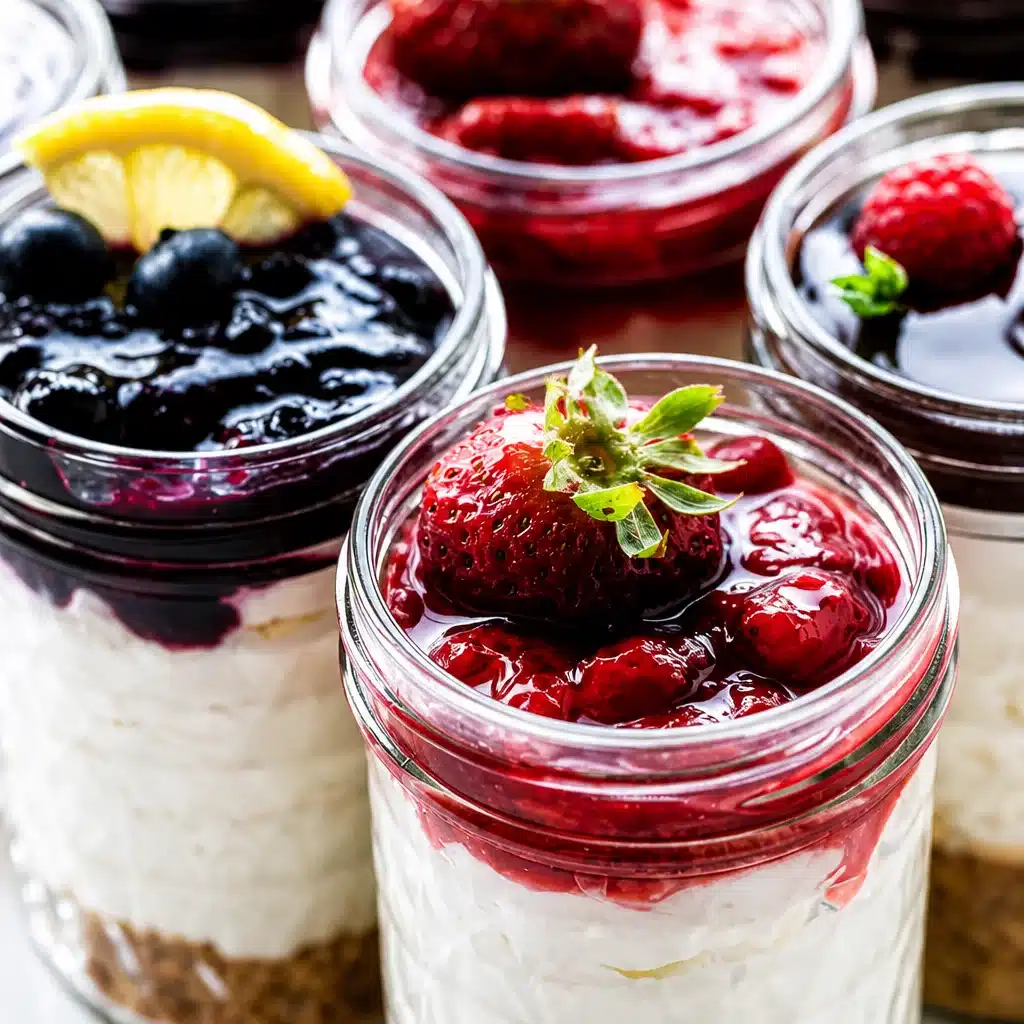
No-Bake Cherry Cheesecake Jars (Easy Dessert for a Crowd) are my little secret weapon when I need something cute, quick, and basically impossible to mess up. You know those moments when people are coming over and you want dessert to look like you tried, even if you really did not have time to bake anything? Yep, this is that dessert. These jars feel special, but they are honestly super simple. Plus, everyone gets their own portion, which means no awkward slicing or crumbly serving disasters. Let me walk you through exactly how I make them and the small tricks that make them taste like a bakery treat.
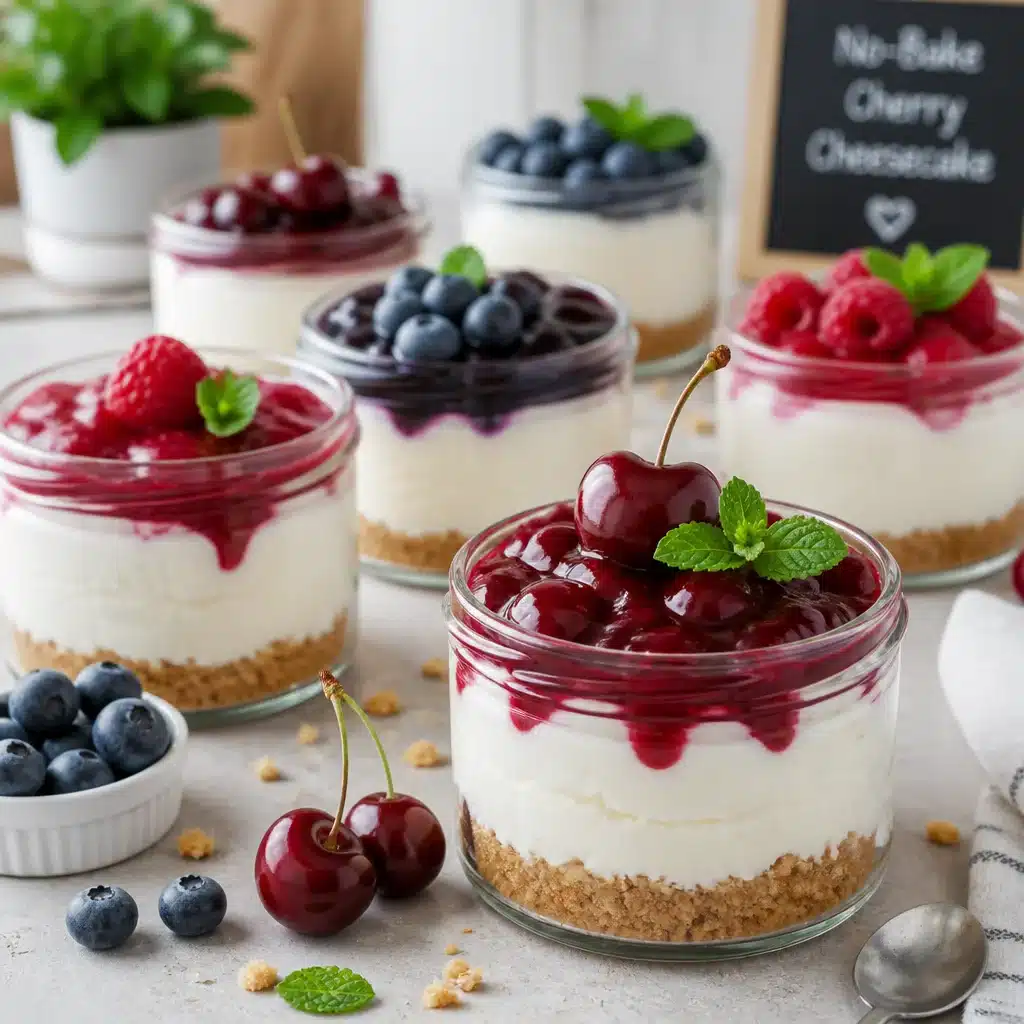
Why Youll Love Individual No-Bake Cheesecake Jars
I love a dessert that makes people happy the second they see it on the table. These jars do that. The layers look pretty, the cherry topping is glossy and fun, and the whole thing feels party ready without being fussy.
Here is why these No-Bake Cherry Cheesecake Jars end up on repeat in my kitchen:
- No oven needed, which is a win in summer or when you just do not feel like baking.
- Perfect for crowds because you can make a bunch at once and line them up in the fridge.
- Easy to transport to potlucks or picnics. Pop lids on and go.
- Portion friendly so everyone gets the same amount and you do not have to serve slices.
- Make ahead so you are not stuck in the kitchen when guests arrive.
Also, if you like the whole individual dessert cup vibe, you might also enjoy these creamy party cups I bookmarked for later: cherry hazelnut dessert cups. Similar energy, different flavor, and just as fun to serve.
3 Layers in No-Bake Cheesecake Jars
This is the part I really want you to remember because it keeps the whole recipe simple. You are basically building three layers, and each one has a job to do. Once you get that, you can make these in your sleep.
Layer 1: The base
The base is the crunchy part. It gives you that classic cheesecake crust feel. I usually go with graham cracker crumbs because it is easy and tastes like childhood. But you can absolutely swap in crushed vanilla wafers or even chocolate cookies if that is your thing.
Layer 2: The filling
The filling is the creamy middle that makes the jars feel rich. It should be smooth, lightly sweet, and thick enough to hold its shape when you spoon it in.
Layer 3: The cherry topping
The topping is the wow factor. It is sweet, bright, and a little tangy, and it makes the whole jar look finished. If you are using cherry pie filling, you are already winning on convenience. If you make your own quick cherry topping, you get more control over sweetness. Both work.
Since the layers matter for texture, here is a tiny tip: let the jars chill at least 2 hours so the filling firms up and the crumbs settle a bit. The first time I made No-Bake Cherry Cheesecake Jars, I tried serving them too early and they were still delicious, but a little soft. A short chill fixes everything.
Filling Flavors
Let us talk about the creamy center, because that is where you can quietly make this recipe feel custom. I keep my base filling pretty classic, then adjust depending on who is coming over.
My usual flavor plan is vanilla plus a little lemon. Not enough to scream lemon dessert, just enough to make it taste fresh and not heavy. If you have ever had cheesecake that tastes kind of flat, a small squeeze of lemon is the fix.
Here are a few easy flavor ideas that still work beautifully with cherries:
- Almond extract: just a tiny splash makes the filling taste like a fancy bakery cheesecake.
- Vanilla bean paste: if you have it, it adds that warm, sweet flavor.
- Cinnamon: a pinch in the crust or filling is cozy and subtle.
If you are into almond desserts, I have been craving another creamy treat lately and this one looks so comforting: creamy almond dessert. It is a different direction than cherries, but still in that easy, creamy, spoonable family.
One more practical note from experience: taste the filling before you assemble. If your cherries are very sweet, you can keep the filling slightly less sweet. That balance is what makes No-Bake Cherry Cheesecake Jars so addicting.
“I made these for a family BBQ and people kept going back to the fridge for seconds. The jars were gone before dinner was even over, and my aunt asked for the recipe on the spot.”
Lower in Sugar thanks to Greek Yogurt
I still want this dessert to taste like dessert, but I do not always want it to be sugar on sugar on sugar. Greek yogurt helps a lot here. It adds creaminess and a little tang, and it lets you use less powdered sugar while still getting that smooth cheesecake vibe.
Here is how I do it in real life:
I use a mix of cream cheese and plain Greek yogurt. The cream cheese gives you the classic cheesecake taste. The Greek yogurt keeps it lighter and helps with that slight tang that makes cheesecake taste balanced. If you only use cream cheese, it can feel a bit heavy in jar form, especially after a big meal.
A few tips so the yogurt works in your favor:
Use thick Greek yogurt, not regular yogurt. Regular yogurt can make the filling runny. Also, use full fat or at least 2 percent if you can. It tastes better and sets up nicer.
Sweeten gradually. Add powdered sugar in small amounts, taste, then stop when it tastes good to you. Remember, the cherry topping brings sweetness too.
Chill time matters. Greek yogurt fillings thicken as they chill, so do not panic if it feels a little soft right after mixing.
When people ask me what makes my No-Bake Cherry Cheesecake Jars taste not too heavy, this is basically the answer.
The Topping and The Base
This is the section where you can decide how homemade you want to go. I have done it all, from totally store bought to fully from scratch. Nobody has ever complained either way.
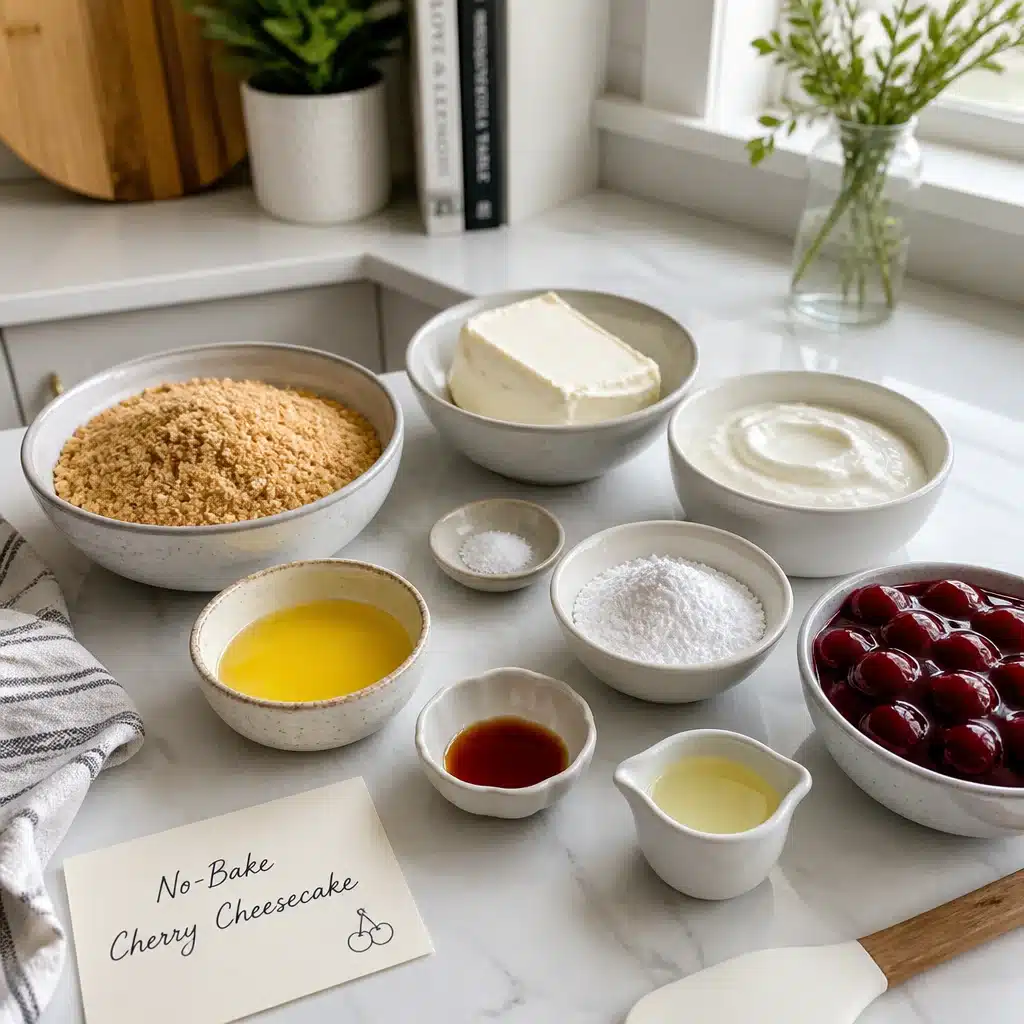
What you will need
- For the base: graham cracker crumbs, melted butter, and a pinch of salt
- For the filling: cream cheese, Greek yogurt, powdered sugar, vanilla, and optional lemon juice
- For the topping: cherry pie filling or a simple cherry compote
How I assemble the jars
1) Mix your crumbs, melted butter, and salt until it looks like wet sand. Spoon a couple tablespoons into each jar and press it down gently.
2) Beat the cream cheese until smooth, then mix in Greek yogurt, vanilla, and powdered sugar. Keep mixing until it is creamy with no lumps. Spoon or pipe it into the jars.
3) Add the cherry topping on top. Try to get a nice mix of cherries and sauce in each jar.
4) Chill the jars in the fridge at least 2 hours, or overnight if you are planning ahead.
If you want them extra cute, add a little whipped cream swirl on top right before serving. I also like a few extra crumbs sprinkled over the whipped cream, because it makes them look finished in a casual way.
Quick storage note: these keep well in the fridge for about 3 days. After that, the crust starts to soften more than I like. Still edible, just not as perfect. If you are making No-Bake Cherry Cheesecake Jars for a party, I think the sweet spot is making them the night before.
Common Questions
Can I make these without jars?
Yes. Use small cups, ramekins, or even a muffin tin with liners. Jars just look extra nice and travel better.
Do I have to use cherry pie filling?
Nope. You can use homemade cherry topping, or even swap in strawberry, blueberry, or raspberry topping. But for No-Bake Cherry Cheesecake Jars, cherry pie filling is the easiest shortcut that still tastes great.
How do I keep the crust crunchy?
Press the crust down firmly and do not add too much butter. Also, do not assemble too far in advance. Overnight is great. Two or three days can soften it.
Can I freeze them?
You can freeze them without the cherry topping, then thaw in the fridge. The texture is a little different after freezing, but still tasty. Add the topping after thawing for best results.
What size jars should I use?
I like 6 to 8 ounce jars for a normal serving. If you are doing a dessert table with lots of options, 4 ounce jars are perfect so people can sample without committing to a huge portion.
A sweet little send off
If you need a dessert that looks adorable, tastes like a treat, and does not require turning on the oven, these No-Bake Cherry Cheesecake Jars are the answer. Keep the layers simple, let the fridge do the work, and do not overthink it. If you want more ideas and variations, I also like browsing recipes like No-Bake Cheesecake Jars – Sally’s Baking Addiction for extra inspiration. Now go grab some jars and make a batch, because I promise people will ask you for the recipe.
Print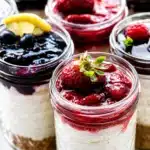
No-Bake Cherry Cheesecake Jars
- Total Time: 120 minutes
- Yield: 4 servings
- Diet: Vegetarian
Description
Delicious individual no-bake cherry cheesecake jars with layers of crunchy base, creamy filling, and sweet cherry topping, perfect for any gathering.
Ingredients
- 1 cup graham cracker crumbs
- 4 tablespoons melted butter
- 1 pinch of salt
- 8 ounces cream cheese
- 1 cup plain Greek yogurt
- 1/2 cup powdered sugar
- 1 teaspoon vanilla extract
- Optional: 1 tablespoon lemon juice
- 1 can cherry pie filling or homemade cherry compote
Instructions
- Mix your crumbs, melted butter, and salt until it looks like wet sand. Spoon a couple tablespoons into each jar and press it down gently.
- Beat the cream cheese until smooth, then mix in Greek yogurt, vanilla, and powdered sugar until creamy with no lumps. Spoon or pipe it into the jars.
- Add the cherry topping on top, ensuring a nice mix of cherries and sauce in each jar.
- Chill the jars in the fridge for at least 2 hours, or overnight if planning ahead.
Notes
These jars keep well in the fridge for about 3 days. Add a whipped cream swirl before serving for extra cuteness!
- Prep Time: 15 minutes
- Cook Time: 0 minutes
- Category: Dessert
- Method: No-Bake
- Cuisine: American