
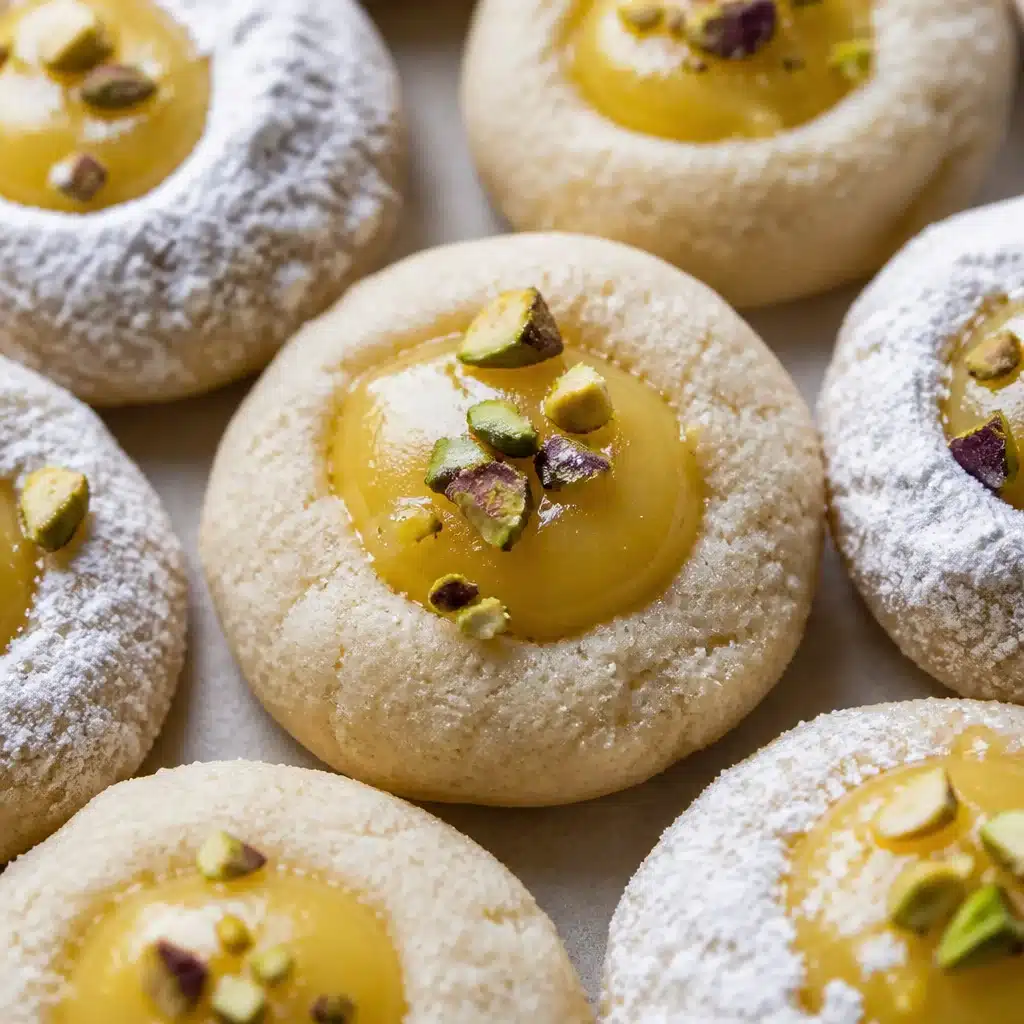
Pistachio Ricotta Thumbprint Cookies are basically my answer to that familiar moment when you want something sweet, but you also want it to feel a little special. Like, not a plain chocolate chip cookie day. These are soft and lightly creamy in the middle, a little crisp at the edges, and they have that nutty pistachio flavor that makes people ask, “Wait, what’s in these?” The best part is they look fancy without being fussy. If you’ve ever needed a dessert for a party, a cookie swap, or just a cozy night in, this is it. And yes, you can totally make them without stressing out. 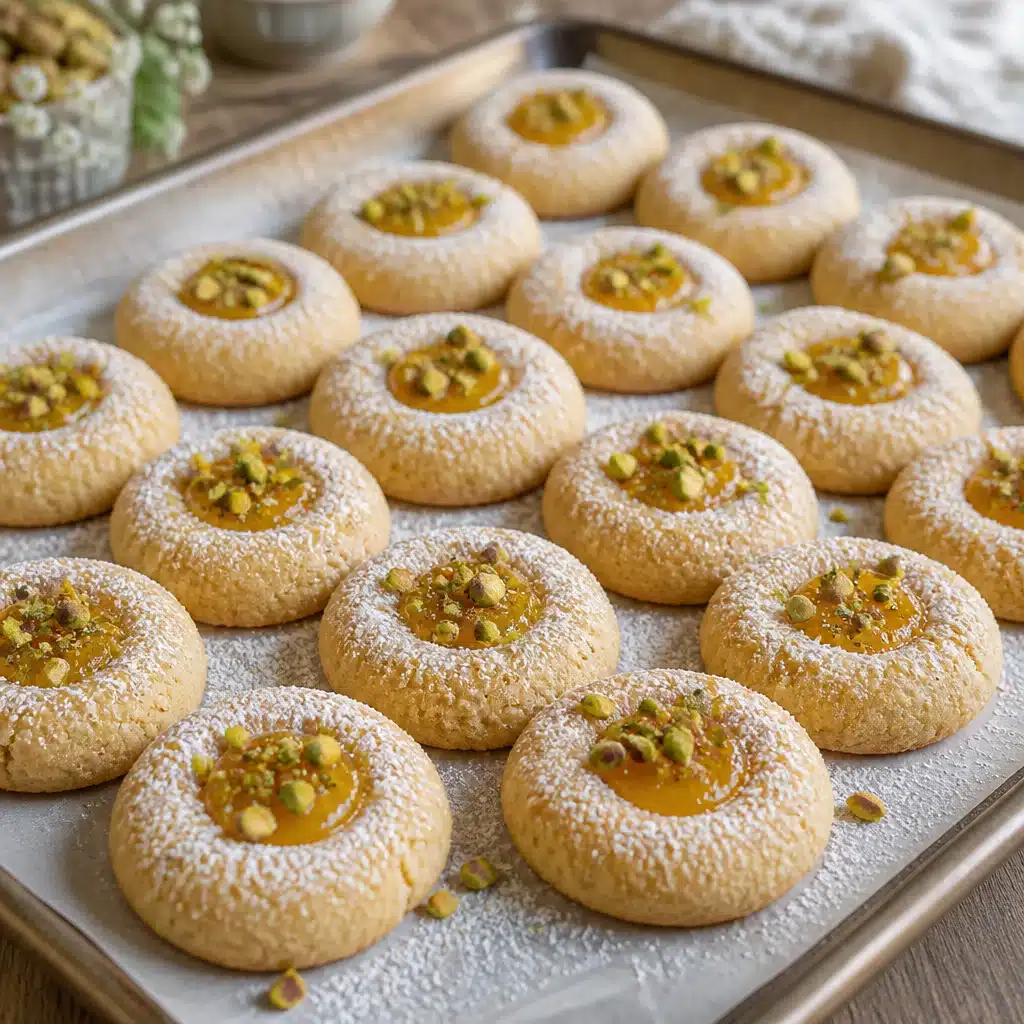
What Are Italian Pistachio Thumbprint Cookies?
Italian Pistachio Thumbprint Cookies are those pretty little cookies with a gentle dent in the center, usually filled with something yummy like jam, chocolate, or a creamy spread. The “thumbprint” part is exactly what it sounds like. You press your thumb into the dough to make a spot for the filling. I love how they’re bite sized but still feel bakery worthy.
What makes my version extra lovable is the ricotta. It adds a soft texture and a slight richness that you don’t get from regular butter cookies. The pistachios give you that sweet nutty flavor and a little bit of crunch if you roll the dough in chopped nuts before baking.
If you’re the type who likes to compare options before baking, I get it. I’ve tried a few spins on this idea, and I still come back to pistachio as my favorite. But if you want another solid starting point, this post is a great companion read: best pistachio ricotta cookies.
Also, I call these Pistacchiotti sometimes, because it just sounds fun to say, and it nods to that Italian style cookie vibe. Whatever name you use, the goal is the same: a tender cookie with a creamy center and a pop of flavor.
Key Ingredients for Making Pistacchiotti
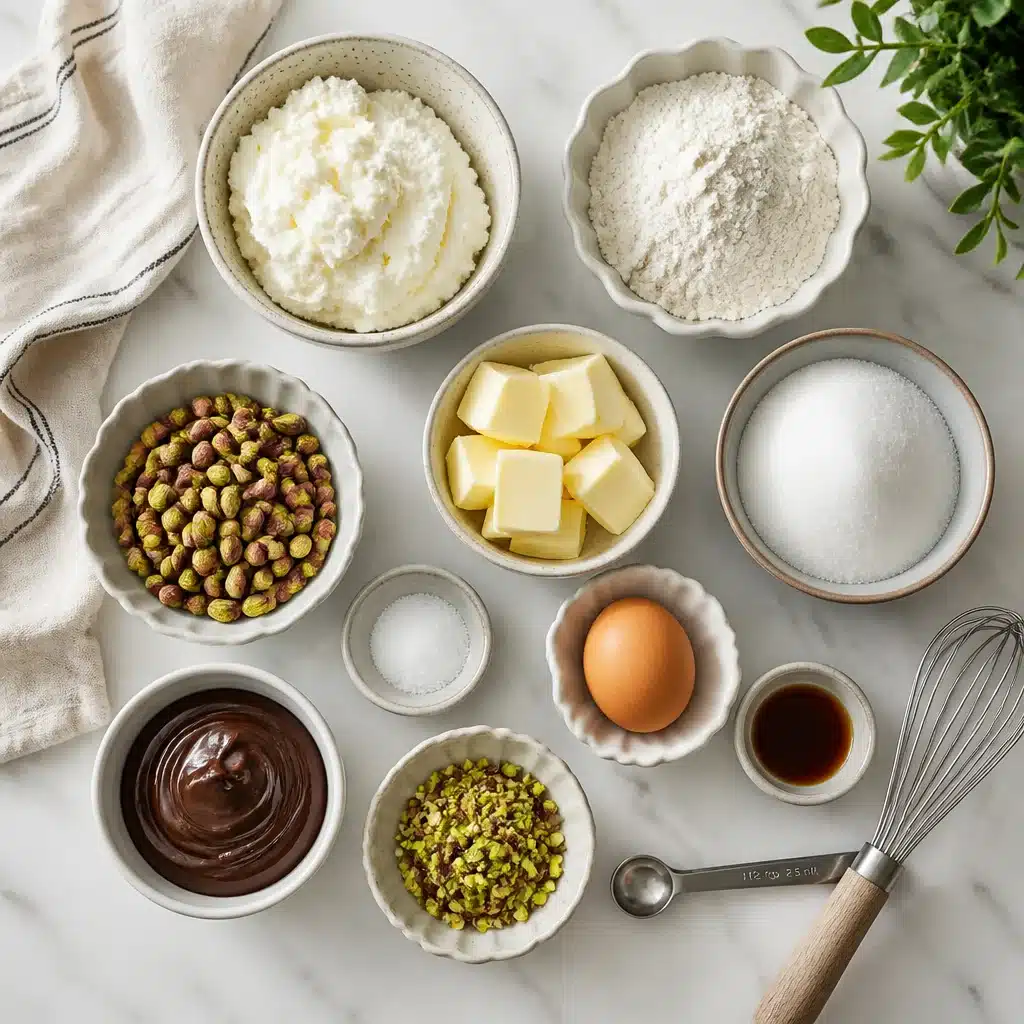
Let’s keep this simple and real life friendly. You do not need anything weird or hard to find. The ingredients are straightforward, but each one matters. When I first made Pistachio Ricotta Thumbprint Cookies, I learned quickly that quality ricotta and fresh pistachios make a huge difference.
What you will need
- Ricotta cheese: Whole milk ricotta is best for flavor and texture. If it’s watery, drain it for a few minutes.
- Unsalted butter: Softened so it mixes easily.
- Sugar: Regular granulated sugar keeps the cookie light.
- Egg: Helps bind everything and gives a nice structure.
- Vanilla extract: A little warmth makes the pistachio taste even better.
- All purpose flour: The base that holds it all together.
- Salt: Just a pinch, but it wakes up the flavor.
- Pistachios: Finely chopped for rolling, or ground lightly for mixing in.
- Filling: Jam, chocolate spread, or even a simple sweetened ricotta spoonful.
About the filling: I’m a “use what you love” kind of baker. Raspberry jam is classic and pretty. Apricot is underrated. Chocolate is always a yes in my house. If you’re a chocolate person, you’d probably love this related cookie idea too: Nutella ricotta thumbprint cookies.
One more quick ingredient note: pistachios can be salted or unsalted. If yours are salted, just go lighter on the added salt. It’s not a big deal, but it keeps the flavor balanced.
Step-by-Step Instructions for Perfect Cookies
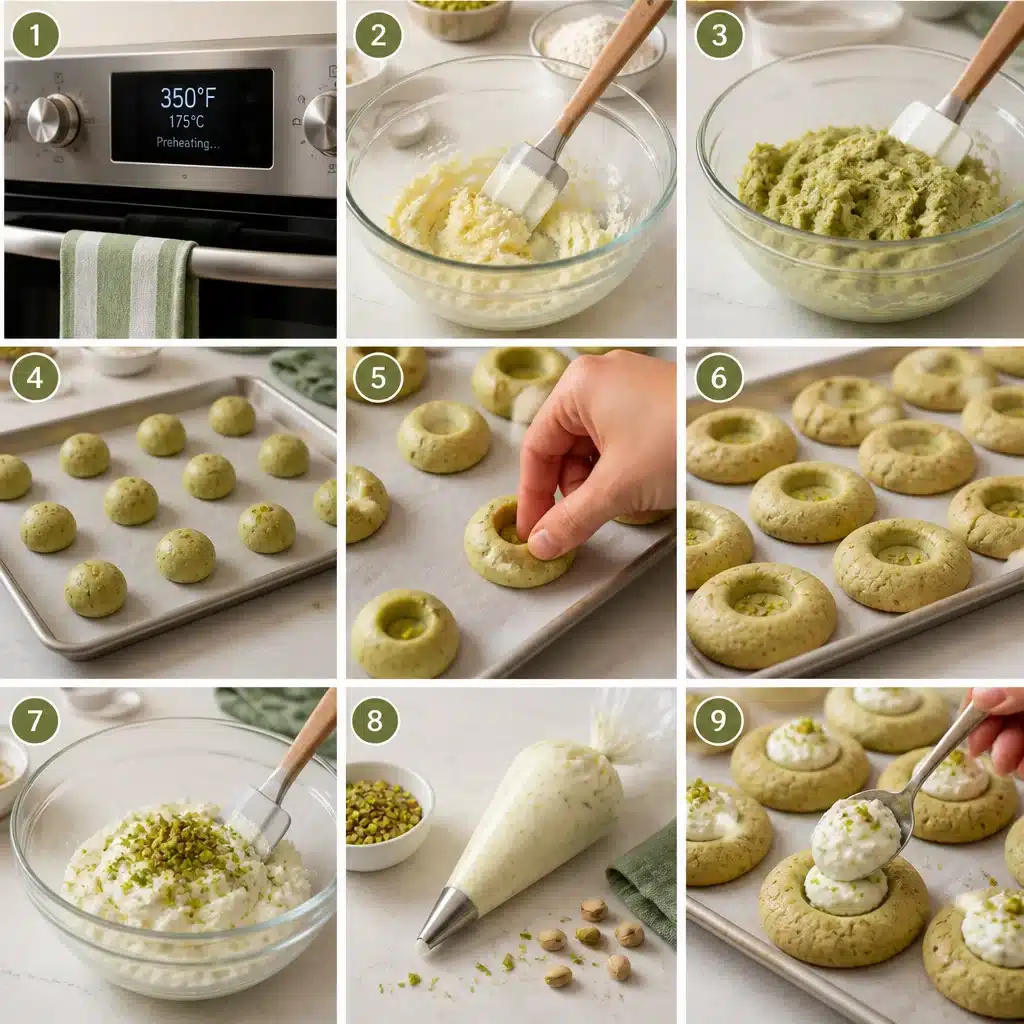
This is the part where people think they need a stand mixer and a full afternoon. You don’t. I’ve made Pistachio Ricotta Thumbprint Cookies with a simple bowl and spoon when my mixer was buried in a cabinet I didn’t feel like dealing with. The key is to take your time with the dough texture and not rush the bake.
Directions
- Preheat your oven to 350 F and line a baking sheet with parchment paper.
- Cream together the softened butter and sugar until it looks lighter and fluffy.
- Mix in the egg, ricotta, and vanilla until it’s smooth. It might look slightly curdled for a second. Keep going and it’ll come together.
- Add flour and salt, then stir just until you don’t see dry flour anymore.
- Chill the dough for 20 to 30 minutes if it feels sticky. This helps a lot with shaping.
- Scoop small balls of dough, roll them in chopped pistachios, and place on the baking sheet.
- Press your thumb gently into the center of each cookie to make a well.
- Bake about 12 to 14 minutes, until the edges look set and barely golden.
- Let them cool a bit, then spoon or pipe filling into the centers.
Here’s the little trick that made mine look cleaner: if the thumbprint puffs up while baking, you can press it down again lightly right when they come out of the oven. Do it carefully, while they’re still soft, and it creates a neat space for the filling.
And because I know some people like a quick visual summary, here’s a simple table that keeps the flow easy when you’re baking.
If you want a fruit and nut twist that still feels very “thumbprint cookie,” this is another good one to check out: raspberry almond ricotta thumbprint cookies. It’s a different vibe, but the same cozy energy.
“I brought these to my office and everyone kept sneaking back for another one. The ricotta makes them so soft, and the pistachio on the outside makes them taste like they came from a fancy bakery.”
Common Mistakes to Avoid
I’ve made every one of these mistakes at least once, so please learn from my cookie chaos.
Skipping the chill when the dough is sticky is a big one. Ricotta dough can be softer than you expect. If you try to roll it right away and it clings to your hands, you’ll end up adding too much flour, and then the cookies turn dry. Just chill it instead.
Overbaking is another common issue. You’re not waiting for dark golden edges. These are meant to stay pale and tender. If the bottoms are getting too brown, your oven might run hot, or the pan might be too dark.
Overfilling the centers sounds harmless, but it gets messy fast. If you pile in jam while the cookies are warm, it can slide right off. Let them cool enough so the filling stays put.
Using super wet ricotta can cause spreading. If your ricotta looks watery in the container, drain it in a fine mesh strainer or wrap it in a paper towel for a few minutes. You don’t need it bone dry, just not soupy.
Last one: pressing too hard with your thumbprint. You want a gentle dent, not a tunnel to the baking sheet. If you go too deep, the cookie can crack around the edges.
Tips for Customizing Your Pistachio Cookies
The reason I never get bored of Pistachio Ricotta Thumbprint Cookies is that you can tweak them a bunch of ways without messing up the base recipe. This is where you can make them your own and still have them come out reliably.
Easy flavor ideas
Switch the filling. Raspberry jam is bright and classic. Apricot feels a little more old school. Cherry is bold. Chocolate hazelnut spread is pure comfort. Even lemon curd is amazing if you like a tangy pop.
Add citrus zest. A little lemon zest or orange zest in the dough makes the pistachio flavor feel even fresher.
Try a glaze. A quick powdered sugar glaze drizzled on top is cute for holidays. Just let the filling set a bit first so you don’t smear it.
Make them extra pistachio. You can mix a tablespoon or two of very finely ground pistachios into the dough. It gives a slightly greener hue and a deeper nut flavor.
Make them party friendly. If you’re serving these at a get together, do two fillings on one tray. Half jam, half chocolate. People love having a choice.
And if you’re baking for someone gluten free, I’ve had readers tell me a good one to one gluten free flour works pretty well here, especially if you chill the dough and keep the cookies on the smaller side.
Common Questions
Do Pistachio Ricotta Thumbprint Cookies need to be refrigerated?
If your filling is jam or chocolate spread, they’re usually fine at cool room temperature for a day. For longer storage, I pop them in the fridge because of the ricotta, then let them sit out 10 minutes before eating.
Can I freeze them?
Yes. I like freezing the baked cookies without filling, then thawing and filling later so the centers look fresh.
Why did my cookies spread too much?
Most likely the butter was too soft, the ricotta was too wet, or the dough was not chilled. Chill the dough next time and make sure the ricotta is not watery.
Can I make the dough ahead of time?
Totally. You can keep it covered in the fridge for about 24 hours. Let it sit a few minutes at room temp so it’s easier to scoop.
What’s the best pistachio to use?
I like shelled pistachios that are fresh and fragrant. If you can find good quality ones, it really shows in the final flavor.
A sweet little wrap-up before you bake
If you want a cookie that feels cozy but still stands out, Pistachio Ricotta Thumbprint Cookies are such a good pick. You get that soft ricotta texture, the nutty pistachio coating, and the fun little center of filling that makes each bite interesting. If you’re in the mood to explore another ricotta thumbprint variation later, I’ve also bookmarked this one for my next baking day: LEMON CURD RICOTTA THUMBPRINT COOKIES – The Vivid Kitchen. Bake a batch, try one warm, and save a few for the next day because somehow they get even better. If you make them, I hope you love them as much as I do.
Print
Pistachio Ricotta Thumbprint Cookies
- Total Time: 34 minutes
- Yield: 24 cookies
- Diet: Vegetarian
Description
Deliciously soft and nutty cookies filled with your favorite jam or chocolate spread, perfect for any occasion.
Ingredients
- 1 cup ricotta cheese, whole milk
- 1/2 cup unsalted butter, softened
- 3/4 cup granulated sugar
- 1 large egg
- 1 teaspoon vanilla extract
- 2 cups all-purpose flour
- 1/4 teaspoon salt
- 1 cup pistachios, finely chopped
- Filling: jam, chocolate spread, or sweetened ricotta
Instructions
- Preheat your oven to 350°F and line a baking sheet with parchment paper.
- Cream together the softened butter and sugar until it looks lighter and fluffy.
- Mix in the egg, ricotta, and vanilla until it’s smooth.
- Add flour and salt, then stir just until you don’t see dry flour anymore.
- Chill the dough for 20 to 30 minutes if it feels sticky.
- Scoop small balls of dough, roll them in chopped pistachios, and place on the baking sheet.
- Press your thumb gently into the center of each cookie to make a well.
- Bake about 12 to 14 minutes, until the edges look set and barely golden.
- Let them cool a bit, then spoon or pipe filling into the centers.
Notes
For a cleaner look, press the thumbprint down gently again after baking if it puffs up.
- Prep Time: 20 minutes
- Cook Time: 14 minutes
- Category: Dessert
- Method: Baking
- Cuisine: Italian