
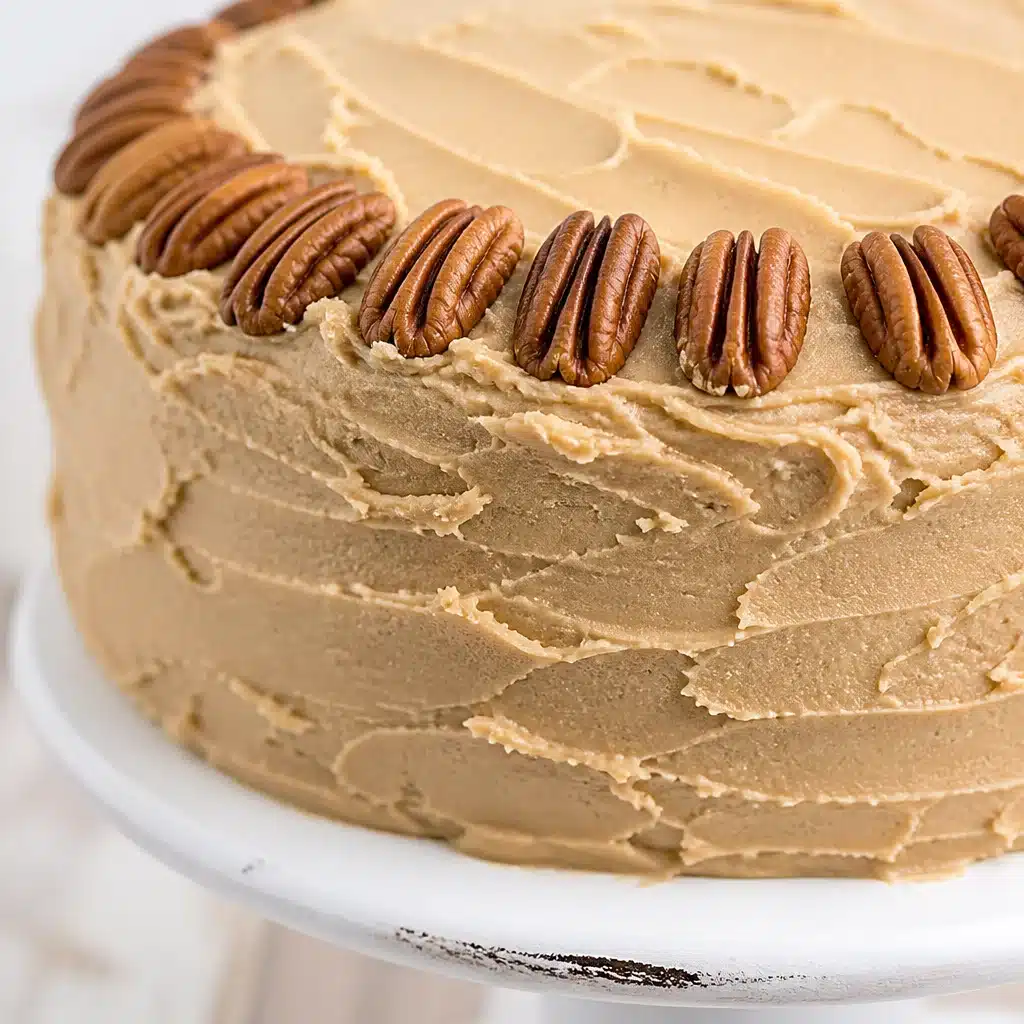
Homemade Caramel Layered Dessert (Easy Vintage Recipe) is my go to when I need something cozy, sweet, and a little nostalgic, but I do not want to bake a whole cake. You know those days when you want a treat that feels special, yet you are also juggling laundry, emails, and whatever is for dinner. This is that dessert. It is cool and creamy, has that buttery caramel vibe, and it looks fancy in a dish even though it is honestly simple. If you have ever wanted a vintage style dessert you can make ahead and stash in the fridge, you are in the right place. 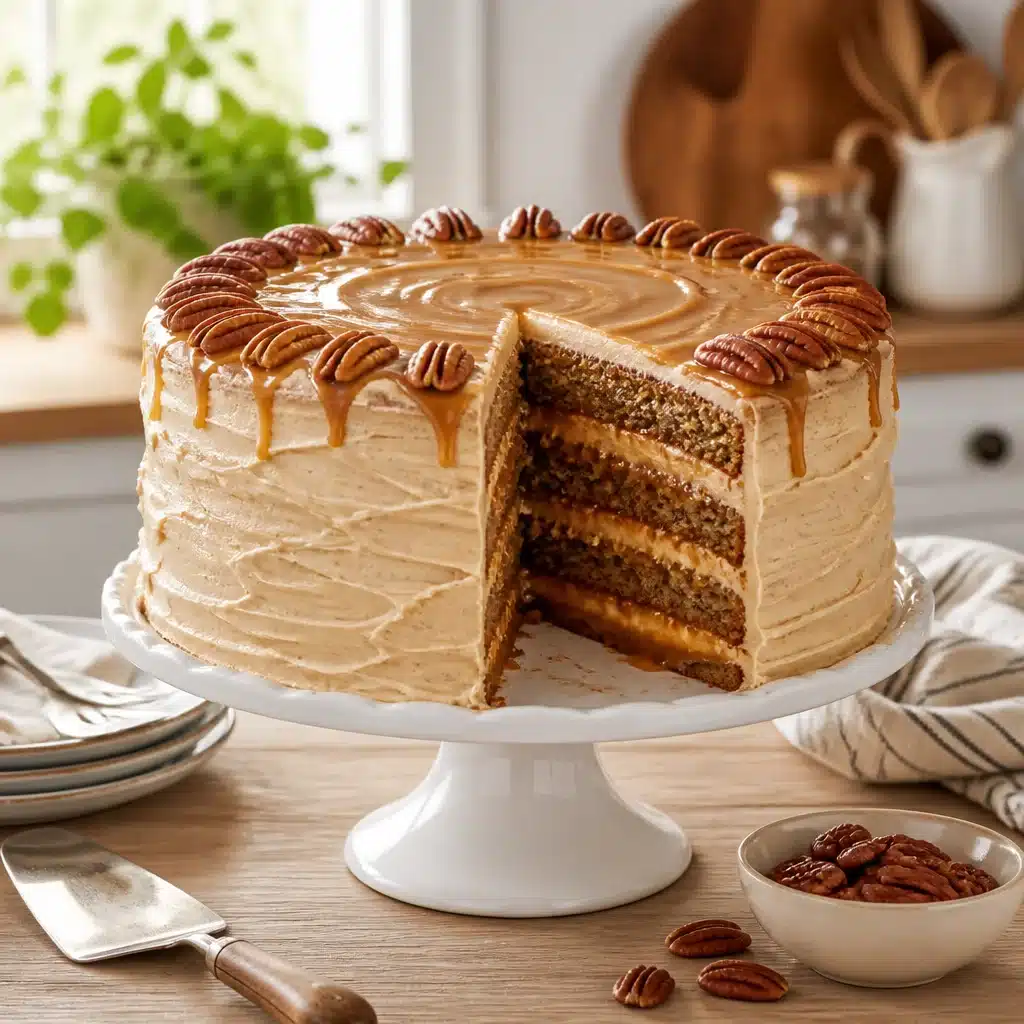
What You’ll Like About This Recipe
This is the kind of dessert that makes people ask, “Wait, you made this?” because the layers look so pretty. The flavor is classic and comforting, like something you would spot at a church potluck or in a handwritten recipe box.
Here is why I keep coming back to this Homemade Caramel Layered Dessert (Easy Vintage Recipe):
- No fussy baking required, just a quick stovetop caramel sauce and some layering.
- It is a make ahead dessert that actually tastes better after chilling.
- You can serve it in a big dish for scooping, or in little cups for a cute party moment.
- It is easy to customize with apples, bananas, or toasted nuts.
If you love the whole caramel and fruit situation, you might also like these caramel apple dessert cups. They are similar in spirit, just portioned out and super snackable.
“I made this for Sunday dinner and my family cleaned the dish. The caramel tasted like the kind my grandma used to make, and the layers held up perfectly after chilling.”
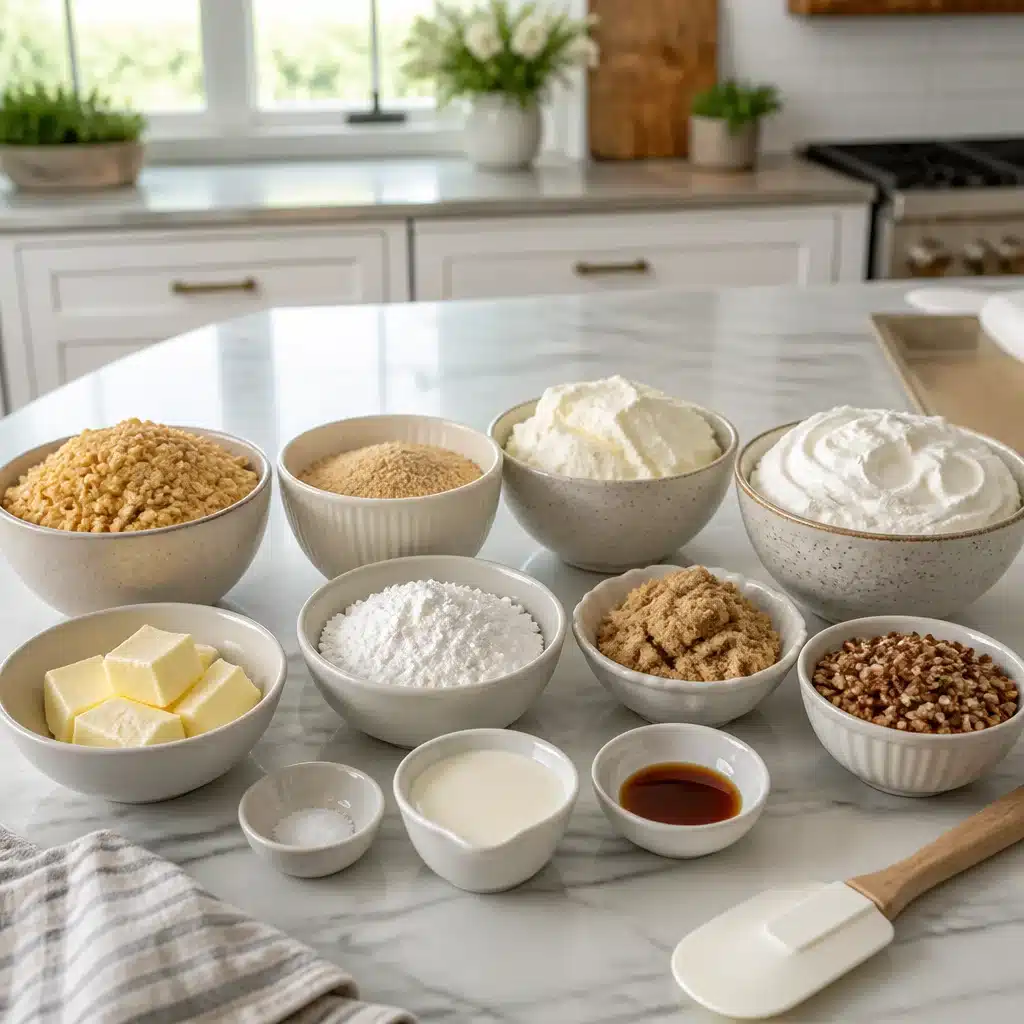
Tools You’ll Use
You do not need anything fancy, which is part of the charm. If you have basic kitchen stuff, you can pull this off.
Here is what I reach for:
For the caramel: a medium saucepan, a whisk, measuring cups and spoons, and a heat safe spatula.
For the layers: a 9×13 dish (or an 8×8 for thicker layers), a mixing bowl, and either a hand mixer or a sturdy whisk if you are feeling ambitious.
Optional but helpful: an offset spatula for smoothing layers, and a ladle or spoon for drizzling caramel without making a mess on the sides.
If you are the type who likes to rinse and repeat with caramel desserts, I also have a soft spot for these caramel cream shortbread bars with sea salt. Different format, same sweet salty happiness.
Ingredient Notes
This dessert is built on a few simple layers: a buttery crumb base, a creamy middle, and a caramel finish. Think of it as a vintage icebox dessert, but with a richer caramel flavor.
Base layer options
You can use crushed vanilla wafers, graham crackers, or even shortbread cookies. I usually grab what I have. Vanilla wafers taste the most “old school” to me.
Cream layer
This is a mix of cream cheese (softened), a little powdered sugar, vanilla, and whipped topping or homemade whipped cream. If you want the most classic potluck vibe, whipped topping works great. If you prefer less sweetness, homemade whipped cream is lovely too.
Caramel layer
You have choices here.
- Homemade caramel sauce: butter, brown sugar, a splash of cream, pinch of salt. This is what I do for that deep, buttery flavor.
- Store bought caramel: totally fine, especially when life is busy. Warm it slightly so it spreads easily.
Little flavor boosters
Do not skip the salt. A tiny pinch makes caramel taste more like caramel, if that makes sense. Chopped toasted pecans are also great if you want some crunch.
Here is the tag you asked for:
If you want an apple twist without extra work, you can spoon a layer of apple pie filling between the cream and caramel. It turns the whole thing into a caramel apple dream. If that sounds like your thing, you should peek at this caramel apple mascarpone dump cake too, especially for fall weekends.
Recipe Tips
I have made this enough times to learn what keeps it stress free and what can trip you up. Here are my best real life tips.
Make the caramel sauce gently
Keep the heat at medium or even medium low. Caramel can go from perfect to scorched fast if you walk away. Stir often, and once it looks smooth and slightly thickened, pull it off the heat. It thickens more as it cools.
Let layers cool before stacking
If your caramel is hot and you pour it straight onto the cream layer, it can melt into it. Still tasty, but not as pretty. Let the caramel cool 10 to 15 minutes, then drizzle and spread gently.
Chill time is not optional
I know it is tempting to dig in right away. But this Homemade Caramel Layered Dessert (Easy Vintage Recipe) needs time to set so you can actually scoop it cleanly. I do at least 4 hours, overnight is even better.
Easy layering game plan
Here is how I assemble it in a simple flow:
- Press cookie crumbs mixed with melted butter into the dish.
- Spread the cream layer evenly.
- Drizzle caramel sauce over the top.
- Optional: add another thin layer of crumbs or chopped nuts.
- Chill, then slice or scoop.
If you want it extra “dessert table” pretty, reserve a little caramel for the final drizzle right before serving. It looks dramatic with basically zero effort.
Best Apples for Apple Pie Bars
I know this might sound like a random section in a caramel dessert post, but hear me out. A lot of people want to add apples to caramel desserts, and they ask which apples actually taste right after baking or cooking.
If you are making apple pie bars or adding a cooked apple layer to this Homemade Caramel Layered Dessert (Easy Vintage Recipe), you want apples that hold their shape and do not turn into applesauce.
My favorite picks:
Granny Smith: tart, sturdy, and the classic choice when caramel is involved.
Honeycrisp: sweet, juicy, and still holds up well.
Pink Lady: a little tangy, nice bite, great flavor.
If all you have is Fuji or Gala, it can work, but expect a softer texture. I usually mix one tart apple with one sweet apple when I am trying to make the flavor pop.
Common Questions
1. Can I use store bought caramel sauce?
Yes. Warm it for 10 to 15 seconds so it spreads easily. If it is super sweet, add a tiny pinch of salt to balance it.
2. How far ahead can I make this?
I like making it the night before. It is great for 2 to 3 days in the fridge, covered well so it does not pick up fridge smells.
3. Can I freeze it?
You can, but the texture changes a bit once thawed, especially the creamy layer. If you do freeze it, thaw in the fridge overnight and expect it to be a little softer.
4. What if I do not have whipped topping?
Whip 1 cup of heavy cream with 2 to 3 tablespoons powdered sugar and a splash of vanilla until thick. Fold it into the cream cheese mixture.
5. How do I keep the layers neat when serving?
Chill it long enough, use a sharp knife for slices, and wipe the knife between cuts. If you are scooping, a chilled spoon helps too.
A sweet little wrap up before you grab a spoon
If you want a dessert that feels like a throwback but still fits into real life schedules, this Homemade Caramel Layered Dessert (Easy Vintage Recipe) is honestly such a win. The layers are simple, the caramel tastes rich and buttery, and it is the kind of treat that disappears fast at gatherings. If you are in the mood for a bigger caramel baking project someday, this Old Fashioned Southern Caramel Layer Cake Recipe is a fun one to bookmark for a special weekend. For now, toss this dessert in the fridge, let it chill, and then go reward yourself with that first creamy caramel bite. 
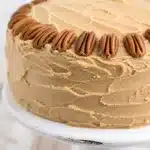
Homemade Caramel Layered Dessert
- Total Time: 60 minutes
- Yield: 12 servings
- Diet: Vegetarian
Description
A cozy, sweet, vintage-style dessert with layers of buttery crumbs, creamy filling, and rich caramel sauce, perfect for make-ahead gatherings.
Ingredients
- 1 ½ cups crushed vanilla wafers or graham crackers
- ½ cup unsalted butter, melted
- 8 oz cream cheese, softened
- 1 cup powdered sugar
- 1 tsp vanilla extract
- 2 cups whipped topping or homemade whipped cream
- 1 cup homemade caramel sauce or store-bought caramel
- Salt, to taste
- Chopped toasted pecans (optional)
- Apple pie filling (optional, for layering)
Instructions
- Press the cookie crumbs mixed with melted butter into the bottom of a 9×13 dish.
- Spread the cream layer (cream cheese, powdered sugar, vanilla, and whipped topping) evenly over the base.
- Drizzle caramel sauce over the top.
- Chill for at least 4 hours or overnight to set.
- Slice or scoop to serve, and drizzle with additional caramel if desired.
Notes
This dessert tastes better after chilling, and the layers hold up nicely when served. Customize with fruits or nuts for added flavor and texture.
- Prep Time: 15 minutes
- Cook Time: 15 minutes
- Category: Dessert
- Method: No-Bake
- Cuisine: American