
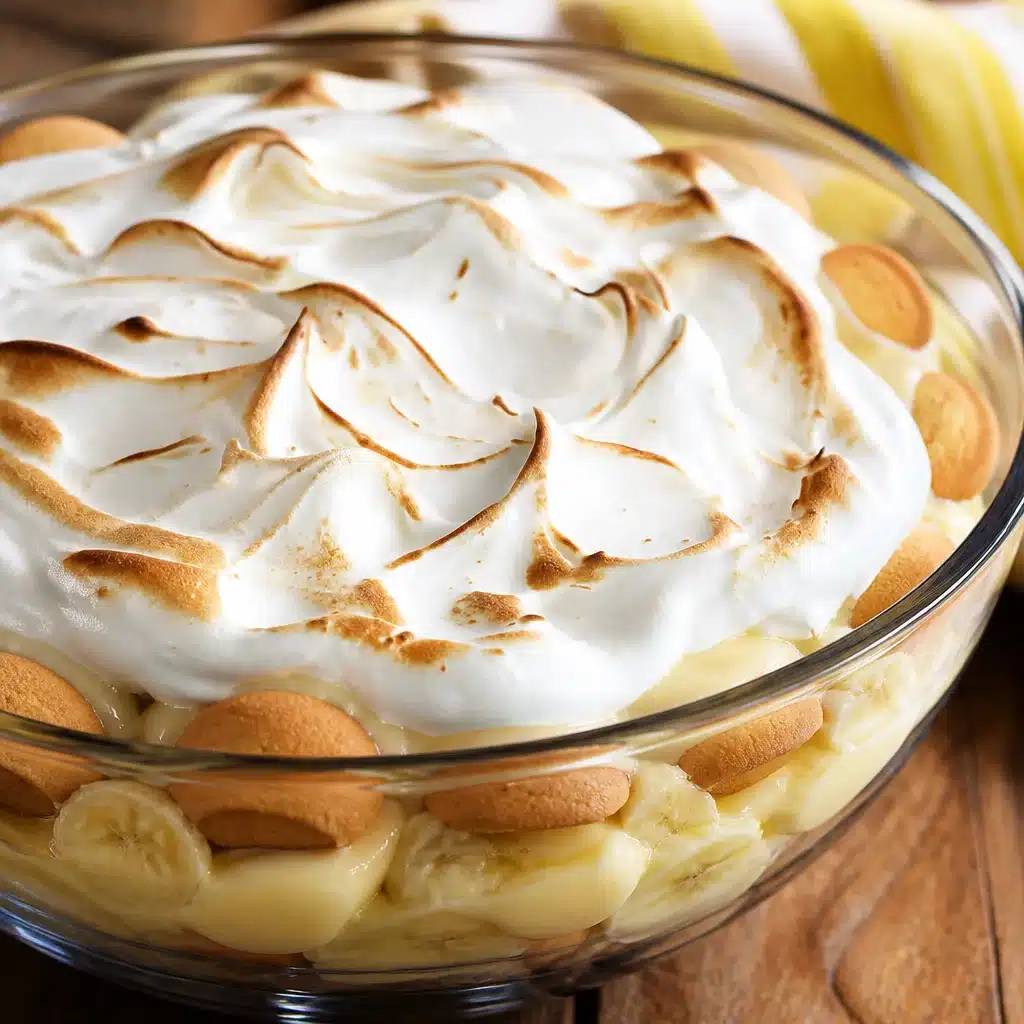
Homemade Banana Custard (Easy Vintage Recipe) is what I reach for when I want something cozy but I do not want to bake a whole cake. You know those nights when you have a couple of spotty bananas on the counter and everyone keeps asking for dessert? This is the answer. It is creamy, softly sweet, and it tastes like the kind of treat your grandma would serve in a little glass dish. I also love that it uses basic pantry stuff and it comes together faster than most puddings. Let me walk you through it like a friend standing in your kitchen. 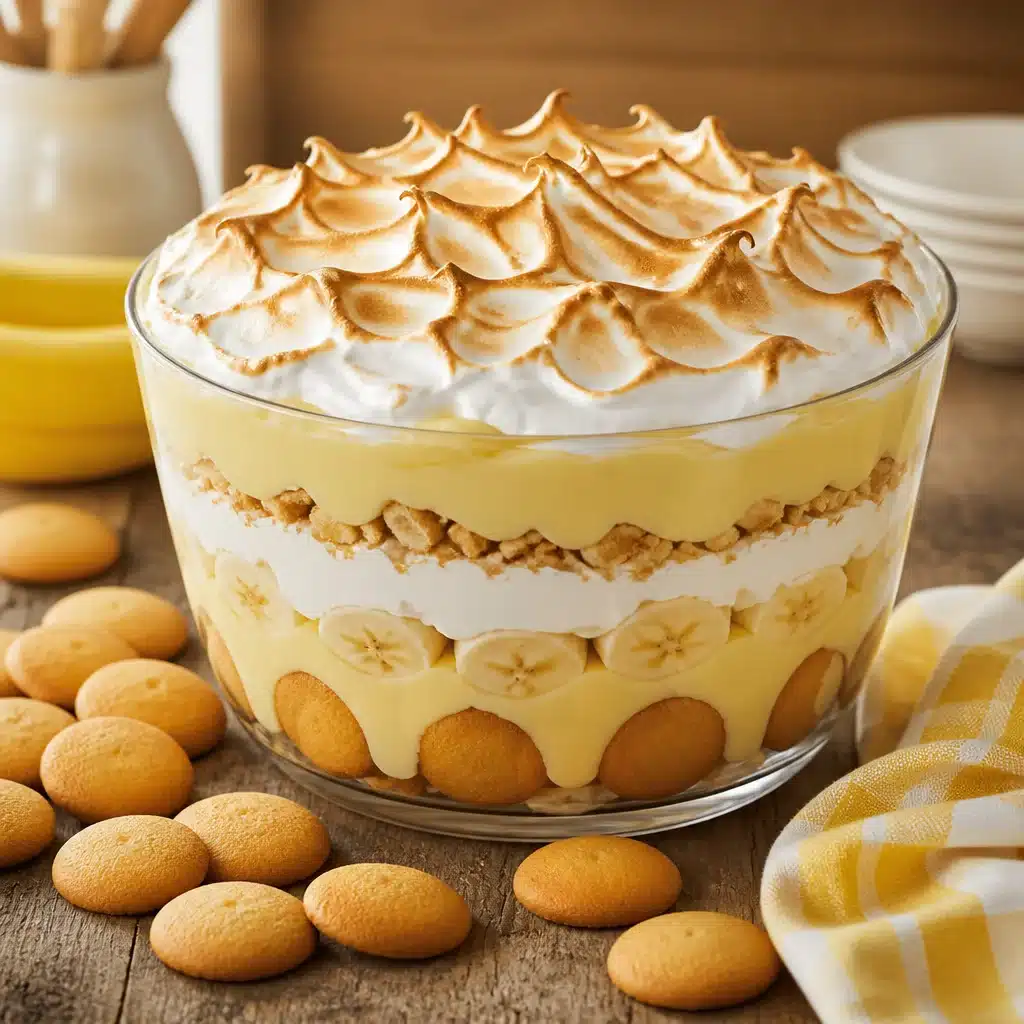
Is banana pudding made from real bananas?
Sometimes yes, sometimes not. Some store bought banana puddings rely mostly on flavoring, which can taste a little candy like. For my homemade version, I use real bananas plus a simple vanilla custard base. That way you get the true banana flavor, but you still get that classic pudding vibe.
Here is the way I build the flavor so it tastes like the “vintage” version people remember:
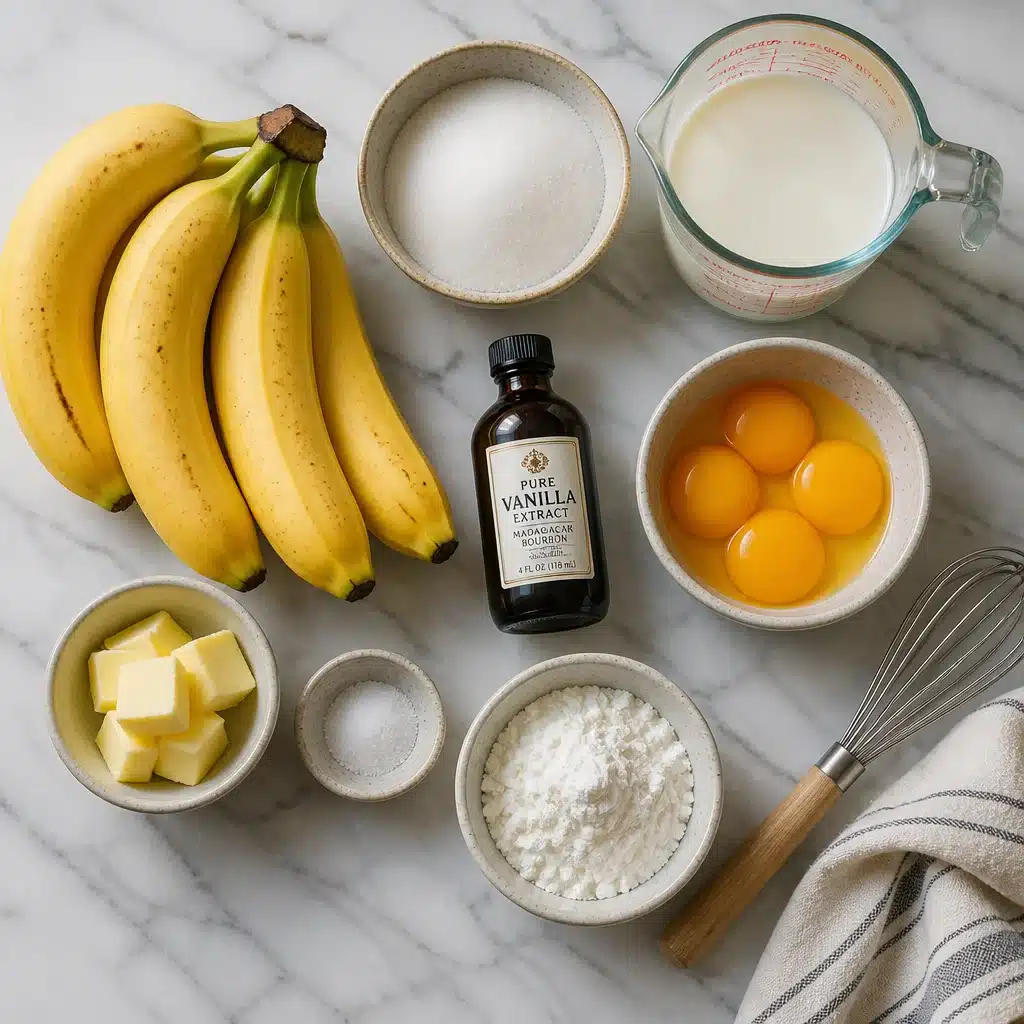
- Ripe bananas: Look for lots of brown speckles. That is where the sweetness is.
- Vanilla: Real extract makes a difference here.
- Egg yolks: They give that silky, rich texture you cannot fake.
- Milk and a little butter: This keeps it creamy and smooth.
And yes, I still slice bananas into the finished pudding. Custard plus fresh banana slices is the whole point, in my opinion. If you love banana desserts as much as I do, you would probably also enjoy this cozy sliceable bake: banana bread with ricotta swirl. It is a fun weekend project and the swirl feels a little fancy without being fussy.
Why is my custard runny or too thin?
This is the biggest headache with banana custard, and I have had it happen. Usually it is not because you did anything “wrong,” it is just one of those recipes where a couple small details matter.
Here are the most common reasons custard ends up thin, plus how to fix them:
1. It did not cook long enough.
Custard thickens as it heats, but it really firms up when it hits a gentle simmer. You are looking for that moment when it coats the back of a spoon. If you swipe a finger through it and the line stays, you are close.
2. The heat was too high.
High heat can scramble the eggs before the custard has a chance to thicken properly. Keep it at medium to medium low and be patient.
3. Not enough starch, or it was not blended well.
I use cornstarch for an easy, dependable set. Mix the cornstarch with a little cold milk before it goes near the pot so it dissolves smoothly. Lumps usually mean the starch hit hot liquid too fast.
4. Skipping the chill time.
Even when it looks thick, banana custard still needs time in the fridge to fully set. Give it at least 3 hours, and overnight is even better if you can.
My basic method looks like this, in plain language:
- Warm milk with a little sugar and a pinch of salt.
- Whisk egg yolks with cornstarch and a splash of cold milk.
- Slowly whisk warm milk into the yolk mixture to temper it.
- Pour it all back in the pot and stir until thick.
- Turn off the heat, add butter and vanilla, then cool and chill.
Once you get the hang of it, you will feel like you can make it in your sleep. It is the same comfort zone as other old school custard desserts. If you are into that buttery, creamy vibe, take a peek at apricot almond custard bars with a buttery shortbread crust. Totally different flavor, but the same “home kitchen” feeling.
“I made this for Sunday dinner and it tasted exactly like the banana custard my aunt used to make. Mine finally set up perfectly, and the kids scraped the bowl clean.”
Can I reduce the amount of sugar in this banana pudding recipe?
Yes, you can, and I do it sometimes when my bananas are super ripe. The key is keeping the custard balanced so it still tastes like dessert and not like plain eggy milk.
Here is what I suggest for an easy adjustment:
Start by reducing the sugar by 2 tablespoons. In most batches, nobody notices and it still tastes sweet enough. If you want to go lower than that, reduce slowly and taste the warm custard before you chill it. Warm custard tastes a bit less sweet than chilled custard, so do not overcorrect.
A few helpful notes from my own trial and error:
Riper bananas mean you can use less sugar. If the banana peels are heavily speckled, you can usually cut back more.
Do not cut sugar to zero. A little sugar helps the overall texture and keeps the flavors rounded.
Vanilla helps. When sugar goes down, vanilla can carry more of the “dessert” feeling.
If you are serving a crowd that loves sweet desserts, keep it classic. If it is just family on a weeknight, a small sugar cut is totally fine. Also, if you have extra bananas to use up, you might want to bake something for breakfasts too, like banana nut bread. That one freezes well, which is basically a gift to your future self.
Tips for perfect meringue:
If you are doing the full vintage banana pudding, you are probably thinking about meringue on top. I love it when it is fluffy and lightly golden, and I used to be intimidated by it. Turns out, it is pretty simple if you follow a few rules.
My no stress meringue checklist
Use room temperature egg whites. They whip up higher.
Clean bowl, clean beaters. Any grease can stop the foam from forming.
Add sugar gradually. A spoonful at a time helps it dissolve so you do not get gritty meringue.
Spread it to the edges. Touch the meringue to the dish all the way around to help prevent weeping.
When it is ready, you should have glossy peaks that hold their shape. Bake it just until it gets that pale golden top. And a small tip that really helps: put the meringue on while the custard is still warm. It creates a better seal.
How I serve banana custard with meringue
I like to layer warm custard, banana slices, and vanilla wafers in a baking dish, then top it with meringue and bake. After it cools, it slices like a soft pudding casserole, and it is so satisfying.
How to Make Banana Cream Pie
If you want to turn this into a full on pie, you totally can. It is basically banana custard in a crust, and it feels a little extra even though the steps are familiar.
What you will need
- Pie crust: baked and cooled, store bought or homemade
- Bananas: 2 to 3 ripe ones
- Custard: your thickened banana custard base
- Topping: whipped cream or meringue
Simple step by step
1. Slice bananas and layer them on the bottom of the cooled crust.
2. Pour the warm custard over the bananas and smooth the top.
3. Press plastic wrap directly onto the custard surface and chill at least 4 hours.
4. Top with whipped cream right before serving, or add meringue and lightly brown it if you prefer that classic diner style finish.
One note from experience: banana cream pie is best the day you make it. It still tastes good on day two, but the bananas can darken and soften more than you might like. If you want it pretty for guests, assemble it a few hours before serving.
Little extras that make it special
If I am feeling playful, I add a thin layer of crushed vanilla wafers between the bananas and the custard. Or I sprinkle the top with a few extra crumbs for crunch. Nothing complicated, just the kind of small touch people remember.
Common Questions
Can I make banana custard ahead of time?
Yes. It actually gets better after chilling. Make it up to 24 hours ahead, then add fresh banana slices right before serving if you want them to look their best.
How do I keep a skin from forming on top?
Press plastic wrap right onto the surface while it cools. That one step saves a lot of annoyance later.
Can I use low fat milk?
You can, but it will taste less rich. Whole milk gives the most classic texture and flavor.
What if my custard has little lumps?
Strain it through a fine mesh strainer while it is still warm. Nobody has to know, and it will be smooth again.
Do I have to use meringue?
Not at all. Whipped cream is easier, and honestly it is my weeknight choice.
A sweet, simple dessert you will make again
That is really all there is to it. Once you get comfortable with the thickening step, Homemade Banana Custard (Easy Vintage Recipe) becomes one of those back pocket desserts you can pull off anytime. Keep your bananas ripe, let the custard chill long enough, and do not rush the heat. If you want more classic inspiration, I like comparing notes with recipes like Old Fashioned Banana Pudding – Southern Bite because it reminds you how timeless this dessert really is. Go make a bowl, sneak a warm spoonful before it hits the fridge, and tell me you did not smile. 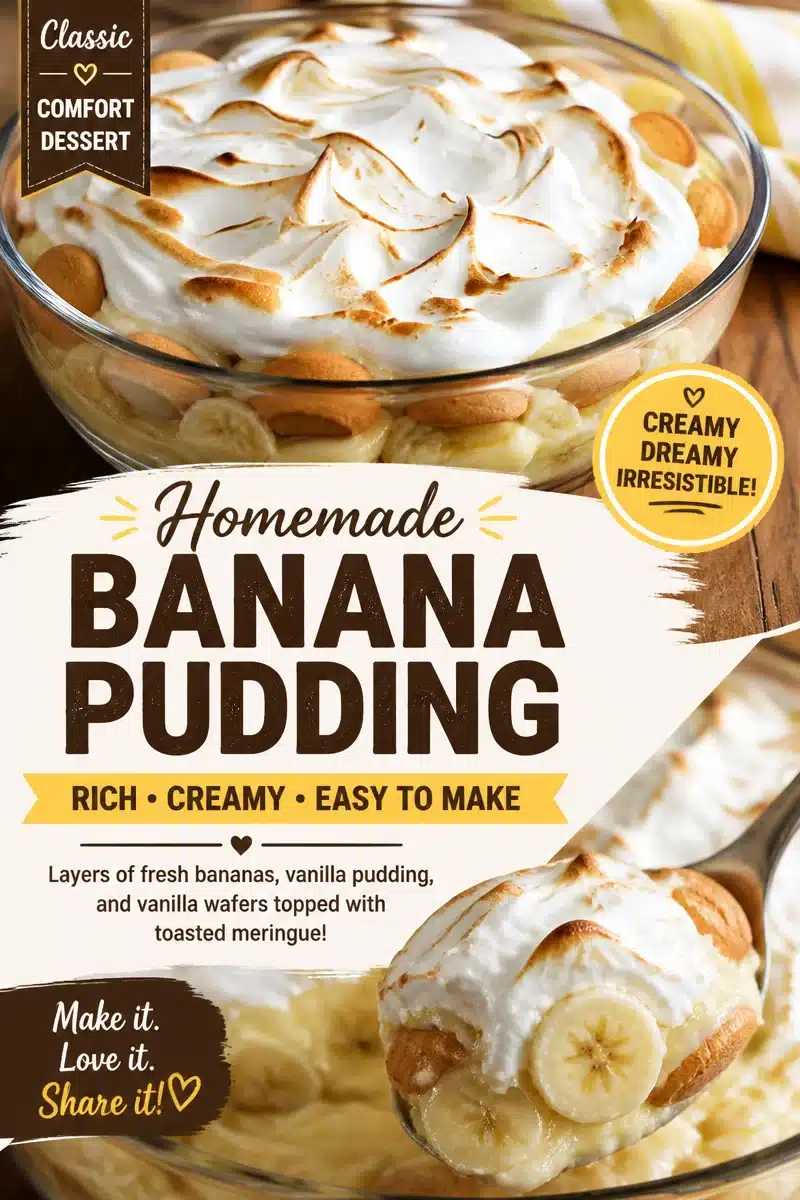
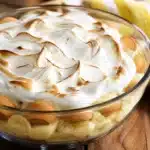
Homemade Banana Custard
- Total Time: 180 minutes
- Yield: 4 servings
- Diet: Vegetarian
Description
A cozy and creamy banana custard recipe that uses real bananas and a simple vanilla custard base for an authentic vintage flavor.
Ingredients
- 2 to 3 ripe bananas
- 2 cups whole milk
- 3/4 cup granulated sugar
- 3 egg yolks
- 1/4 cup cornstarch
- 1 tablespoon unsalted butter
- 1 tablespoon vanilla extract
- Pinch of salt
Instructions
- Warm the milk with sugar and salt in a pot.
- Whisk egg yolks with cornstarch and a splash of cold milk in a bowl.
- Slowly whisk the warm milk into the yolk mixture to temper it.
- Pour the mixture back into the pot and stir until thickened.
- Turn off the heat and add butter and vanilla, then allow to cool.
- Chill the custard in the refrigerator for at least 3 hours before serving.
Notes
For a twist, layer the custard with banana slices and vanilla wafers topped with meringue for a classic banana cream pie style.
- Prep Time: 15 minutes
- Cook Time: 15 minutes
- Category: Dessert
- Method: Chilling
- Cuisine: American