
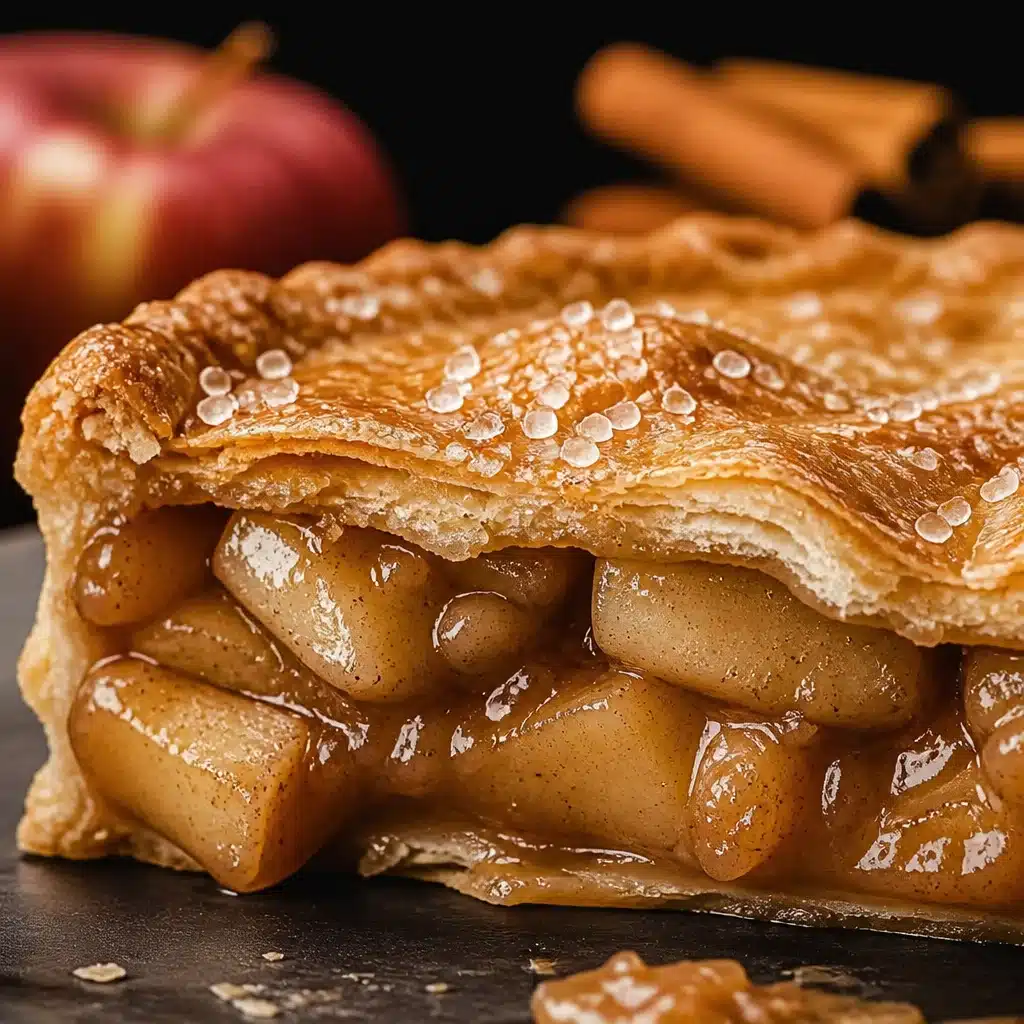
Homemade Apple No Bake Pie (Easy Vintage Recipe) is the kind of dessert you reach for when you want all the cozy apple pie vibes, but you do not want to turn on the oven or babysit dough. Maybe it is a hot day, maybe your oven is acting up, or maybe you just want something sweet that feels like it came from a church cookbook. This is my little throwback favorite: creamy, lightly spiced apples piled into a crisp crust, then chilled until sliceable. It tastes like fall, but you can make it any time. And yes, it is genuinely beginner friendly. 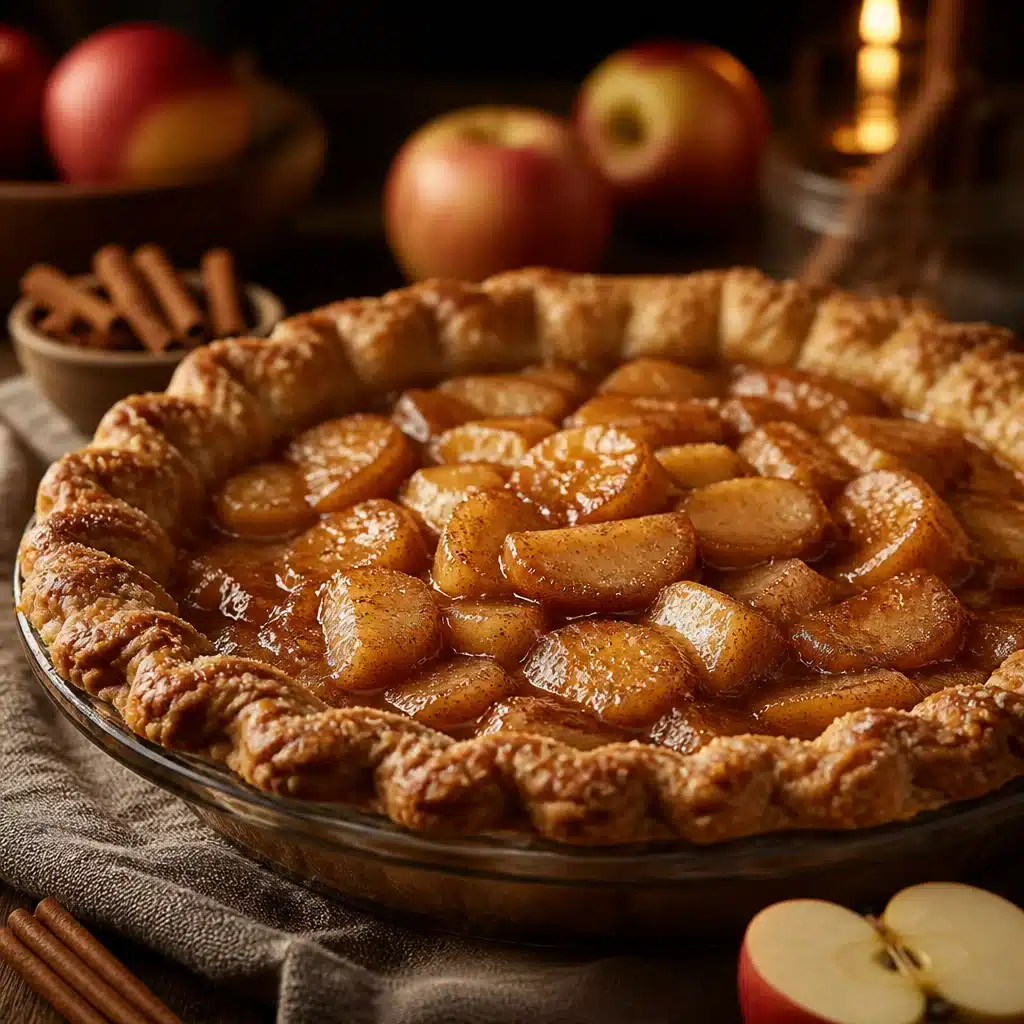
What ingredients will you need to make homemade apple pie?
This recipe keeps it simple on purpose. A no bake pie still needs a little structure, so we use a crust that sets up in the fridge and a filling that thickens as it cools.
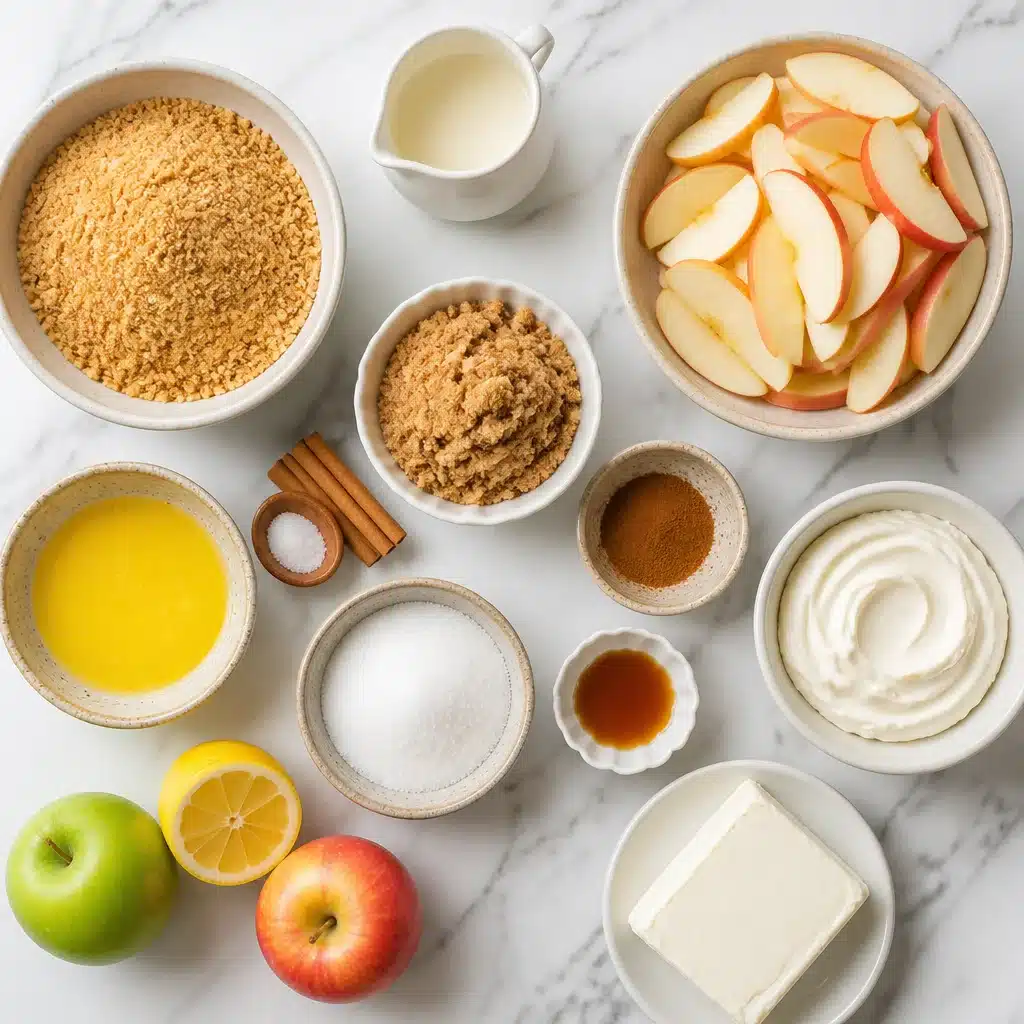
Here is what you will need for this Deliciously Easy Homemade Apple No Bake Pie (Vintage Style):
- Crust: graham cracker crumbs or crushed vanilla wafers, melted butter, a little sugar, pinch of salt
- Apples: peeled and sliced thin (more on best apples below)
- Sweetener: brown sugar is my go to for that old fashioned flavor
- Spices: cinnamon, tiny pinch of nutmeg (optional), and a pinch of salt
- Thickener: cornstarch (this is what keeps it from turning into apple soup)
- Liquid: apple juice or water, plus a spoon of lemon juice to brighten it up
- Creamy layer: whipped topping or real whipped cream, plus cream cheese if you want it richer
- Optional fun: caramel drizzle, toasted pecans, extra cookie crumbs on top
If you are the kind of person who loves no bake desserts, you might also like these no-bake caramel latte pie cups. They have that same chill and serve vibe, just with coffee shop energy.
One thing I learned the hard way: slice your apples thin and keep them pretty even. Thick chunks take longer to soften and can make slicing the pie messy.
Best apples for pie
Since we are not baking this Deliciously Easy Homemade Apple No Bake Pie (Vintage Style), you want apples that soften nicely on the stovetop but still keep a bit of bite. If they turn to mush, your filling can feel more like applesauce, and that is not what we are going for.
My favorite apples for this recipe:
Granny Smith for tartness and structure, plus Honeycrisp for sweetness and good texture. Using two kinds makes it taste more like a real bakery style apple pie filling.
Good options if that is what your store has: Fuji, Pink Lady, or Braeburn.
Apples I usually avoid here: Red Delicious. They can get mealy, and the flavor just does not pop.
Also, quick tip: if your apples are super sweet, ease up on the sugar. You can always drizzle caramel on top later and nobody will complain.
If you are in a citrus mood another day, these no-bake orange cream pie cups are a fun change of pace and still keep that vintage dessert feeling.
“I made this for my mom because she loves old-school desserts, and she actually asked for the recipe. The apple filling set up perfectly and it sliced like a dream.”
Tips for making the perfect flaky pie crust
Okay, confession: a truly flaky traditional crust usually means baking and rolling dough. But for a no bake pie, we are going for a crust that is crisp, buttery, and holds together. That is the job. And honestly, when it is chilled properly, it gives you that satisfying bite that feels pretty close to the real thing.
My no bake crust rules that actually matter
1. Crush the crumbs finely. Big chunks make the crust fall apart when you slice.
2. Use enough butter. Butter is the glue. If your crust looks sandy and dry, add another spoon of melted butter.
3. Press it firmly. I use the bottom of a measuring cup and really pack it in, especially around the sides.
4. Chill it. Give it at least 30 minutes in the fridge, or 15 minutes in the freezer if you are in a hurry.
Want a chocolate version of a no bake pie sometime? This no-bake chocolate mascarpone pie is ridiculously good and feels a little fancy without being hard.
One more thing: if you want a slightly sturdier crust, mix in a spoon of finely chopped nuts or use vanilla wafers instead of graham crackers. It leans more “retro diner dessert,” in the best way.
How to make apple pie from scratch
This is the part where you realize it is way easier than you expected. You are basically making a quick stovetop apple pie filling, letting it cool, then folding in a creamy layer and chilling the whole thing until it slices clean.
Simple step by step directions
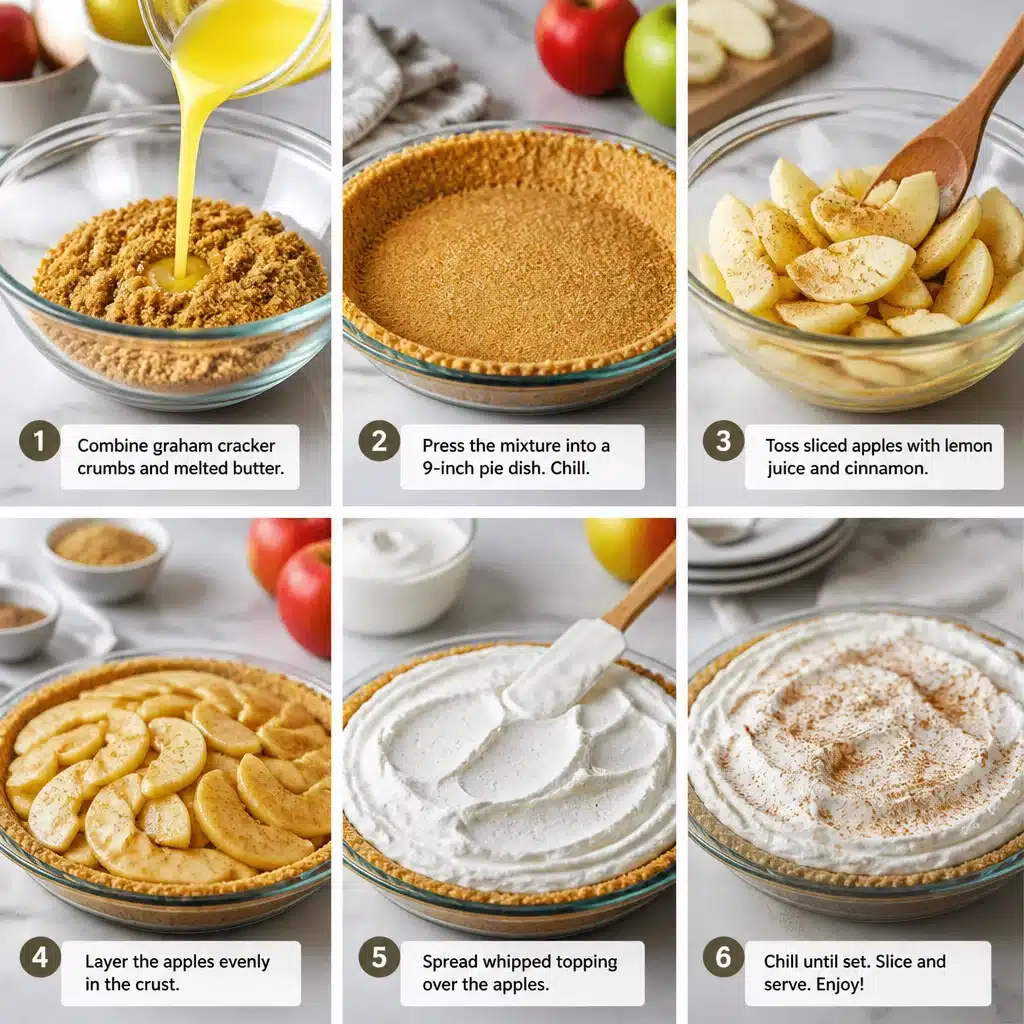
Step 1: Make the crust. Mix crumbs, sugar, salt, and melted butter. Press into a 9 inch pie dish. Chill while you work on the filling.
Step 2: Cook the apples. Add sliced apples to a pan with brown sugar, cinnamon, and a pinch of salt. Pour in apple juice or water, then cook over medium heat until the apples start to soften, about 6 to 10 minutes depending on thickness.
Step 3: Thicken it. Stir cornstarch with a spoon of cold water in a small cup, then pour it into the pan. Keep stirring for 1 to 2 minutes. The filling should look glossy and thick, not watery. Add lemon juice at the end.
Step 4: Cool it down. This matters. If you put hot filling into the crust, everything gets soggy. I spread the filling on a plate for faster cooling, or just let it sit 20 to 30 minutes.
Step 5: Add the creamy layer. You can keep it super simple and use whipped topping, or do my favorite blend: beat 4 ounces cream cheese with 2 tablespoons sugar, then fold in 1 to 1 1/2 cups whipped topping. Spread this in the crust first.
Step 6: Fill and chill. Spoon cooled apples over the creamy layer. Cover and refrigerate at least 4 hours, overnight is even better.
Serving tip: Right before serving, add caramel drizzle, extra cinnamon, or a handful of toasted pecans. This is where it starts feeling like your “signature dessert.”
When you slice, wipe your knife between cuts. It sounds fussy, but it makes the slices pretty, and pretty slices taste better. That is just science.
How to prep apple pie ahead of time
This Deliciously Easy Homemade Apple No Bake Pie (Vintage Style) is basically made for making ahead, which is one reason I love it for family dinners and holidays. It needs chill time anyway, so you are not scrambling at the last minute.
Make ahead game plan
1 day ahead: Make the full pie, cover it well, and refrigerate. The flavor gets even better, and the filling sets nicely.
2 days ahead: I recommend making the crust and apple filling, keeping them separate in the fridge. Assemble the day before serving for the best crust texture.
Freezing: I do not love freezing the fully assembled pie because the creamy layer can weep when thawed. If you really want to freeze something, freeze the crust by itself and wrap it tightly.
Keep it fresh: Cover the pie with plastic wrap or a lid. Try not to leave it uncovered in the fridge or it can pick up fridge smells, like onion. Been there, regretted that.
Also, if you are serving a crowd, you can double the filling and make two pies, or turn it into a pan dessert. Same concept, just easier to scoop.
Common Questions
Can I use canned apple pie filling?
Yes, you can. It will be sweeter and softer than homemade, but it saves time. If you use canned, add a squeeze of lemon to wake up the flavor.
How long does it need to chill before slicing?
At least 4 hours. Overnight is best if you want really clean slices.
What if my filling looks runny?
It usually means it did not cook long enough after adding cornstarch, or it went into the pie while still hot. Simmer a minute longer next time and cool it fully.
Can I make it without the creamy layer?
Totally. Just spoon the cooled apples straight into the crust. It will taste more like a chilled apple tart.
How long will leftovers last?
About 3 days in the fridge, covered. The crust softens over time, but it is still tasty.
A sweet little wrap up before you bake nothing
If you want a cozy dessert without the oven, this Deliciously Easy Homemade Apple No Bake Pie (Vintage Style) is the move: simple crust, quick stovetop apples, fluffy creamy layer, and lots of chill time to do the work. Once you make it, you will see why it feels so vintage and so reliable. If you are craving a classic baked version too, I love this reference for techniques and flavor ideas: Easy Old-Fashioned Apple Pie Recipe – Serious Eats. Now go grab some apples, clear a little fridge space, and make yourself the kind of dessert that makes people wander back into the kitchen for “just one more slice.” 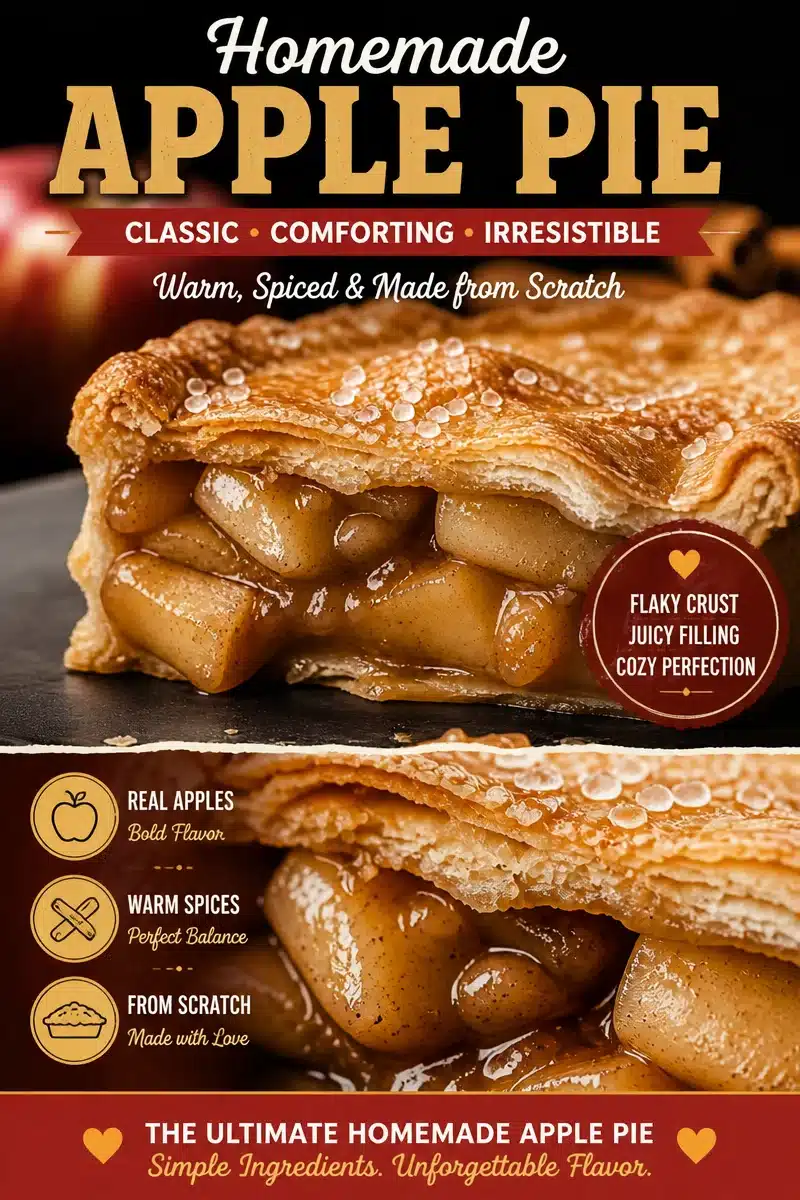
Homemade Apple No Bake Pie
- Total Time: 4 hours 25 minutes
- Yield: 8 servings
- Diet: Vegetarian
Description
A cozy and easy no bake apple pie with creamy spiced apples and a crisp graham cracker crust, perfect for any occasion.
Ingredients
- 1 ½ cups graham cracker crumbs or crushed vanilla wafers
- ½ cup melted butter
- 2 tablespoons sugar
- Pinch of salt
- 4 cups apples, peeled and sliced thin (Granny Smith and Honeycrisp recommended)
- ⅓ cup brown sugar
- ½ teaspoon cinnamon
- Pinch of nutmeg (optional)
- 1 tablespoon cornstarch
- ¼ cup apple juice or water
- 1 tablespoon lemon juice
- 1 cup whipped topping or real whipped cream
- 4 ounces cream cheese (optional)
- Caramel sauce (optional, for drizzle)
- Toasted pecans (optional)
- Extra cookie crumbs (optional)
Instructions
- Make the crust by mixing graham cracker crumbs, sugar, salt, and melted butter. Press into a 9-inch pie dish and chill while preparing the filling.
- Cook the apples in a pan with brown sugar, cinnamon, and a pinch of salt. Add apple juice or water and cook over medium heat until softened, about 6 to 10 minutes.
- Stir cornstarch with a spoon of cold water, then pour into the pan. Cook for 1 to 2 minutes until thick and glossy, then add lemon juice.
- Cool the filling for 20 to 30 minutes to avoid a soggy crust.
- Combine whipped topping with cream cheese and sugar, if using, then spread in the chilled crust.
- Spoon the cooled apple filling over the creamy layer, cover, and refrigerate for at least 4 hours or overnight.
Notes
Chill the pie for at least 4 hours before serving for the best texture. Add toppings just before serving for added flavor.
- Prep Time: 15 minutes
- Cook Time: 10 minutes
- Category: Dessert
- Method: No-Bake
- Cuisine: American