
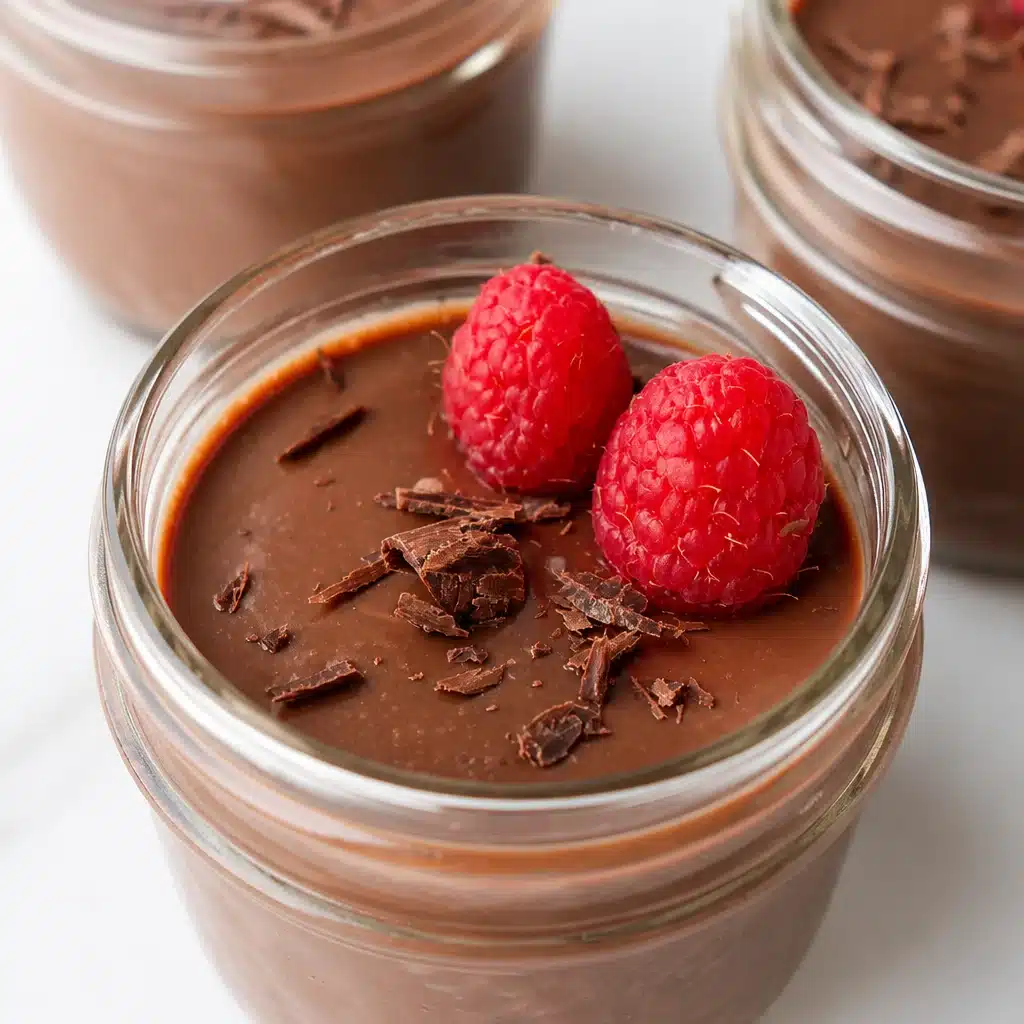
– Homemade Chocolate Custard (Easy Vintage Recipe) is my answer to those nights when you want something cozy and chocolatey, but you do not want to bake a whole cake. You know the feeling: the kitchen is quiet, you are poking around the fridge, and nothing sounds right except a spoon and a creamy dessert. This is the kind of treat that feels like it came from an old recipe box, the one with smudged cards and little notes in the margins. It is simple, it is comforting, and it tastes way fancier than the effort it takes. If you have cocoa, milk, and a few basics, you are already halfway there. 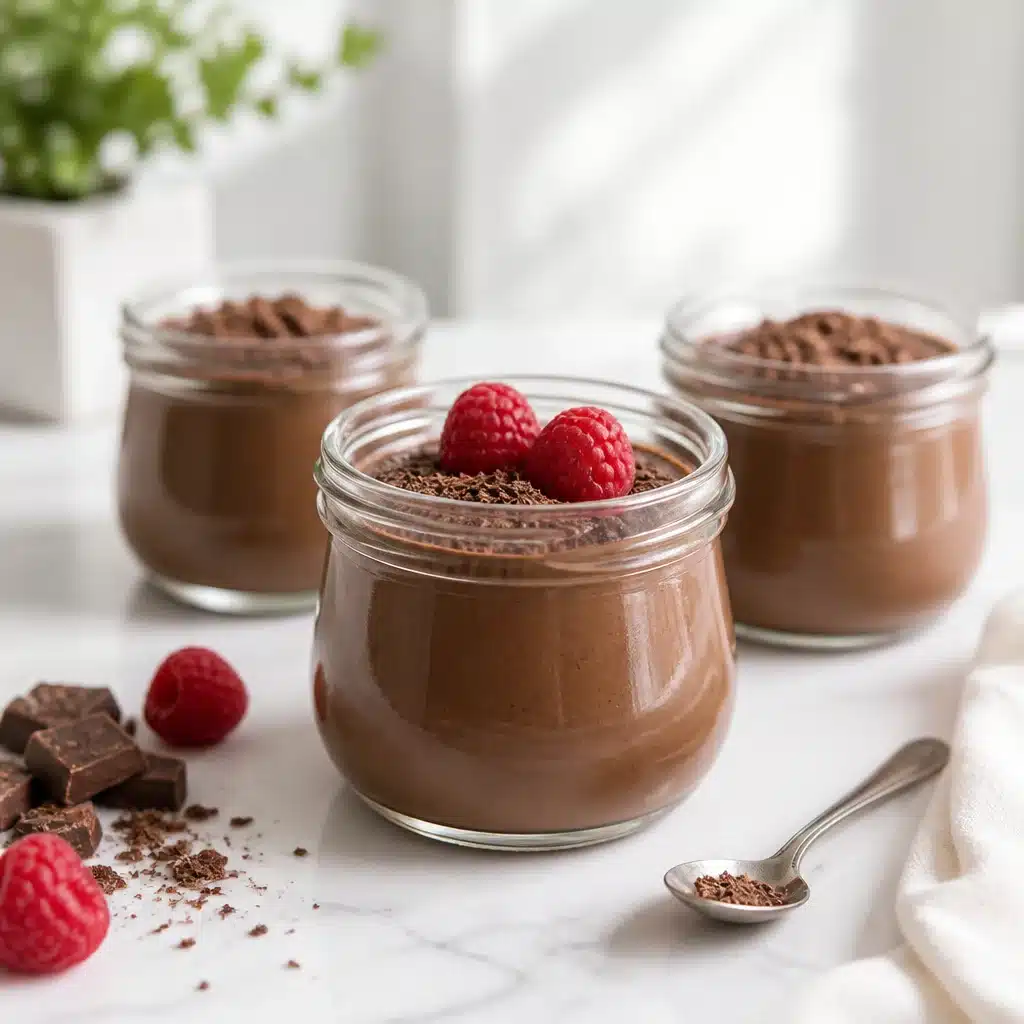
Why You Need to Make This Recipe
I make this when I want chocolate comfort without a big production. This dessert is basically a warm hug in a bowl, and it hits that sweet spot between pudding and custard. The texture is smooth, creamy, and rich, but it is not heavy in a way that makes you regret dessert.
Also, let us be honest, store bought pudding cups are fine, but they never taste like real cocoa and vanilla. When you make Homemade Chocolate Custard yourself, you control everything. More chocolate? Done. Less sugar? Easy. Extra vanilla because you feel like it? Absolutely.
Here is why it is worth your time:
- Fast comfort: it comes together in about 15 minutes on the stove.
- Basic ingredients: nothing weird, nothing hard to find.
- Vintage vibes: it tastes like the desserts people used to make when a simple treat was the best treat.
- Good warm or cold: you can eat it right away or chill it for later.
If you are the kind of person who always keeps chocolate chips around, you might also love these cookie moments. I have been known to serve custard and cookies together when I want a full dessert plate, like these amaretto chocolate chip cookies for a slightly grown up, bakery style vibe.
About the Recipe
This is a stovetop custard, which just means you cook it gently until it thickens. No oven. No water bath. No complicated steps. The only thing it asks of you is a little attention while it heats up.
I call it a vintage delight because it is the kind of recipe your grandma might have made when she wanted something sweet but did not want to turn the oven on. It is also a great way to use up milk before it gets too close to its expiration date.
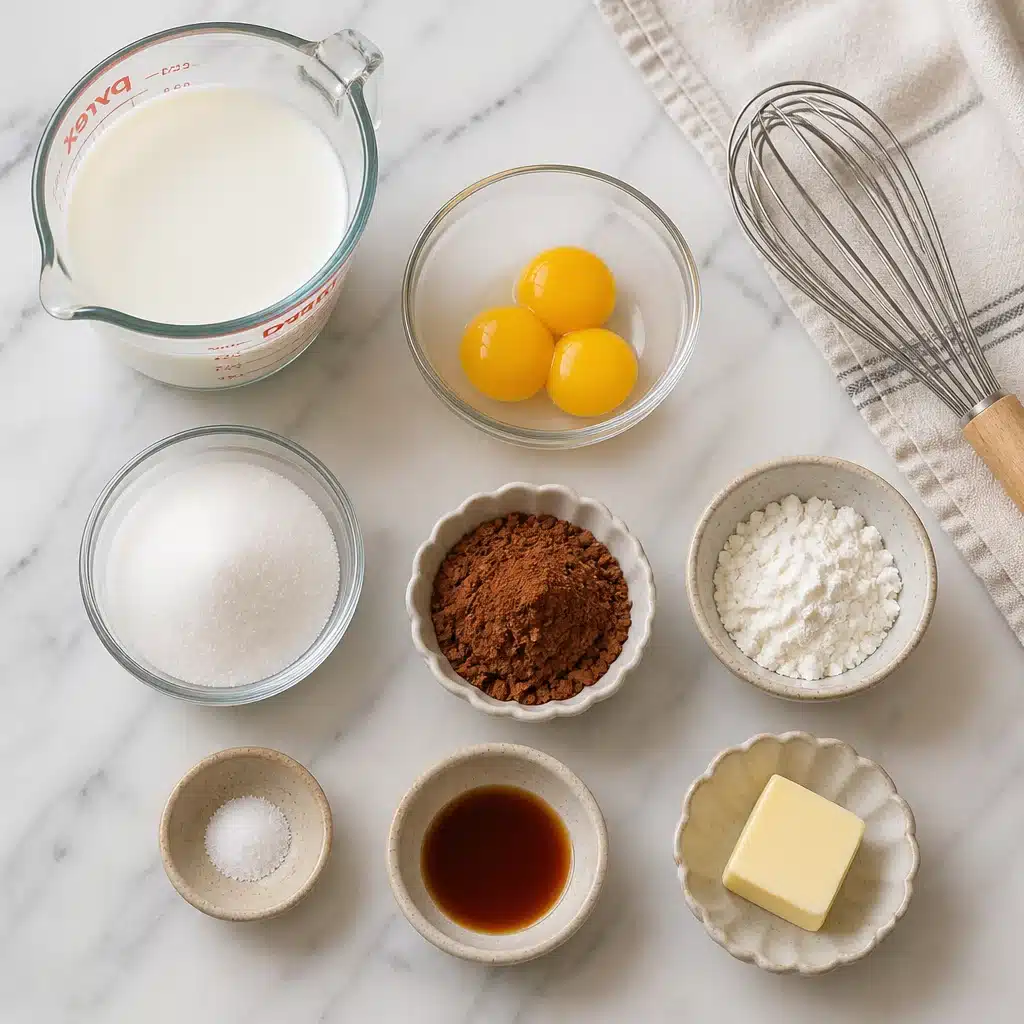
What you will need
- 2 cups whole milk (you can use 2 percent, it will just be a bit less rich)
- 3 egg yolks
- 1 third cup sugar (adjust to taste)
- 3 tablespoons unsweetened cocoa powder
- 2 tablespoons cornstarch
- Pinch of salt
- 1 teaspoon vanilla extract
- 1 tablespoon butter (optional, but it makes it glossy and extra cozy)
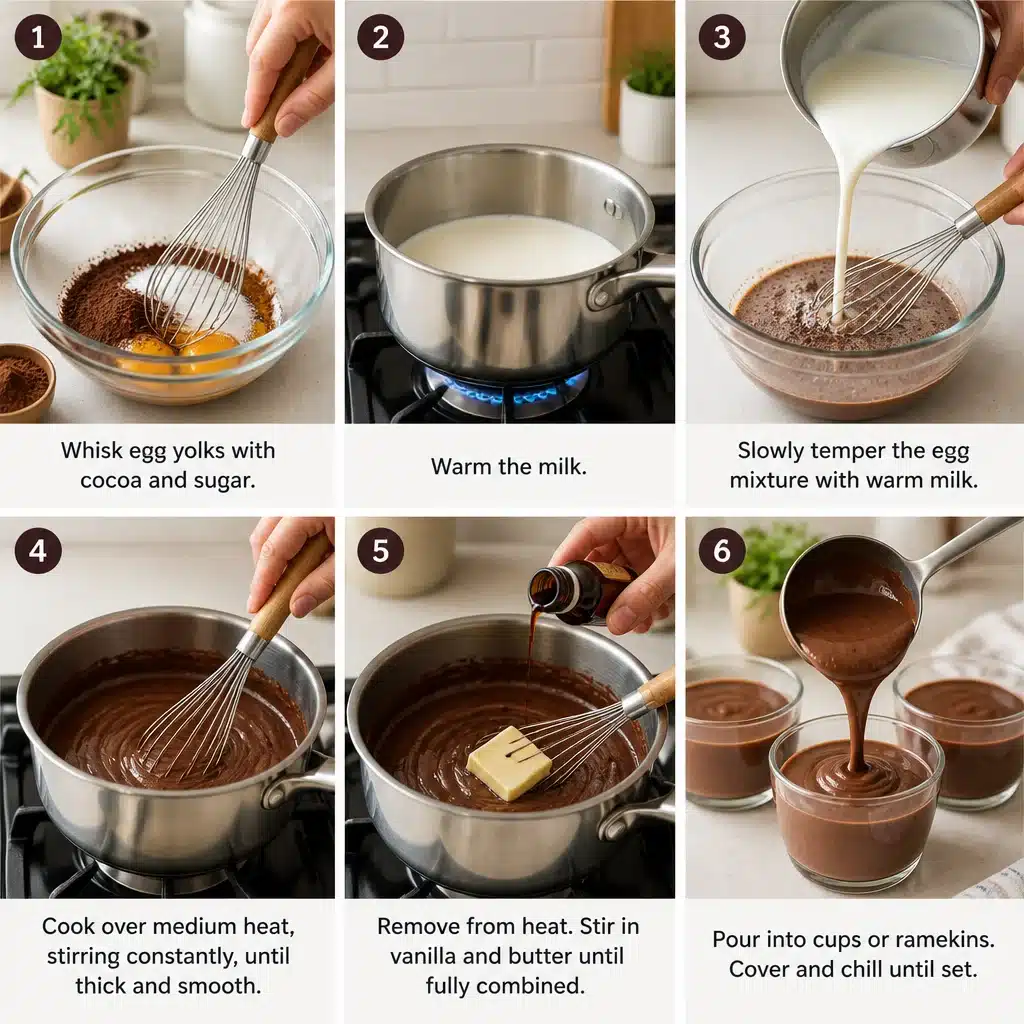
How I make it at home
I do this in one saucepan and one bowl. Nothing fancy.
- In a bowl, whisk the egg yolks, sugar, cocoa powder, cornstarch, and salt. It will look thick at first.
- Warm the milk in a saucepan over medium heat until it is hot but not boiling. You should see steam and tiny bubbles around the edges.
- Slowly pour a splash of the hot milk into the egg mixture while whisking. Keep whisking and add another splash. This step keeps the eggs from scrambling.
- Pour everything back into the saucepan. Cook while whisking gently but constantly until it thickens. This usually takes 4 to 7 minutes.
- Once it is thick enough to coat a spoon, take it off the heat. Stir in vanilla and butter if using.
- Pour into cups. Eat warm or chill for 2 hours for a colder, firmer spoonful.
This is the part where your kitchen starts smelling like brownies, and suddenly everyone in the house is wandering in asking what you are making.
“I made this for my kids and my husband said it tasted like the chocolate pudding his mom used to make. We ate it warm the first night and cold the next day, and it was perfect both times.”
If you want to turn it into a full dessert spread for friends, I love pairing it with something creamy and fluffy too. This amaretto mascarpone mousse with shaved chocolate is a fun one for when you want that restaurant feel without leaving your kitchen.
Expert Tips
I have made Homemade Chocolate Custard enough times to learn what matters and what does not. This is not a stressful recipe, but a few small habits make it nearly foolproof.
Little things that make a big difference
Whisk like you mean it. You do not need to whisk aggressively, but you do need to keep it moving so the bottom does not thicken too fast.
Do not boil it. A hard boil can make the texture grainy. Keep it at a gentle heat and be patient.
Use real vanilla. Even a basic vanilla extract makes the chocolate taste deeper and more balanced.
Want it darker? Add a little more cocoa or a small handful of chopped dark chocolate at the end and stir until it melts.
Hate the skin on top? Press plastic wrap directly on the surface while it chills. That is the easiest fix.
And if it does get a tiny bit lumpy, do not panic. Strain it through a fine mesh sieve and nobody will ever know.
One more idea: if you are serving this for a small gathering, put out crunchy toppings so people can customize. Toasted almonds, crushed cookies, shaved chocolate, or even a spoon of whipped cream makes it feel special. Speaking of almonds, if you are in a cookie mood later, these almond ricotta chocolate chip cookies are so good with a creamy dessert on the side.
More Dessert Recipes
Once you have Homemade Chocolate Custard down, you can play with it without changing the whole method. This is where the vintage recipe turns into your recipe.
Here are a few easy twists I have actually tried:
Mocha custard: dissolve 1 teaspoon instant coffee in the warm milk before you combine everything.
Orange chocolate: add a tiny bit of orange zest at the end. Keep it light so it does not taste like perfume.
Mint chocolate: use a drop or two of peppermint extract, but please be careful because peppermint can take over fast.
Peanut butter swirl: add a spoonful of peanut butter on top while it is still warm, then swirl it in.
Honestly, the base is so solid that you can keep it classic and it will still be the first bowl scraped clean.
You Might Also Like
If you are the kind of person who loves old school stovetop desserts, this one will fit right in. I keep coming back to Homemade Chocolate Custard when I want something dependable, comforting, and not too sweet.
Common Questions
1. Can I make it ahead of time?
Yes. It keeps well in the fridge for about 3 days. The flavor is even better the next day.
2. Can I use non dairy milk?
You can, but choose something creamy like oat milk. The texture may be a little lighter.
3. Why did my custard turn runny?
Usually it just needed a couple more minutes on the heat. It should thicken while hot, not only after chilling.
4. How do I stop lumps from happening?
Temper the eggs slowly and keep whisking once it is back in the pan. If lumps happen anyway, strain it and move on.
5. Can I freeze it?
I do not recommend it. Freezing can make it watery and grainy when it thaws.
A sweet little send off from my kitchen
If you have been craving something simple and chocolatey, make a batch tonight and see how cozy it feels. Homemade Chocolate Custard is one of those recipes that proves dessert does not need to be complicated to be memorable. Keep it warm and comforting or chill it for that classic pudding cup vibe, either way it is a win. If you want another similar idea to compare or riff on, I also like checking out Homemade Chocolate Custard – Knead Some Sweets for extra inspiration. Let me know how you top yours, because I am always looking for new excuses to add whipped cream and shaved chocolate.

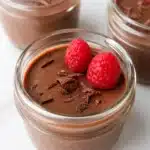
Homemade Chocolate Custard
- Total Time: 22 minutes
- Yield: 4 servings
- Diet: Vegetarian
Description
A simple, comforting stovetop chocolate custard that’s perfect for when you crave something chocolatey without baking a whole cake.
Ingredients
- 2 cups whole milk
- 3 egg yolks
- 1/3 cup sugar
- 3 tablespoons unsweetened cocoa powder
- 2 tablespoons cornstarch
- Pinch of salt
- 1 teaspoon vanilla extract
- 1 tablespoon butter (optional)
Instructions
- In a bowl, whisk the egg yolks, sugar, cocoa powder, cornstarch, and salt.
- Warm the milk in a saucepan over medium heat until it is hot but not boiling.
- Slowly pour a splash of the hot milk into the egg mixture while whisking.
- Pour everything back into the saucepan.
- Cook while whisking gently but constantly until it thickens (4 to 7 minutes).
- Once thick enough to coat a spoon, take it off the heat.
- Stir in vanilla and butter if using.
- Pour into cups. Eat warm or chill for 2 hours.
Notes
Serve warm or chilled, and customize with toppings like whipped cream or shaved chocolate.
- Prep Time: 15 minutes
- Cook Time: 7 minutes
- Category: Dessert
- Method: Stovetop
- Cuisine: American