
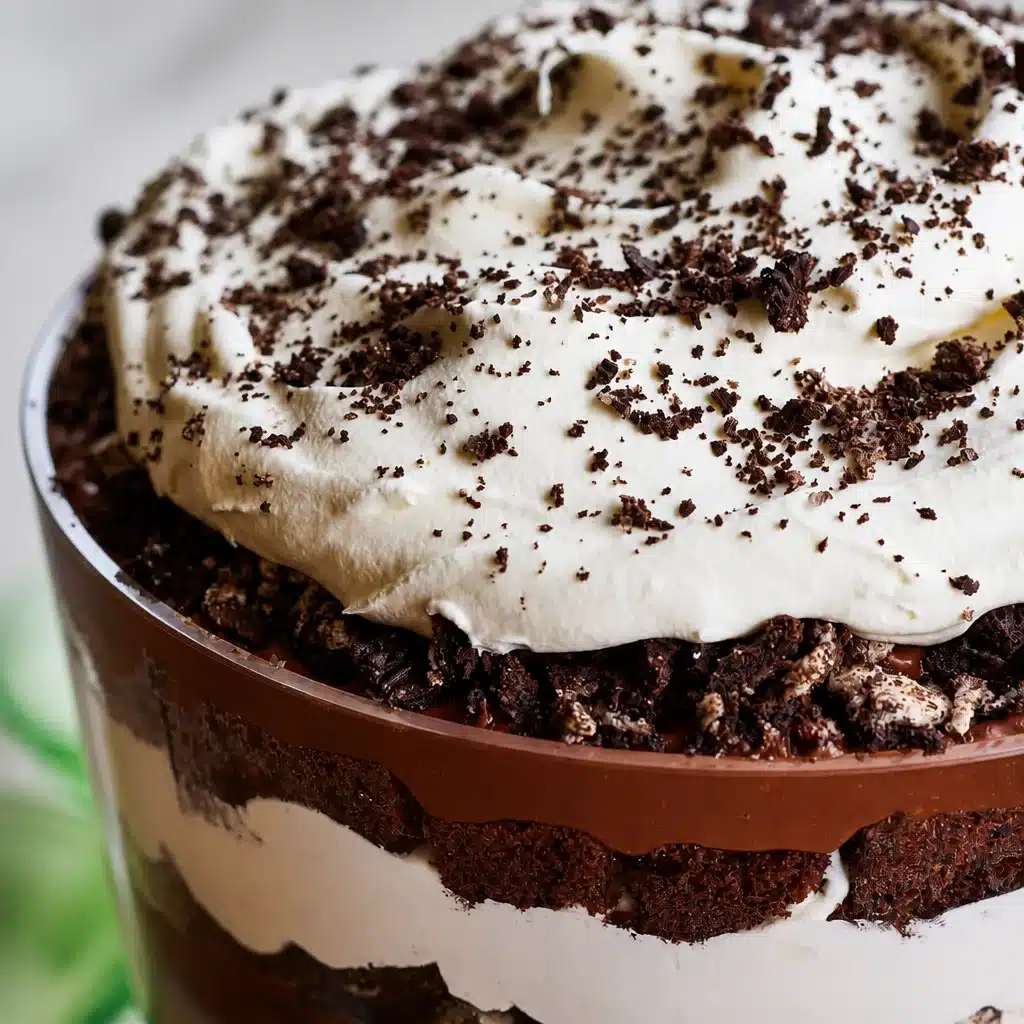
Classic Chocolate Trifle Recipe (Easy Layered Dessert) is my go to fix for those moments when you need something fun and chocolatey, but you do not want to babysit an oven. Maybe you promised to bring dessert, maybe you had a long week, or maybe you just want a spoonful of comfort after dinner. This is the kind of treat that looks like you worked hard, even if you put it together in under an hour. It is layered, creamy, and a little dramatic in the best way. And honestly, it is hard to mess up, which is my favorite kind of recipe. 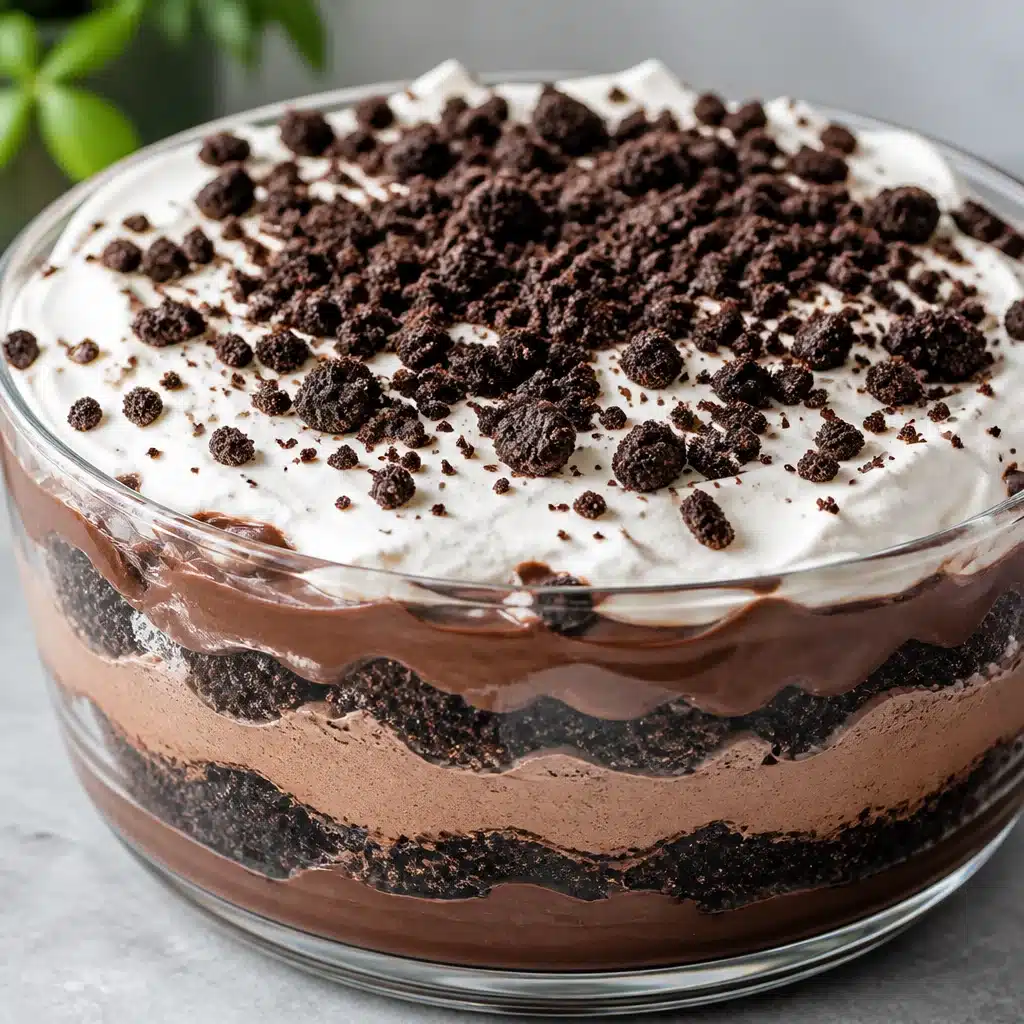
Why Youll Love It
If you have ever stared into the fridge thinking, I need dessert but I need it easy, this one is for you. A chocolate trifle hits that sweet spot between homemade and effortless. It is also one of those desserts that makes people hover around the serving bowl waiting for seconds.
Here is why this is on repeat in my house:
- No fancy skills needed, just layering and a little patience while it chills.
- Perfect party dessert because it serves a crowd and looks gorgeous in a clear bowl.
- Easy to customize depending on what you have, from brownie chunks to cookies.
- Tastes even better later once the layers settle and soften.
I also love that you can make it feel seasonal. In winter I go heavier on rich chocolate and whipped cream. In summer I add berries for a fresher bite. If you are in a cozy Italian dessert mood, you might also like this sweet classic that is fun for celebrations: classic struffoli recipe.
Key Ingredients in Chocolate Trifle
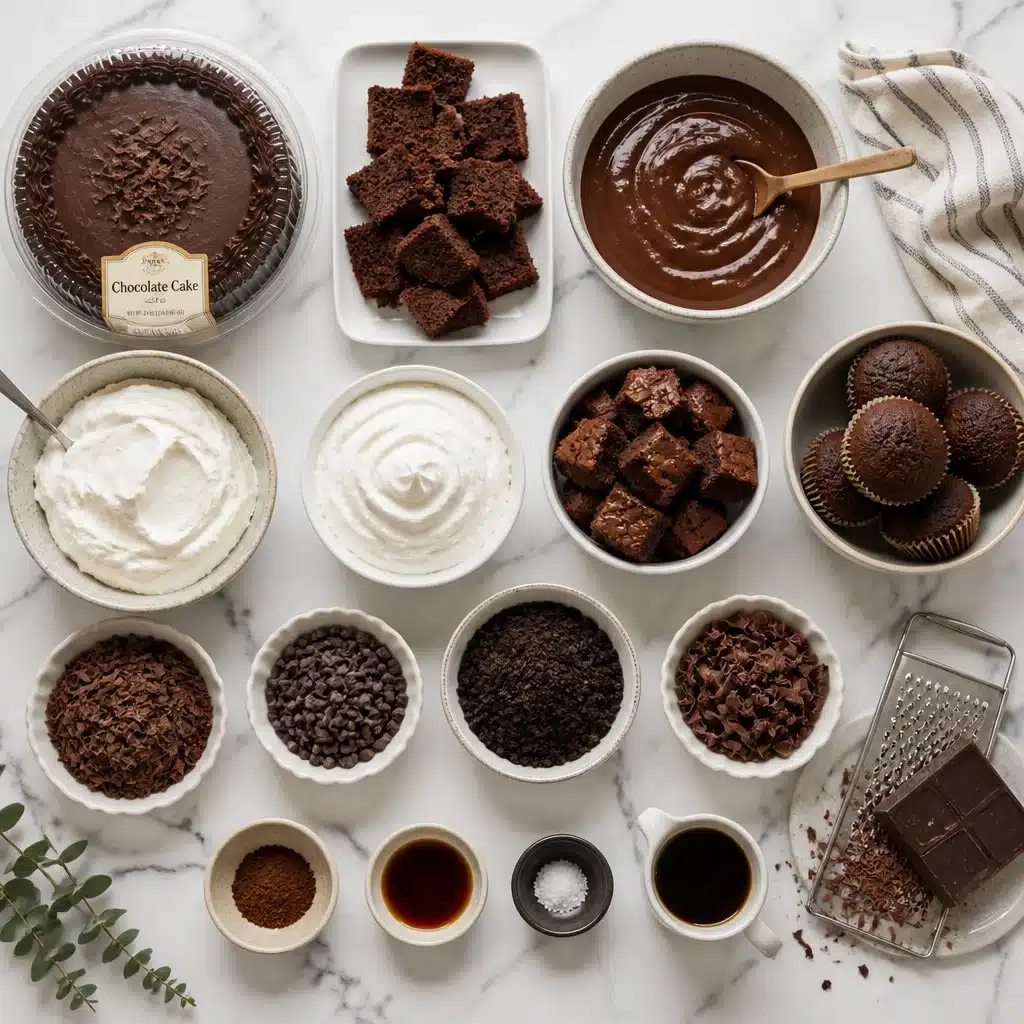
The magic is in the layers, but the ingredient list is simple. I am sharing my favorite version, the one I make when I want that classic chocolate shop vibe without the hassle.
What you will need
- Cake or brownie base: store bought chocolate cake, leftover sheet cake, brownies, or even chocolate muffins cut into chunks.
- Chocolate pudding: homemade or instant. I usually do instant when life is busy.
- Whipped cream: homemade whipped cream is dreamy, but thawed whipped topping works too.
- Chocolate add ins: shaved chocolate, mini chips, crushed cookies, or chocolate curls.
- Optional extras: espresso powder, vanilla extract, a pinch of salt, or a splash of coffee to soak the cake.
One quick note on quality: since there are not many ingredients, each one matters. Pick a pudding you actually enjoy eating by the spoonful. Same with the cake. If your cake is a little dry, that is not a deal breaker. It will soften while it chills, which is kind of the whole charm.
I sometimes toss in a few crunchy cookie pieces for texture. If you want another sweet bite to bake alongside this for a cookie tray, these are genuinely addictive: almond ricotta chocolate chip cookies. I have definitely crumbled one over the top of trifle before and felt like a genius.
How to Layer a Chocolate Trifle
This part is where it gets satisfying. You are basically building a dessert lasagna, but sweet and way more exciting. The best tip I can give is to use a clear bowl so you can see the layers. A big glass trifle dish is great, but a deep glass mixing bowl or even a large jar works in a pinch.
Step by step layering (my easy method)
1. Start with cake or brownie chunks. I cut them into bite sized pieces. Press them gently so you get an even layer, but do not pack them down too much.
2. Add a pudding layer. Spoon it on and spread it out to the edges. If your pudding is thick, just go slow.
3. Add whipped cream. This is the fluffy break between rich layers. I like a generous layer here.
4. Sprinkle a little chocolate. Shaved chocolate or mini chips give you that extra pop.
5. Repeat. Keep layering until your bowl is full, ending with whipped cream on top.
If you want to level it up without much work, drizzle a little chocolate sauce over the final whipped cream layer, then finish with curls or crushed cookies. The top is what everyone sees first, so I always make it look a little extra, even if I am wearing sweatpants while doing it.
When I serve it, I use a big spoon and go deep so each scoop gets every layer. This is not a dessert for tiny delicate portions. People want a proper scoop.
“I made this for my daughter’s birthday and everyone thought it was from a bakery. The best part was I assembled it the night before and it was even better the next day.”
If you enjoy layered desserts like this, you will probably love a coffee flavored cousin too. This one is a staple when I want something that feels grown up but still easy: classic tiramisu recipe.
Helpful Swaps and Substitutions
This is where the chocolate trifle becomes your best friend. It is flexible, forgiving, and open to whatever you have in the pantry.
Easy swaps that still taste amazing
Base layer options:
If you do not have chocolate cake, you can use:
- Brownies (fudgy is best)
- Chocolate sandwich cookies (crushed or layered whole)
- Pound cake plus a little cocoa dusting
- Leftover cupcakes (vanilla works too if you add extra chocolate on top)
Pudding options: Chocolate is classic, but you can mix it up with chocolate fudge pudding, dark chocolate, or even vanilla pudding with cocoa mixed in. If you want a deeper flavor, whisk in a pinch of espresso powder. You will not taste coffee, it just makes chocolate taste more like itself.
Whipped cream options: For homemade, I whip heavy cream with a little powdered sugar and vanilla. For a lighter feel, you can fold a spoonful of Greek yogurt into whipped topping, but do not overdo it or it can get tangy.
Add ins: Chopped strawberries, raspberries, or cherries cut the richness. A tiny sprinkle of salt on the pudding layer is a low key game changer.
One more honest tip: if you are serving kids, skip any strong coffee soak and stick to milk or chocolate milk brushed on the cake. Still delicious, no complaints.
Make-Ahead and Storage Tips
This dessert is basically built for make ahead. If you are hosting, this is the kind of thing that lets you relax, because dessert is already handled and sitting pretty in the fridge.
How far ahead can you make it? I like it best made 6 to 24 hours ahead. The cake softens, the flavors blend, and every spoonful turns into that creamy, layered bite you want.
How to store: Cover the bowl tightly with plastic wrap or a lid and refrigerate. It stays good for about 3 days, though the texture is best in the first two days. After that it is still tasty, just softer.
Can you freeze it? I do not recommend freezing a fully assembled trifle. The whipped cream can separate and the pudding gets weird when thawed. If you need to prep early, freeze the cake or brownies separately, then assemble later.
Serving tip: If you are bringing it to a party, keep it chilled as long as you can. A cold trifle holds its layers better and looks nicer when scooped.
Common Questions
Can I use instant pudding instead of homemade?
Yes, absolutely. Instant pudding is my usual choice when I want it quick. Just make sure it is fully set before you start layering so it does not slide around.
What is the best bowl to use if I do not have a trifle dish?
Any clear glass bowl works, even a large salad bowl. In a pinch, you can do it in individual cups or mason jars, which is honestly adorable for parties.
How do I keep the layers neat?
Use thicker pudding, chill between layers if your kitchen is warm, and spread each layer to the edges. Also, do not rush the whipped cream layer, that is the one that makes it look clean.
Can I make this gluten free?
Yes. Use gluten free brownies or gluten free chocolate cake. Everything else is naturally easy to keep gluten free, just check labels on pudding mix and toppings.
What if my trifle turns out too sweet?
Add fresh berries between layers, use unsweetened whipped cream, or sprinkle a little cocoa powder on top. A tiny pinch of salt also helps balance sweetness.
A sweet finish and a little nudge to try it
If you want a dessert that looks impressive but feels totally doable, this Classic Chocolate Trifle Recipe is the one to keep in your back pocket. It is simple layers, big chocolate flavor, and it actually gets better after a chill in the fridge. Next time you need an easy crowd pleaser, give it a try and make it your own with whatever cake, cookies, or toppings you love. If you want another good reference point, I have also enjoyed checking out Easy Chocolate Trifle Recipe | The Kitchn for extra ideas on layering and toppings. Now go grab a spoon, because this is not the kind of dessert that waits politely.
Print
Classic Chocolate Trifle
- Total Time: 60 minutes
- Yield: 8 servings
- Diet: Vegetarian
Description
An easy layered dessert that’s fun, chocolatey, and perfect for any occasion. Just layer and chill for a delicious treat.
Ingredients
- Store-bought chocolate cake or brownies, cut into chunks
- Instant chocolate pudding
- Whipped cream (homemade or thawed whipped topping)
- Chocolate add-ins (shaved chocolate, mini chips, crushed cookies, or chocolate curls)
- Optional: espresso powder, vanilla extract, pinch of salt, or coffee for soaking
Instructions
- Start with a layer of cake or brownie chunks in a clear bowl.
- Add a pudding layer by spooning it and spreading it to the edges.
- Add a generous layer of whipped cream.
- Sprinkle chocolate add-ins over the whipped cream.
- Repeat the layers until the bowl is full, finishing with whipped cream on top.
Notes
Best made 6 to 24 hours ahead for optimal flavor and texture. Can be customized with different bases and toppings.
- Prep Time: 15 minutes
- Cook Time: 0 minutes
- Category: Dessert
- Method: No-Bake
- Cuisine: American