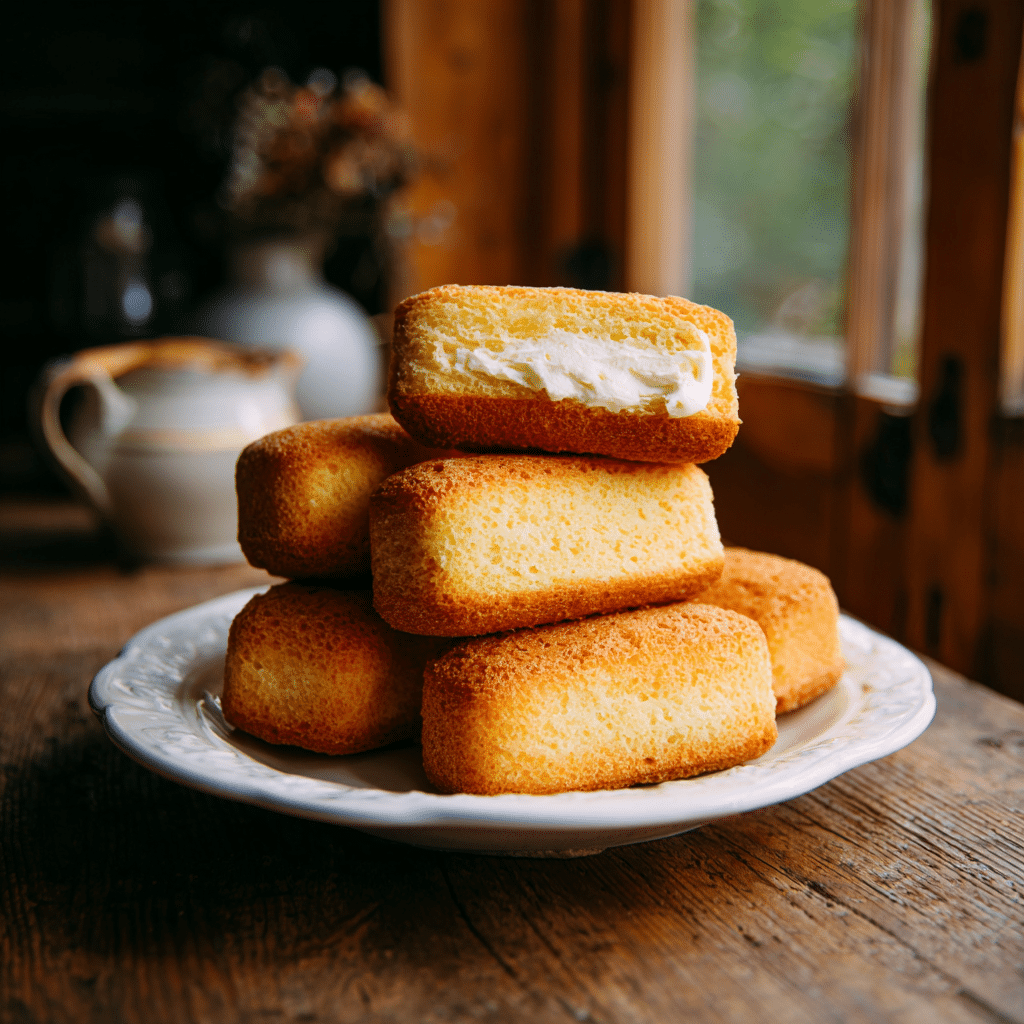
There’s something irresistible about Homemade Twinkies especially when they taste even better than the ones from the store shelf. Growing up in Louisville, Kentucky, I remember peeling open those bright yellow wrappers with my mom in the kitchen nearby, the scent of vanilla already teasing my nose. But as the years went on, I wanted a version that felt more… well, real. That’s how this recipe came to be a buttery sponge cake with a tender crumb and a sweet cream filling that hits just the right nostalgic note. It’s the kind of food that wraps you up in comfort, and at Gemmir Kitchen, that’s exactly what I aim for every time I tie on my apron.
At 58, I’ve traded packaged snacks for home-baked ones, and I wouldn’t go back for anything. Just like with my banana pudding or cobbler recipes, these Twinkies are simple, satisfying, and made with pantry basics. You don’t need fancy tools or a special pan to pull this off just a little guidance, a steady hand, and a love for food that feels like a hug. Whether you’re baking with kids or just craving a sweet throwback, this one’s for you.
Print
Homemade Twinkies That Taste Better Than the Original
- Total Time: 45 mins
- Yield: 10 Twinkies
- Diet: Vegetarian
Description
These homemade Twinkies are light and citrusy with a delicate orange sponge and filled with smooth American buttercream. They’re easy to make at home and far more delicious than the packaged version.
Ingredients
3/4 cup + 2 Tbsp (110g) all-purpose flour
3/4 cup (150g) granulated sugar, divided
1 tsp baking powder
1/2 tsp kosher salt
3 eggs, separated, at room temperature
1/4 cup (60ml) mild flavored oil (vegetable or olive oil)
1/4 cup (60ml) fresh squeezed orange juice
1 tsp orange zest
1 tsp vanilla extract
2 additional egg whites, at room temperature
1/2 tsp cream of tartar
American Buttercream:
1 1/2 cups (180g) confectioners’ sugar
6 tbsp (83g) unsalted butter, at room temperature
1/2 tbsp vanilla extract
1/4 tsp almond extract
Pinch kosher salt
1–2 tbsp (15–30ml) heavy whipping cream
Instructions
1. Preheat oven to 350°F / 175°C. Lightly grease a nonstick hot dog-bun pan.
2. Whisk together flour, 1/2 cup sugar, baking powder, and salt. Set aside.
3. In another bowl, stir together egg yolks, oil, orange juice, zest, and vanilla.
4. Whisk dry ingredients into yolk mixture until smooth.
5. In a stand mixer, beat egg whites and cream of tartar to medium peaks. Slowly add remaining 1/4 cup sugar. Beat to stiff, glossy peaks.
6. Fold 1/3 of meringue into batter to loosen. Gently fold in remaining meringue.
7. Pipe batter into pan molds, filling each 2/3 full.
8. Bake 15–20 minutes until golden and tester comes out clean. Cool on parchment.
9. To make frosting, beat sugar and butter until combined. Beat to a thick paste.
10. Add vanilla, almond extract, salt. Mix well. Add cream slowly until spreadable.
11. Fill pastry bag with frosting. Pipe into cakes from the bottom, spacing every 1/2 inch.
12. Serve immediately or refrigerate up to 24 hours. Bring to room temp before serving.
Notes
Use a hot dog bun pan for authentic Twinkie shape.
Do not overfill batter in molds or they may overflow.
If you refrigerate, cover tightly to prevent drying.
- Prep Time: 25 mins
- Cook Time: 20 mins
- Category: Classic Cakes & Pies
- Method: Baked
- Cuisine: American
Table of Contents
Table of Contents
Bringing Back a Childhood Favorite: Why Homemade Twinkies Are Worth It
You don’t need to be a pastry chef to make a tender vanilla sponge cake from scratch, and you don’t need to be a food scientist to whip up a fluffy cream filling either. That’s the joy of homemade Twinkies they’re nostalgic, yes, but they’re also incredibly doable. And the flavor? It’s everything you remember, only fresher, richer, and somehow more comforting.
Most store-bought snacks are loaded with preservatives and flavorings that try to mimic real ingredients. Here, you’re using butter, vanilla, eggs, and cream the good stuff. That’s what sets this recipe apart, just like my slow-cooker meals or skillet dinners: real food made simple.
What Makes Homemade Twinkies So Much Better Than Store-Bought
Store-bought Twinkies may last forever, but let’s be honest they taste like it too. The homemade version is a different story. The sponge is soft and slightly springy, and the filling? Fluffy and lightly sweet, with no strange aftertaste. The balance of flavor and texture is what makes them so satisfying.
And if you’re thinking this recipe’s too much work, I promise it’s no more complicated than baking a weeknight cake or filling cupcakes. In fact, the process is part of the fun. You can even get creative and tweak the flavors add a touch of lemon zest to the cake or swap in marshmallow cream for an old-school twist.
It’s a perfect weekend project and a guaranteed crowd-pleaser. And who knows? After your first batch, you might just skip the snack aisle altogether.
The Building Blocks of Twinkie Perfection
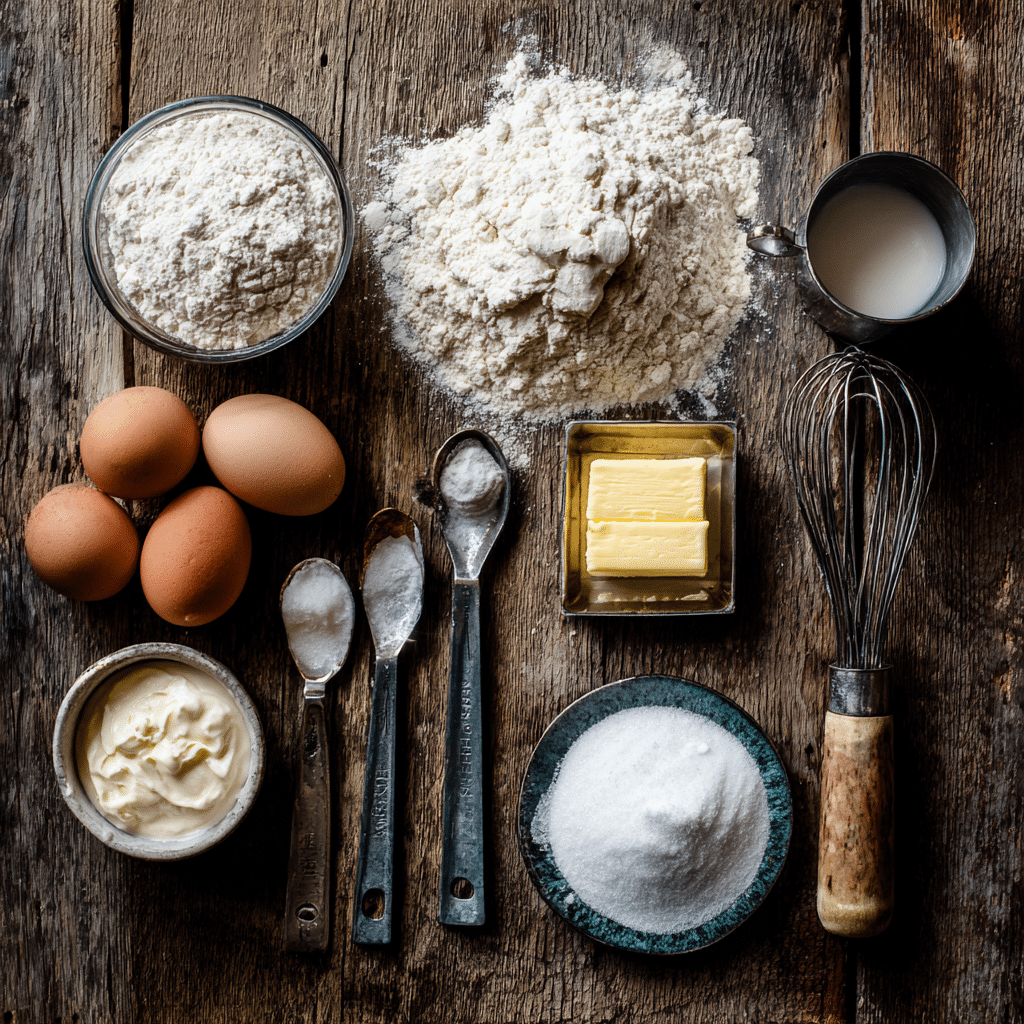
Essential Ingredients for Authentic Taste and Texture
The heart of any great homemade Twinkies recipe lies in the ingredients and the beauty is, you probably already have most of them in your pantry. While boxed versions rely on stabilizers and artificial flavorings, this from-scratch version uses real butter, eggs, and vanilla to bring out that iconic taste, the way you remember it from childhood (but better).
Here’s what you’ll need:
- Eggs (room temperature): They create the signature sponge cake texture and help the cake rise without baking powder.
- All-purpose flour: Keeps things light and tender.
- Granulated sugar: Adds sweetness and structure to the batter.
- Vanilla extract: For that unmistakable, warm flavor.
- Salt: Just enough to balance out the sweetness.
- Milk and butter: Warmed together, they keep the sponge soft and rich.
- Cornstarch (optional): A little in the flour blend helps make the cake even lighter.
For the filling, it’s all about texture:
- Marshmallow creme or cream cheese: For structure and that smooth, whipped texture.
- Powdered sugar: Sweet but not gritty.
- Butter: Adds richness.
- Heavy cream or whipped topping: Lightens everything up.
This recipe is as adaptable as your favorite creamy casseroles. If you’re dairy-free, sub in plant-based butter and whipped coconut cream. And if you’re out of cornstarch, just use cake flour or sift your AP flour a little longer.
The Best Pan Alternatives (Even If You Don’t Own a Twinkie Mold)
Now, let’s talk tools. Do you need a Twinkie pan? Nope. While they’re fun and make the perfect little boat shape, you can absolutely work with what you’ve got.
Here are some home-tested alternatives:
| Tool | Why It Works |
|---|---|
| Mini loaf pans | Closest in size and shape to classic Twinkies |
| Hot dog bun pans | Surprisingly perfect match for sponge cake texture |
| DIY foil molds | Shape foil around spice jars and place them in a muffin tin |
| Regular muffin tins | Great if you’re going for Twinkie “bites” instead of logs |
Just like with family-favorite skillet meals, you don’t need fancy equipment just some creativity. If you’re piping in the filling later, any squeeze bottle, piping bag, or even a zip-top bag with the corner snipped will do.
And don’t forget parchment paper lining your molds helps with easy removal, especially if you’re making your own.
Step-by-Step: Baking, Filling, and Assembling Twinkies at Home
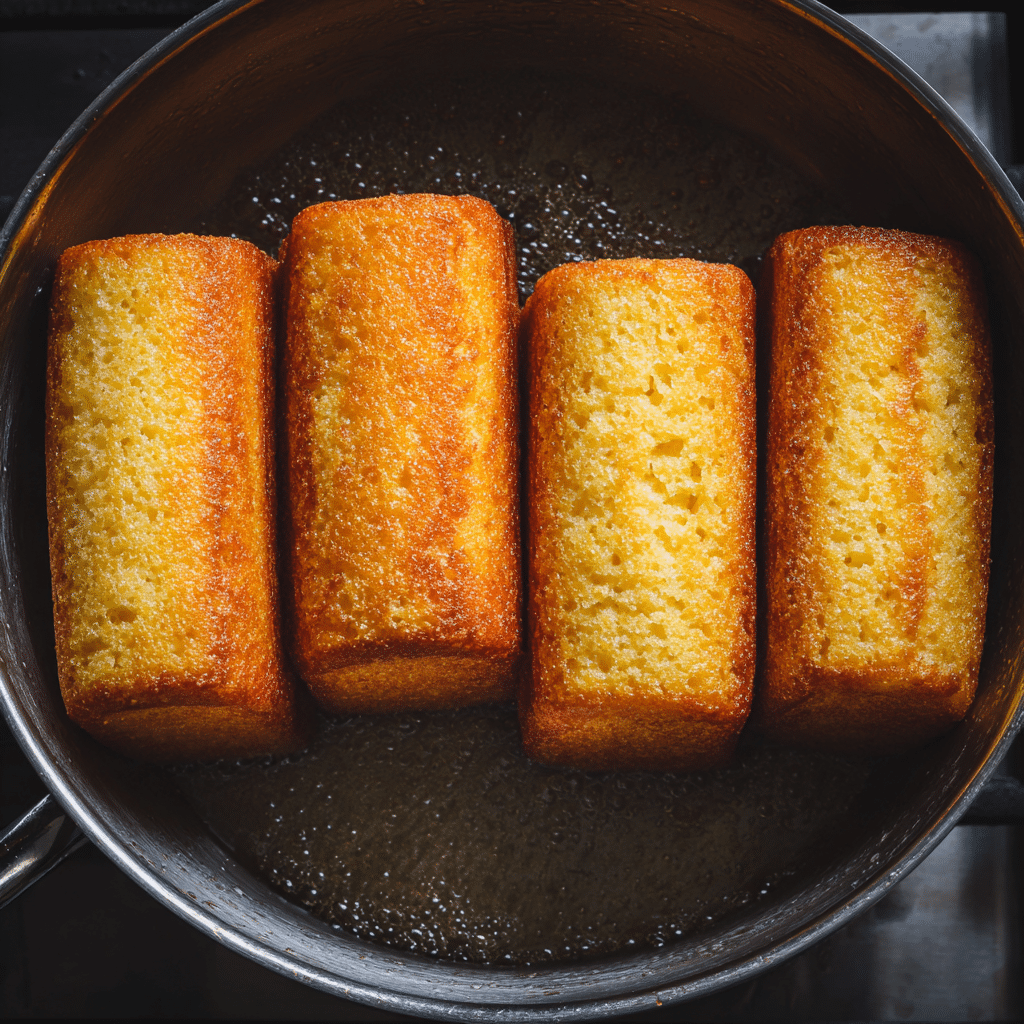
How to Make the Golden Sponge Cake Base Light and Fluffy
The secret to a true Twinkie-style sponge cake is air lots of it. You don’t need baking powder here. Just eggs, sugar, and patience. This cake is all about whipping those eggs until they’re pale and thick. That’s what gives the sponge its height and tender bounce.
Here’s how to make the batter:
- Start with the eggs. Separate 4 large eggs. Beat the yolks with sugar until pale and creamy, about 3–4 minutes.
- Whip the whites. In another bowl, beat the egg whites until they form soft peaks. This is where the fluff comes from.
- Warm your milk and butter. Just until melted then slowly whisk into the yolk mixture.
- Fold gently. Add the flour, a bit of cornstarch (if using), and finally the whites. Work slowly to keep the air in the batter.
- Fill your molds. Pour the batter about ¾ full into your prepared pans whether that’s a Twinkie pan, mini loaf pans, or foil molds.
- Bake at 350°F for 12–15 minutes until golden and just pulling from the sides. Let cool completely before filling.
Secrets to That Sweet Marshmallow Cream Filling and How to Pipe It Right
Now comes the fun part filling your homemade Twinkies with that fluffy, dreamy center. You can go two routes here: classic marshmallow creme or a cream cheese-whipped topping combo. Both give you that signature “pillowy” bite.
Filling Instructions:
- Beat softened butter and cream cheese (if using) until smooth.
- Add marshmallow creme and powdered sugar. Mix until light and fluffy.
- Thin it out slightly with a bit of cream or milk if it’s too stiff to pipe.
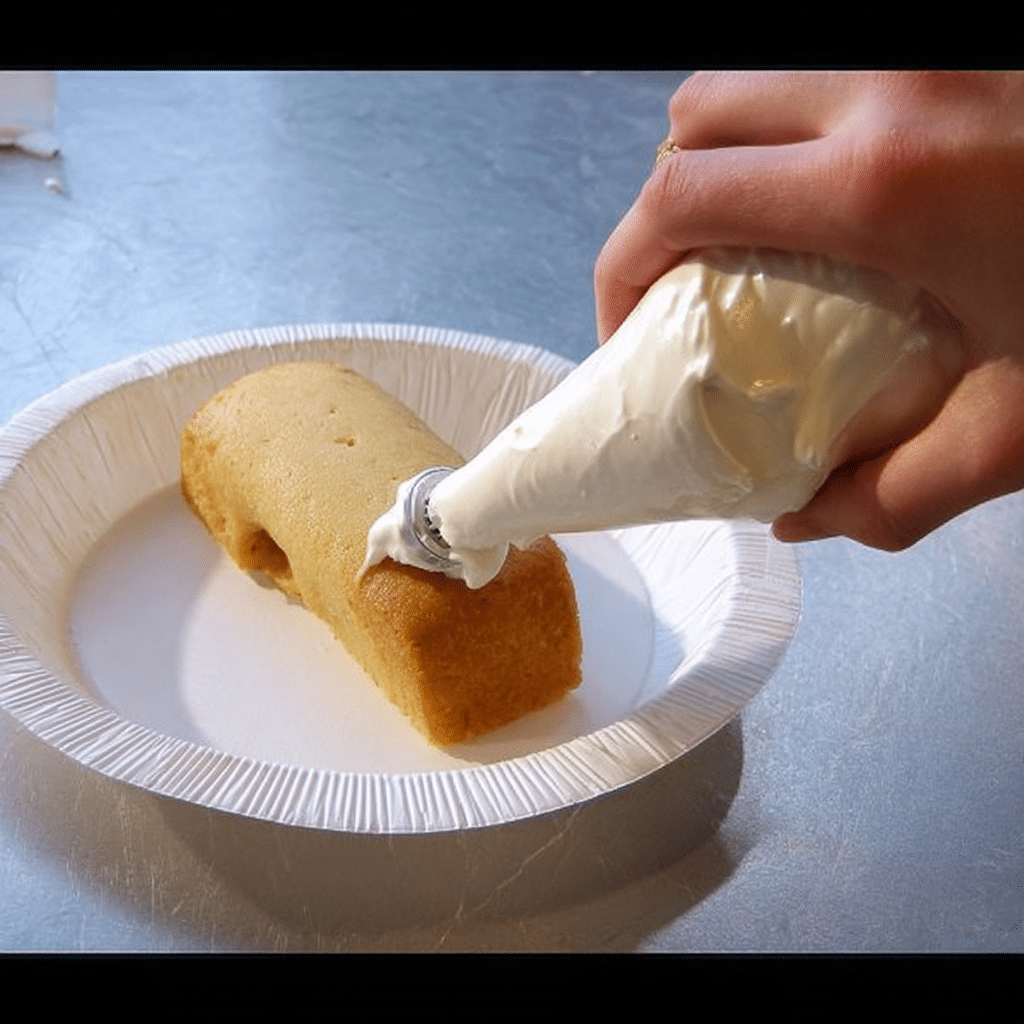
Next, load it into a piping bag or zip-top bag. Use a small round tip or snip a ¼-inch hole in the corner. Flip your cooled cakes upside down and insert the tip into three evenly spaced spots along the bottom. Gently squeeze until you feel a bit of resistance don’t overfill.
If your sponge cracks a little, no worries it’s part of the charm. At Gemmir Kitchen, I believe in food that’s imperfectly perfect, just like your favorite old-fashioned cobbler. The taste is what matters, and trust me, these homemade Twinkies bring big smiles.
How to Keep Homemade Twinkies Fresh (And Fun Twists to Try)
How Long Homemade Twinkies Last and How to Store Them
Unlike store-bought Twinkies that could probably survive an apocalypse, your homemade Twinkies are made with real butter, eggs, and cream which means they have a shorter shelf life, but way better flavor.
Here’s how to store them properly:
| Storage Method | How Long They Last | Notes |
|---|---|---|
| Room Temp (airtight) | 1–2 days | Best for short-term, especially if your filling is marshmallow-based. |
| Refrigerator | 4–5 days | Great if you used cream cheese or whipped cream. Keeps the filling firm. |
| Freezer | Up to 2 months | Wrap each Twinkie in plastic wrap, then store in a zip-top freezer bag. Thaw at room temp. |
Keep in mind, moisture is your enemy here so always let your Twinkies cool fully before wrapping or storing.
Creative Flavor Variations: Chocolate, Pumpkin Spice, and More
Once you’ve nailed the classic version, don’t be surprised if you start dreaming up all kinds of twists. Just like I do with my desserts and slow-cooker favorites, there’s no reason not to play with flavors and have some fun.
Here are a few tested variations:
- Chocolate Lover’s Dream: Add 2 tablespoons of cocoa powder to the flour mix, and use a chocolate buttercream filling.
- Pumpkin Spice Twinkies: Fold in ½ cup pumpkin puree and 1 tsp pumpkin spice. Great for fall.
- Lemon Cream: Add lemon zest to both the cake and the filling for a bright citrusy kick.
- Peanut Butter: Swirl a tablespoon of peanut butter into the filling for something kids go nuts for.
No matter which version you try, the key is balance keep that soft sponge texture and pipe just enough filling so it doesn’t burst. And if it does? That’s called a kitchen win at my house.
What are homemade Twinkies made of?
Homemade Twinkies are made from real, simple ingredients think eggs, flour, sugar, vanilla, and milk for the sponge cake. The filling is typically a blend of butter, powdered sugar, marshmallow crème, or cream cheese, whipped until fluffy. No preservatives, just old-fashioned goodness.
Can I make Twinkies without a special pan?
Absolutely. If you don’t have a Twinkie pan, use mini loaf pans, a hot dog bun pan, or even fashion molds out of foil. You can also bake them in muffin tins for a “Twinkie bite” twist. It’s all about the flavor and texture not the perfect shape.
How do you get the cream filling inside homemade Twinkies?
After baking and cooling the sponge cakes, flip them over and pipe the filling into three evenly spaced holes using a piping bag or zip-top bag with the corner snipped. Insert the tip into the bottom of the cake and squeeze gently until filled. It’s easy and kind of fun, too.
How long do homemade Twinkies last?
At room temperature, they’ll stay fresh for 1–2 days. Refrigerated, they’ll last up to 5 days, especially if the filling contains dairy. For longer storage, freeze them individually wrapped for up to 2 months. Thaw at room temp before serving.
Conclusion: Baking Homemade Twinkies Is a Win for Every Home Cook
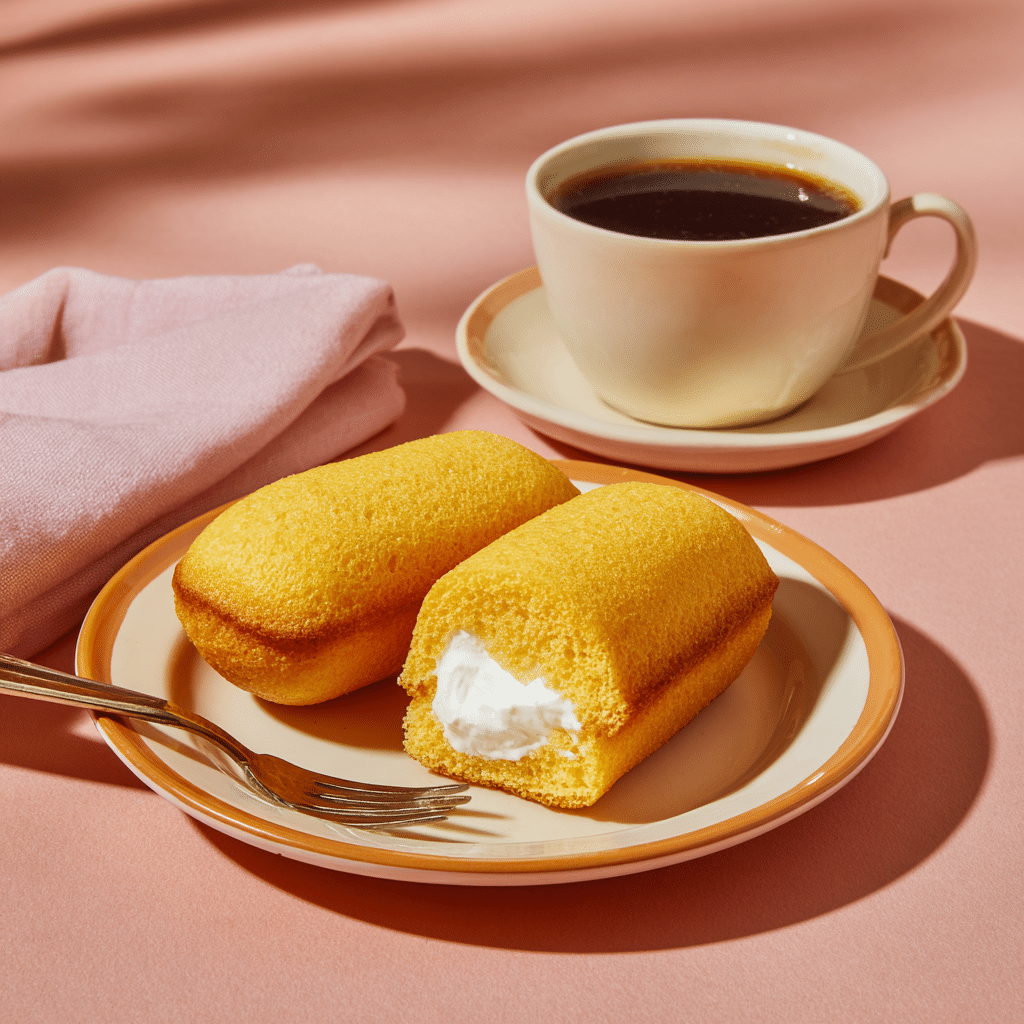
There’s something special about making homemade Twinkies. It’s not just about recreating a nostalgic snack it’s about slowing down and creating something comforting from scratch, just like we do here at Gemmir Kitchen. Whether you’re whipping up a quick skillet dinner or baking a batch of Twinkies for your grandkids, the goal is always the same: real food, made with love, in a real kitchen.
These Twinkies are soft, sweet, and simple, just the way I remember them from childhood but with a homemade touch that makes all the difference. You don’t need a commercial kitchen or a pastry degree. Just good ingredients, a steady hand, and a craving for something that tastes like a hug.
So go ahead skip the snack aisle and bake your own. And if you loved this recipe, you’ll probably enjoy a few others from my cozy kitchen, like a warm banana pudding, or a nostalgic fruit cobbler. Because comfort food should always feel this good.
If you try this recipe and love it, I’d be thrilled to see your Twinkie creations! Share your bakes with me over on Facebook it’s where I post behind-the-scenes peeks, comfort food tips, and cozy kitchen moments every week.
