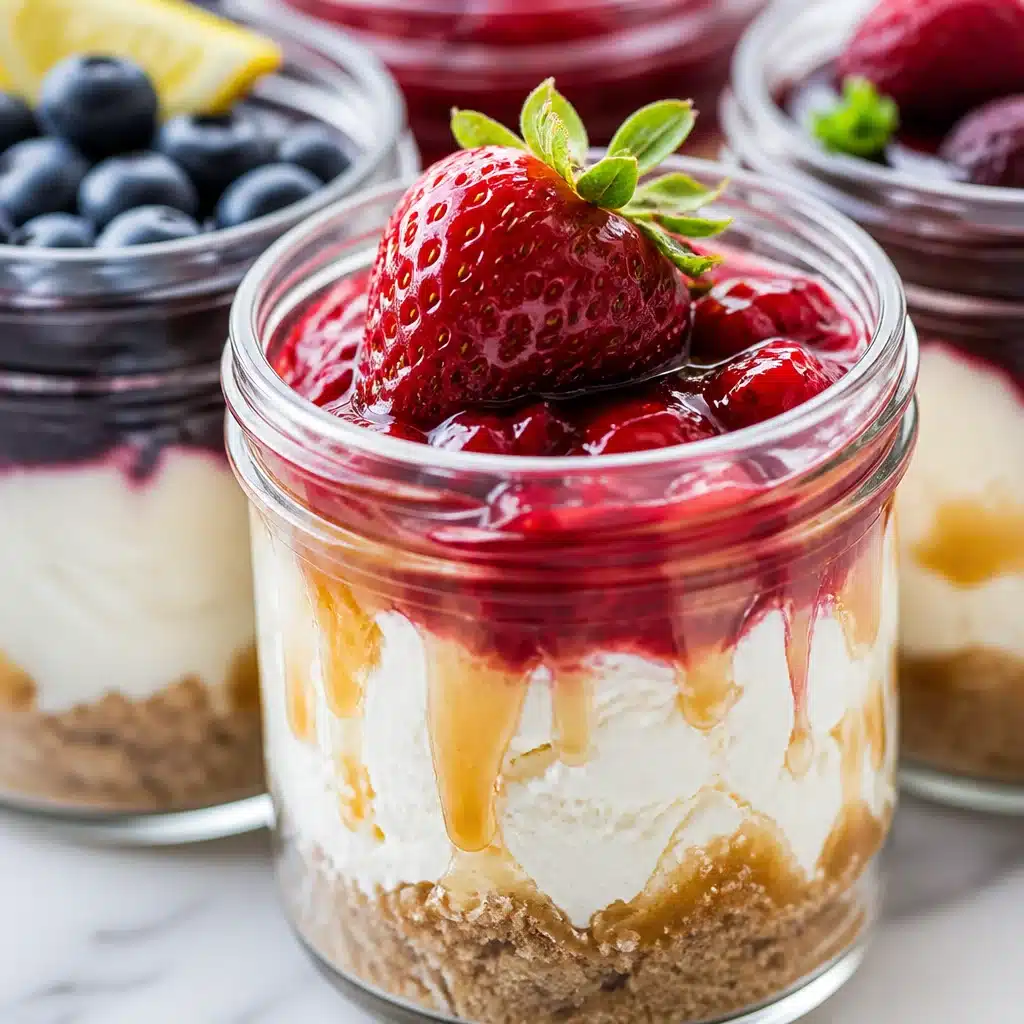
No-Bake Caramel Cheesecake Jars (Easy Dessert for a Crowd) are my go to when I need something cute, quick, and guaranteed to disappear fast. You know that moment when you realize you invited people over and now you have to feed them something sweet, but you do not want to turn the oven on? This is that fix. These jars feel a little fancy, but they are honestly super simple. You can make them ahead, stash them in the fridge, and pull them out right when everyone is hovering around the kitchen. Plus, everybody gets their own little jar, which weirdly makes any dessert feel extra special.
Why You’ll Love Individual No-Bake Cheesecake Jars
I started making Delicious No-Bake Caramel Cheesecake Jars for Your Next Gathering after bringing a full cheesecake to a party and watching it get smushed in the car. Never again. Jars solve everything. They are easy to transport, easy to serve, and there is no awkward slicing situation where the first piece falls apart.
Here is why they work so well for get togethers:
- Portion control without being stingy: each person gets a satisfying serving.
- No oven: your kitchen stays cool and your schedule stays flexible.
- Make ahead friendly: they taste even better after chilling.
- Easy topping bar: caramel, whipped cream, chocolate, nuts, fruit, you name it.
If you are planning a holiday weekend or a backyard hang, these fit right in with other easy crowd sweets. I keep a running list for those moments, and this round up is genuinely helpful: easy Memorial Day desserts for a crowd.
Ingredient Notes
Let us talk ingredients in real life terms, like what you can grab at a normal grocery store and what actually matters. I have tested a few versions, and this is the combo that gives you that creamy filling and a caramel flavor that does not get lost.
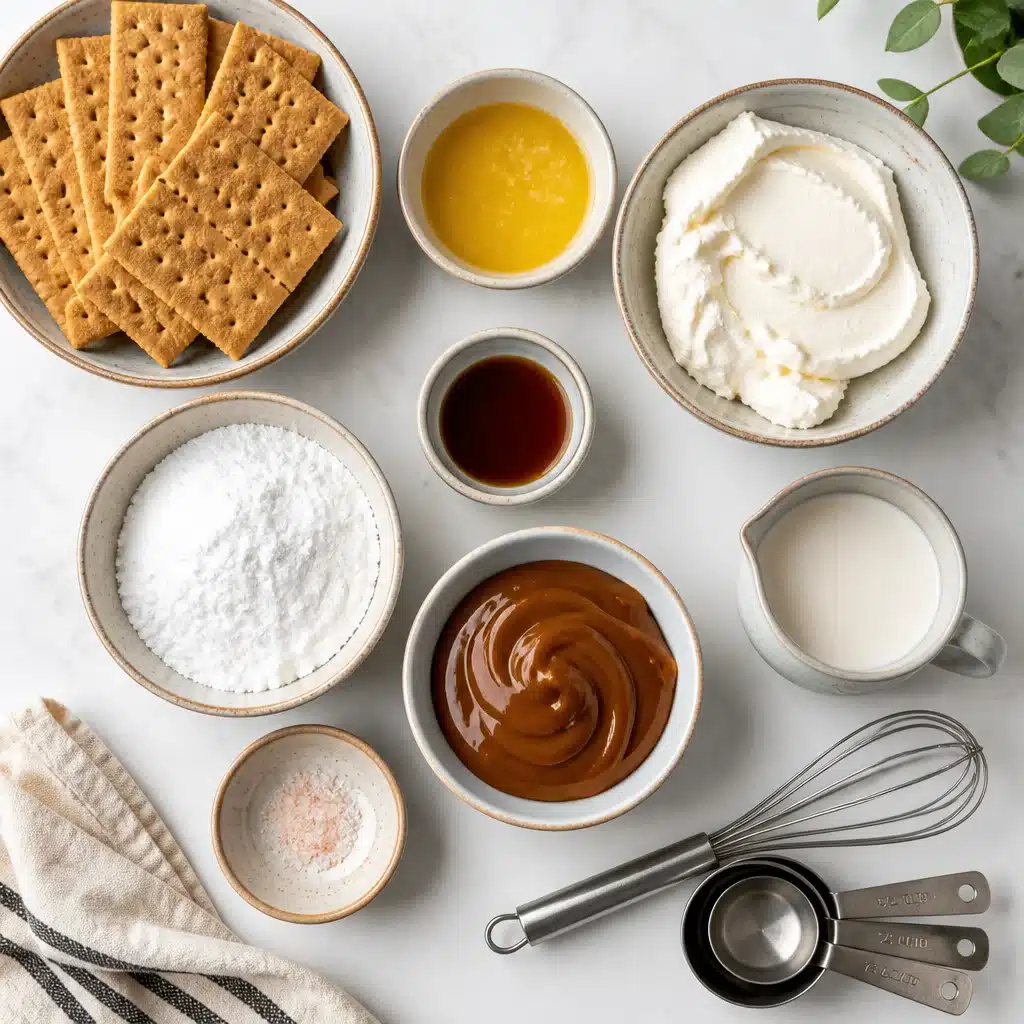
What you will need (and quick tips)
- Graham crackers: classic for the crust. You can swap in vanilla wafers or digestive biscuits if that is what you have.
- Melted butter: helps the crumbs stick. If your crust feels dry, add a tiny bit more.
- Cream cheese: full fat tastes best here. Let it soften so you do not end up with little lumps.
- Powdered sugar: sweetens without feeling gritty.
- Vanilla: a small thing that makes the filling taste like a real dessert, not just sweet cheese.
- Heavy cream: whipped and folded in for that light, fluffy cheesecake vibe.
- Caramel sauce: use a thick one you actually like the taste of. Store bought is totally fine.
- Pinch of salt: especially if your caramel is very sweet. It wakes everything up.
I usually do three layers: crumb crust, cheesecake filling, then caramel on top. Sometimes I add a second little spoon of filling so it looks extra cute through the glass. If you enjoy cozy, creamy desserts in general, you would probably like my other comfort style treats too, like this creamy almond dessert easy cozy comfort. Same relaxed energy, no stress.
Here is the simple method I follow every time:
1) Make the crust: Crush the graham crackers into fine crumbs. Stir in melted butter and a tiny pinch of salt. Spoon into jars and press down gently with the back of a spoon.
2) Whip the cream: Whip heavy cream until it holds soft peaks. It should look fluffy and scoopable, not runny.
3) Mix the filling: Beat softened cream cheese with powdered sugar and vanilla until smooth. Add a couple spoonfuls of caramel sauce and mix again.
4) Fold and fill: Fold whipped cream into the cream cheese mix. Spoon or pipe into jars.
5) Top it off: Drizzle caramel sauce on top. Chill at least 3 hours, overnight is even better.
“I made these for my book club and everyone thought I bought them from a bakery. The caramel layer was the favorite part, and I loved that I could prep them the night before.”
Best Jars for Cheesecake Jars
You do not need anything fancy, but the jar size does change the vibe. I have made Delicious No-Bake Caramel Cheesecake Jars for Your Next Gathering in basically everything I own, including little glass yogurt cups. They still tasted amazing.
My favorite options:
Small mason jars (4 oz to 8 oz): Perfect for parties. Easy to hold, easy to chill, and they stack nicely in the fridge.
Short wide jars: Better if you want bigger crust and more topping per bite.
Clear plastic cups with lids: Great for picnics, potlucks, or kid parties. You can still see the layers, and you are not worried about broken glass.
A quick practical tip: if you are using narrow jars, piping the filling looks neater and takes less time. I just snip the corner off a zip top bag and call it a day.
Variations for Cheesecake Jars
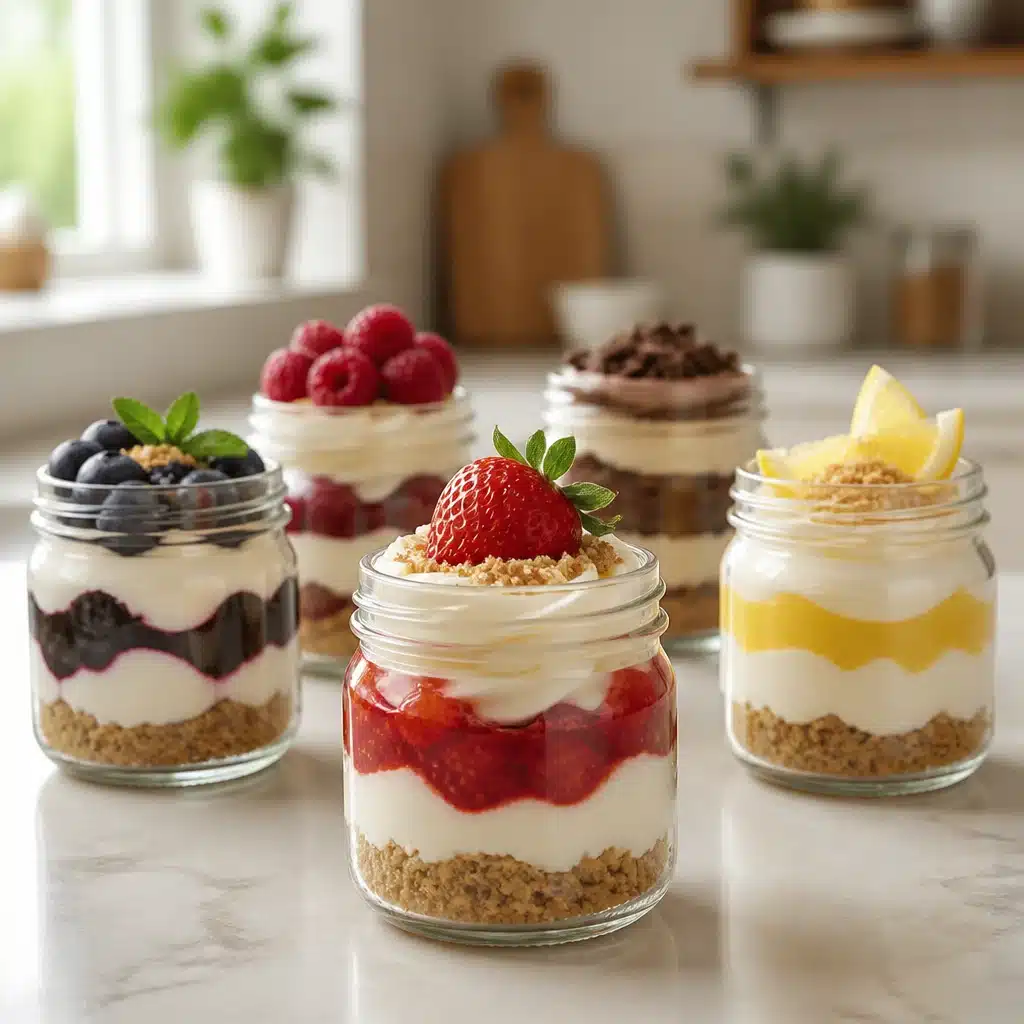
This is where you can have fun. Once you have the basic no bake cheesecake filling down, it is so easy to spin it different ways without making extra work. I still think the caramel version is the star, but I rotate flavors depending on who is coming over.
Easy flavor swaps
Salted caramel crunch: Add crushed pretzels on top and a tiny sprinkle of flaky salt.
Chocolate caramel: Stir a spoon of cocoa powder into the crust, or add mini chocolate chips between layers.
Apple pie vibes: Spoon a little apple pie filling or sautéed cinnamon apples over the crust before adding the cheesecake layer.
Pistachio caramel: Sprinkle chopped pistachios on top. If you love that nutty creamy thing, you might also want to peek at this creamy pistachio dessert easy old-fashioned comfort for another cozy option.
One more idea that people really like: do a little topping bar and let guests finish their own jars. Put out caramel, chocolate sauce, crushed cookies, toasted nuts, and berries. It turns dessert into an activity, and it keeps you from stressing about making every jar look perfect.
Also, if you are watching timing, you can prep the crust and filling separately, then assemble a few hours before serving. It still feels fresh and the crust stays crisp enough.
Expert Tips
I have made these jars enough times that I have learned what makes them turn out smooth and stable, not soupy or lumpy. If you want your Delicious No-Bake Caramel Cheesecake Jars for Your Next Gathering to look and taste like the kind of dessert people talk about later, these little tips help a lot.
Small details that make a big difference
Soften your cream cheese: If it is too cold, it will not mix smoothly. I leave it out for about 45 minutes. If you forget, cut it into cubes to warm faster.
Do not over whip the cream: If it goes grainy, the filling can feel heavy. Soft peaks to medium peaks is perfect.
Chill time matters: Minimum 3 hours. Overnight is best if you want clean layers and the topping to set.
Taste your caramel: Sounds obvious, but caramel sauces vary a lot. Pick one you would happily eat with a spoon.
Keep the crust balanced: Too much butter makes it greasy, too little makes it crumbly. It should feel like damp sand when you press it.
Storage notes: These keep well in the fridge for about 3 days. I wait to add whipped cream swirls or crunchy toppings until right before serving, so they do not get soggy.
Common Questions
Can I make these the day before?
Yes, and you should if you can. The flavor gets better and the filling firms up nicely. I make Delicious No-Bake Caramel Cheesecake Jars for Your Next Gathering the night before most parties.
How do I keep the crust from getting soggy?
Press it down firmly, then chill the crust layer for 10 minutes before adding the filling. Also, do not pour a lot of caramel directly onto the crust layer.
Can I use Cool Whip instead of heavy cream?
You can. It will be a little sweeter and softer, but it works. Use about the same volume as the whipped cream you would normally fold in.
What if my filling looks runny?
It usually just needs more chill time. If it is truly loose, it can be from under whipped cream or cream cheese that got too warm and thin. Chill it longer and it should set up.
How many jars does this recipe make?
It depends on jar size. In 8 oz jars, I usually get about 6. In 4 oz jars, closer to 10 to 12.
Your next get together dessert plan
If you need a dessert that feels fun but does not steal your whole day, these jars are it. Delicious No-Bake Caramel Cheesecake Jars for Your Next Gathering are easy to prep ahead, easy to serve, and honestly just a happy little treat to pull out of the fridge. If you want to compare methods or pick up extra jar ideas, this guide on No-Bake Cheesecake Jars – Sally’s Baking Addiction is a solid resource. Try them once, tweak the toppings to your style, and do not be surprised when someone asks you to bring them to every party from now on.
Print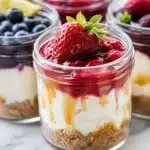
No-Bake Caramel Cheesecake Jars
- Total Time: 195 minutes
- Yield: 10 servings
- Diet: Vegetarian
Description
These cute, individual no-bake caramel cheesecake jars are perfect for gatherings, providing a quick, sweet treat that everyone will love.
Ingredients
- 1 ½ cups graham cracker crumbs
- ½ cup melted butter
- 16 oz cream cheese, softened
- 1 cup powdered sugar
- 1 tsp vanilla extract
- 1 cup heavy cream
- ½ cup caramel sauce
- Pinch of salt
Instructions
- Make the crust: Crush the graham crackers into fine crumbs. Stir in melted butter and a tiny pinch of salt. Spoon into jars and press down gently with the back of a spoon.
- Whip the cream: Whip heavy cream until it holds soft peaks. It should look fluffy and scoopable, not runny.
- Mix the filling: Beat softened cream cheese with powdered sugar and vanilla until smooth. Add a couple spoonfuls of caramel sauce and mix again.
- Fold and fill: Fold whipped cream into the cream cheese mix. Spoon or pipe into jars.
- Top it off: Drizzle caramel sauce on top. Chill at least 180 minutes, overnight is even better.
Notes
These jars keep well in the fridge for about 3 days. Add toppings just before serving to prevent sogginess.
- Prep Time: 15 minutes
- Cook Time: 0 minutes
- Category: Dessert
- Method: No-Bake
- Cuisine: American