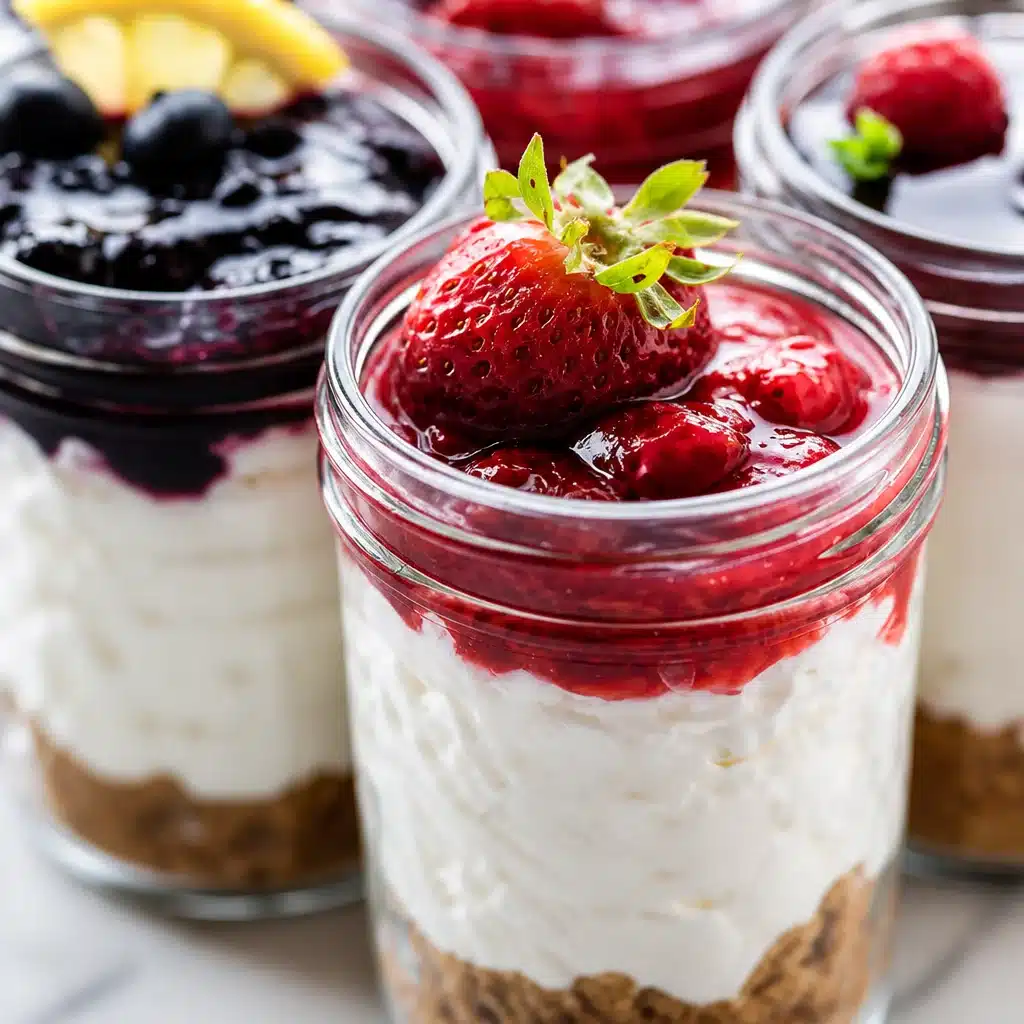
No-Bake Chocolate Cheesecake Jars (Easy Dessert for a Crowd) are my go to move when I want something that looks fancy, tastes like a total treat, and does not wreck my kitchen. You know that moment before people come over when you are wiping counters, checking ice, and suddenly realizing you forgot dessert. Yep, that moment. These little jars save the day because you can make them ahead, stash them in the fridge, and pull them out right when everyone starts getting snacky. Plus everyone gets their own cup, so no messy slicing and no awkward “is that piece smaller?” stuff. 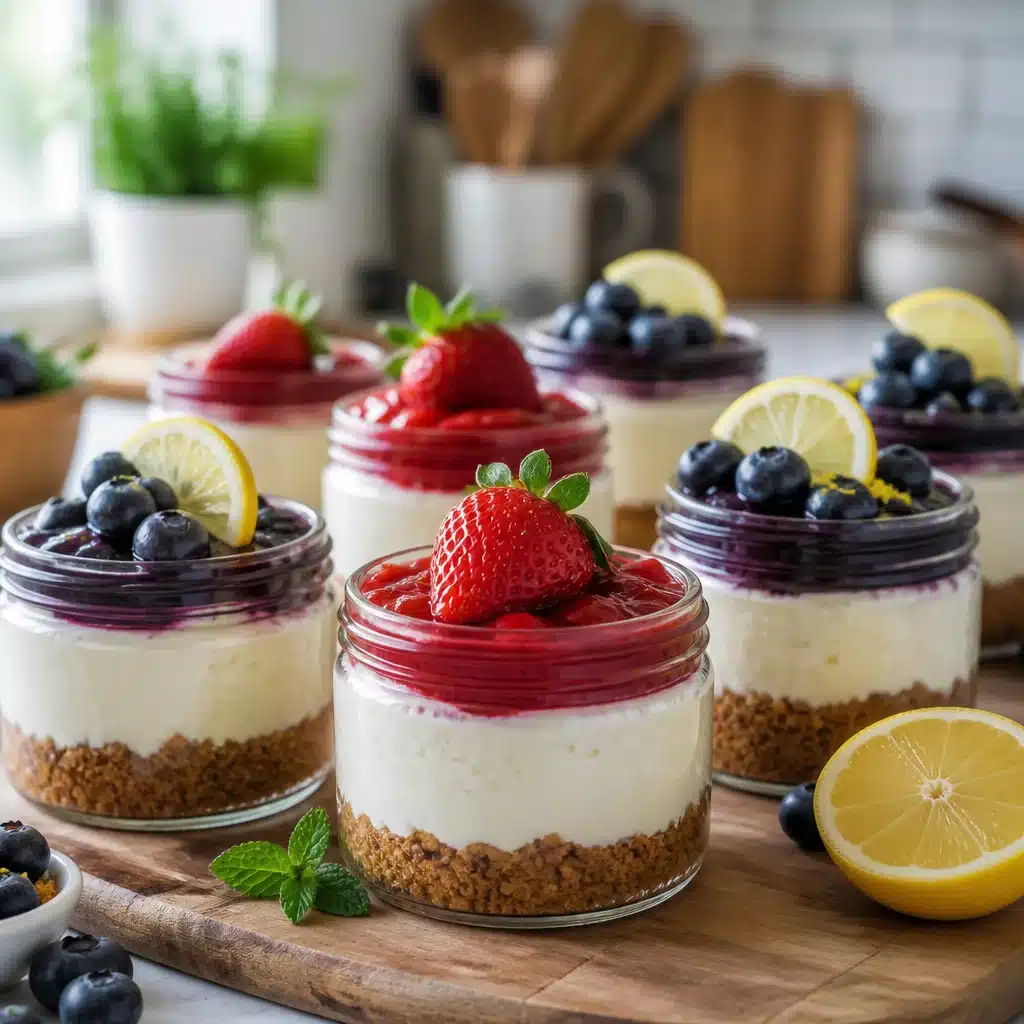
Why Youll Love Individual No-Bake Cheesecake Jars
I started making these when I needed a dessert that could survive a busy day. A baked cheesecake is amazing, but it also comes with water baths, oven drama, and the “please chill for 8 hours” warning that nobody has patience for. With Easy No-Bake Chocolate Cheesecake Jars for Your Next Gathering, you still get that creamy cheesecake vibe, but in a simple, scoopable, party friendly way.
Here is why they work so well for groups:
- Make ahead friendly: They actually taste better after chilling.
- Portion controlled: Everyone gets the same cute jar, no cutting needed.
- Easy to transport: Add lids or plastic wrap and you are set.
- Customizable: One base recipe, a bunch of topping options.
Also, there is something about serving dessert in a jar that makes people weirdly excited. It feels like a little present. If you like the jar dessert idea but want a coffee twist, you might also love these chocolate espresso mascarpone cheesecake jars. Same fun vibe, totally different mood.
“I made these for a family get together and they were gone in ten minutes. My aunt asked if they were from a bakery and I just laughed.”
Filling Flavors
The filling is the star. It is rich, chocolatey, and still has that tang from cream cheese that keeps it from tasting like straight frosting. For Easy No-Bake Chocolate Cheesecake Jars for Your Next Gathering, I keep the flavor simple and crowd pleasing, then let the toppings do the extra work.
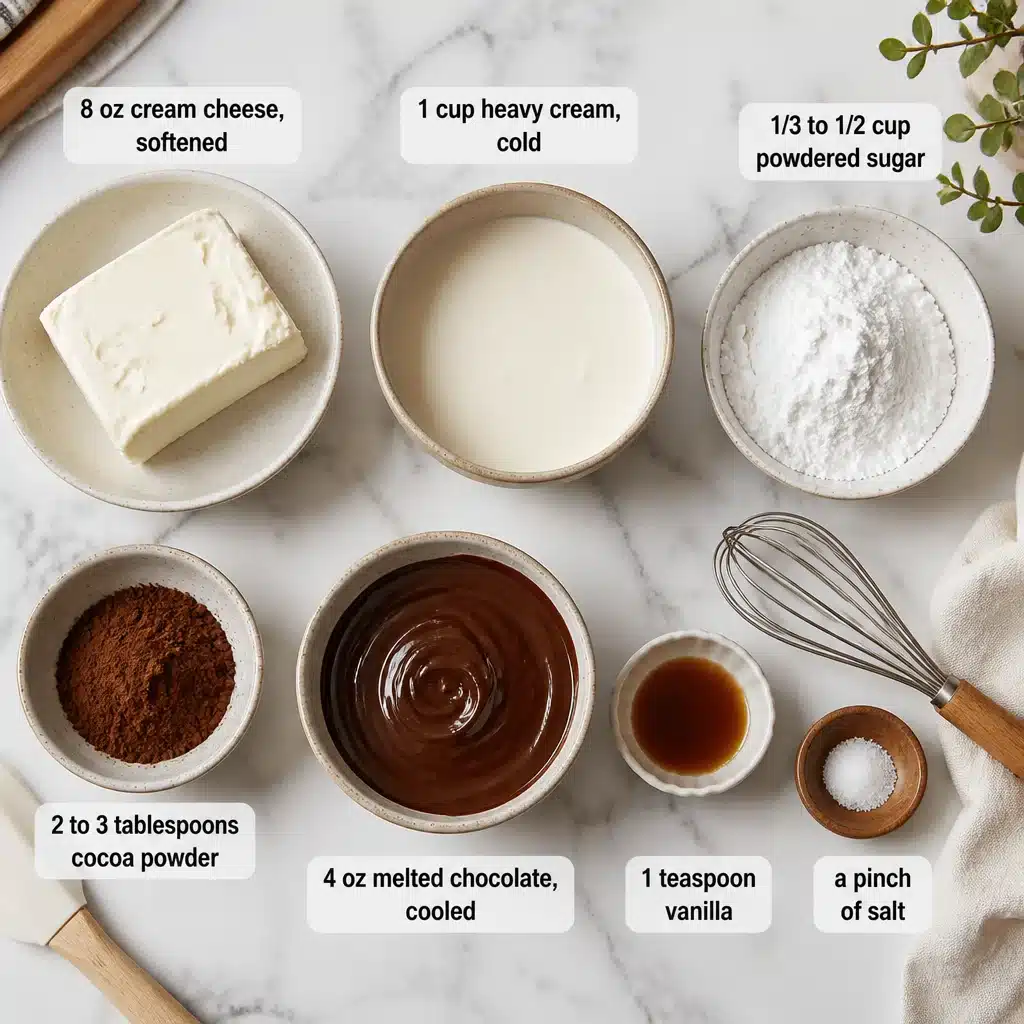
Here is my usual filling formula. Nothing complicated, just solid basics that don’t fail.
What you will need
- 8 oz cream cheese, softened
- 1 cup heavy cream, cold
- 1 third to 1 half cup powdered sugar, depending how sweet you like it
- 2 to 3 tablespoons cocoa powder
- 4 oz melted chocolate, cooled a bit
- 1 teaspoon vanilla
- Pinch of salt
How I put it together:
First, beat the cream cheese until it looks smooth and not lumpy. Add powdered sugar, cocoa, vanilla, and salt, then mix again. In a separate bowl, whip the cold heavy cream until it holds soft peaks. Fold the whipped cream into the chocolate cream cheese mixture gently so it stays fluffy. Then drizzle in the melted chocolate and fold again until the color is even.
A couple of real life tips that matter:
Softened cream cheese is not optional. If it is cold, you will fight lumps. I leave it out for about 45 minutes. Also, make sure your melted chocolate is not hot. Warm is fine. Hot will mess with the texture and can make little chocolate bits form.
If you want to change the flavor without changing the whole recipe, here are easy swaps:
Add a spoonful of peanut butter, a little orange zest, or even a tiny pinch of cinnamon. You can also use dark cocoa for a deeper chocolate taste. I have made this base so many times, and it is forgiving as long as you do not rush the softening and whipping parts.
And yes, the whole point is that these are Easy No-Bake Chocolate Cheesecake Jars for Your Next Gathering, so don’t stress. If the filling looks a little looser than you expected, chill it for an hour. It firms up nicely in the fridge.
Toppings
Toppings are where you can make each jar feel special without extra effort. My favorite move is to set out a few topping bowls and let people build their own. It feels interactive, but you are basically just putting snacks in little dishes.
Here are topping ideas that always get compliments:
Crunchy: crushed Oreos, chocolate cookie crumbs, chopped toasted nuts, mini pretzels, toffee bits.
Fruity: raspberries, sliced strawberries, cherries, or a spoonful of berry jam.
Extra chocolate: chocolate curls, mini chips, shaved chocolate bar, drizzle of chocolate sauce.
Swirly: caramel sauce, peanut butter drizzle, or hazelnut spread warmed for a few seconds.
If you are serving kids, mini marshmallows and cookie crumbs make it feel like a little campfire dessert. If you are serving adults, I like a pinch of flaky salt on top of the chocolate drizzle. It sounds fancy, but it is basically just making chocolate taste more chocolatey.
One quick practical note: if you are making these ahead, add anything crunchy right before serving. Otherwise it can soften in the fridge. I learned that the hard way with pretzels.
Jars for No-Bake Cheesecake Jars
You do not need special jars, but the container does change the vibe. I have used everything from small mason jars to leftover jam jars to little plastic cups when I was in a hurry. The key is choosing something that is easy to hold and gives you enough room for layers.
My favorite sizes:
4 ounce jars for a dessert table with lots of other sweets. People can grab one without feeling stuffed.
6 to 8 ounce jars for a main dessert. This is the “I really want cheesecake” portion.
Layering is simple. I usually do:
Cookie crumb base, then filling, then more crumbs or topping. Repeat if your jar is tall. If you want a clean look, use a spoon and wipe the inside edge of the jar before topping it. If you do not care about clean edges, welcome to my normal life. It still tastes great.
For the crust layer, chocolate cookies are classic, but graham crackers work too. Mix crumbs with a little melted butter, just enough so it clumps when you press it. If you want a super quick shortcut, you can even skip the butter and just layer dry cookie crumbs. It will not slice like a crust, but in jars it still eats well.
Storage tips I actually follow:
Cover and refrigerate up to 3 days. For best texture, I like them within 24 to 48 hours. If you need to travel with them, keep them cold in a cooler bag. The filling is sturdy, but it is still dairy, so treat it kindly.
Related Recipes
If you are the type who likes to offer a couple dessert options, jar desserts play really well together. You can set out a mini trio and let people grab what they want. I have done this for brunches and book club nights and it always looks like I tried harder than I did.
Two cozy, creamy options that fit right in:
creamy almond dessert easy cozy comfort for that mellow, nutty, almost nostalgic flavor.
creamy pistachio dessert easy old fashioned comfort if you want something a little different but still super comforting.
And if you are sticking with chocolate, you can keep the same base and just change toppings so it still feels like a variety. That is honestly the easiest hosting win. Also, if you are planning a party menu, these Easy No-Bake Chocolate Cheesecake Jars for Your Next Gathering are one of those desserts that make people think you are always prepared, even if you were literally cleaning your bathroom an hour before they arrived.
Common Questions
Can I make these the night before?
Yes, and you should. They set up nicely and the flavor gets better after a long chill. Just wait to add crunchy toppings until right before serving.
What if I do not have heavy cream?
Heavy cream gives the filling that light, fluffy texture. If you only have whipped topping, you can fold that in instead, but the flavor will be a little sweeter and less rich.
Can I freeze no-bake cheesecake jars?
You can freeze them in tightly sealed containers for about a month. Thaw overnight in the fridge. The texture may be slightly less creamy, but still very good.
How do I keep the filling from getting lumpy?
Use softened cream cheese and beat it until smooth before adding anything else. If you still get small lumps, keep mixing a bit longer before folding in whipped cream.
How many jars does this recipe make?
It depends on jar size, but usually 6 to 8 jars if you are using 6 ounce containers. If you are doing smaller 4 ounce jars, you can get closer to 10.
Your next gathering just got sweeter
If you want a dessert that feels fun, looks cute on the table, and does not require turning on the oven, these jars are it. Easy No-Bake Chocolate Cheesecake Jars for Your Next Gathering give you big chocolate cheesecake flavor with almost no stress, and you can dress them up with whatever toppings you love. If you want more inspiration, I still recommend checking out No-Bake Cheesecake Jars – Sally’s Baking Addiction because it is packed with great jar ideas. Make a batch, tuck them in the fridge, and enjoy that calm feeling when dessert is already handled before anyone even rings the doorbell.
Print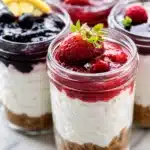
No-Bake Chocolate Cheesecake Jars
- Total Time: 30 minutes
- Yield: 6 servings
- Diet: Vegetarian
Description
Delicious and easy individual no-bake chocolate cheesecake jars that are perfect for gatherings. Make them ahead and serve in cute jars for a fun dessert experience.
Ingredients
- 8 oz cream cheese, softened
- 1 cup heavy cream, cold
- 1/3 to 1/2 cup powdered sugar
- 2 to 3 tbsp cocoa powder
- 4 oz melted chocolate, cooled slightly
- 1 tsp vanilla extract
- Pinch of salt
Instructions
- Beat the cream cheese until smooth and not lumpy.
- Add powdered sugar, cocoa, vanilla, and salt, then mix well.
- Whip the cold heavy cream until it holds soft peaks in a separate bowl.
- Fold the whipped cream into the chocolate cream cheese mixture gently.
- Drizzle in the melted chocolate and fold again until evenly combined.
Notes
For best results, allow cream cheese to soften for about 45 minutes before use. Add crunchy toppings just before serving to maintain texture.
- Prep Time: 30 minutes
- Cook Time: 0 minutes
- Category: Dessert
- Method: No-Bake
- Cuisine: American