
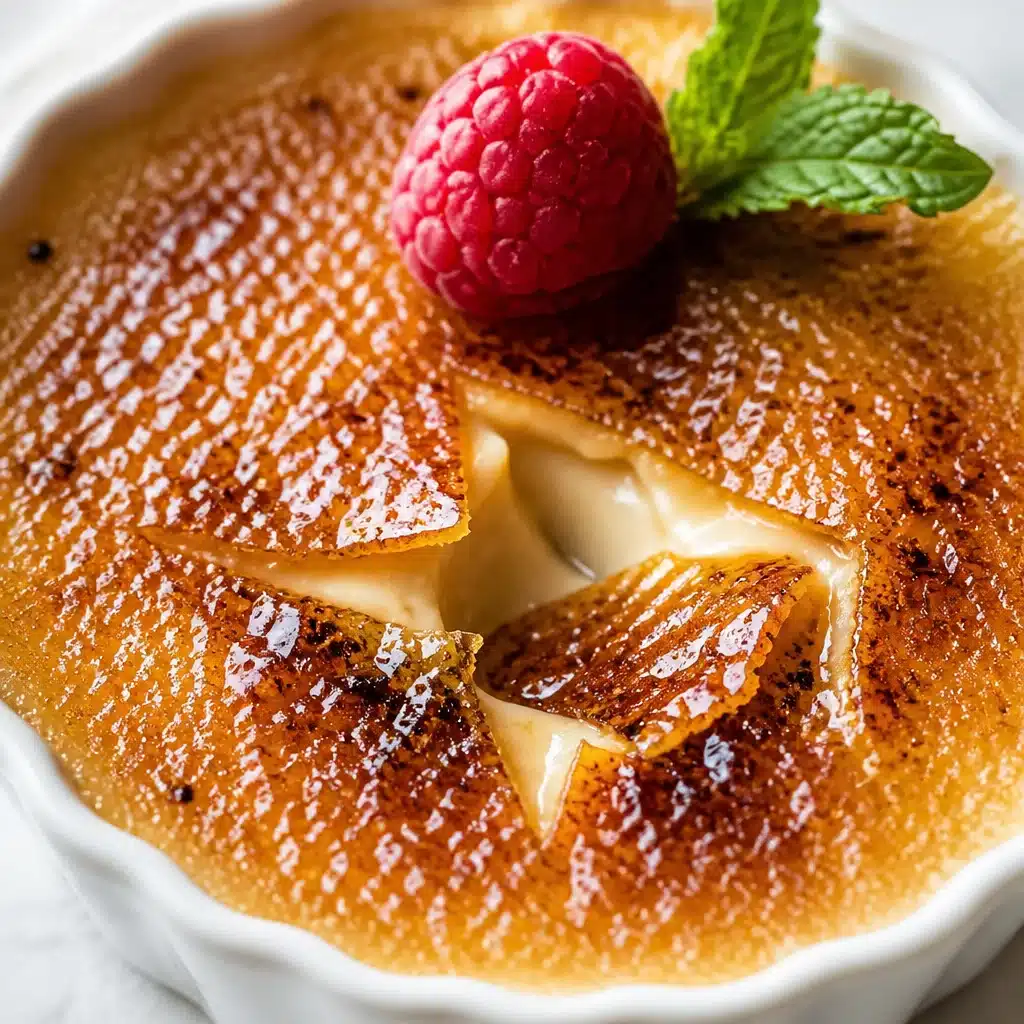
Homemade Espresso Custard (Easy Vintage Recipe) is my go to fix for those nights when you want a fancy dessert but you do not want to bake a whole cake. You know the feeling, you want something creamy and cozy, with a little coffee kick, and you want it to feel like you made an effort. This is the kind of dessert that looks restaurant level but is actually very doable at home. It is basically a smooth espresso custard with that crackly burnt sugar top that makes everyone quiet at the first spoon tap. If you have eggs, cream, sugar, and espresso, you are already halfway there. 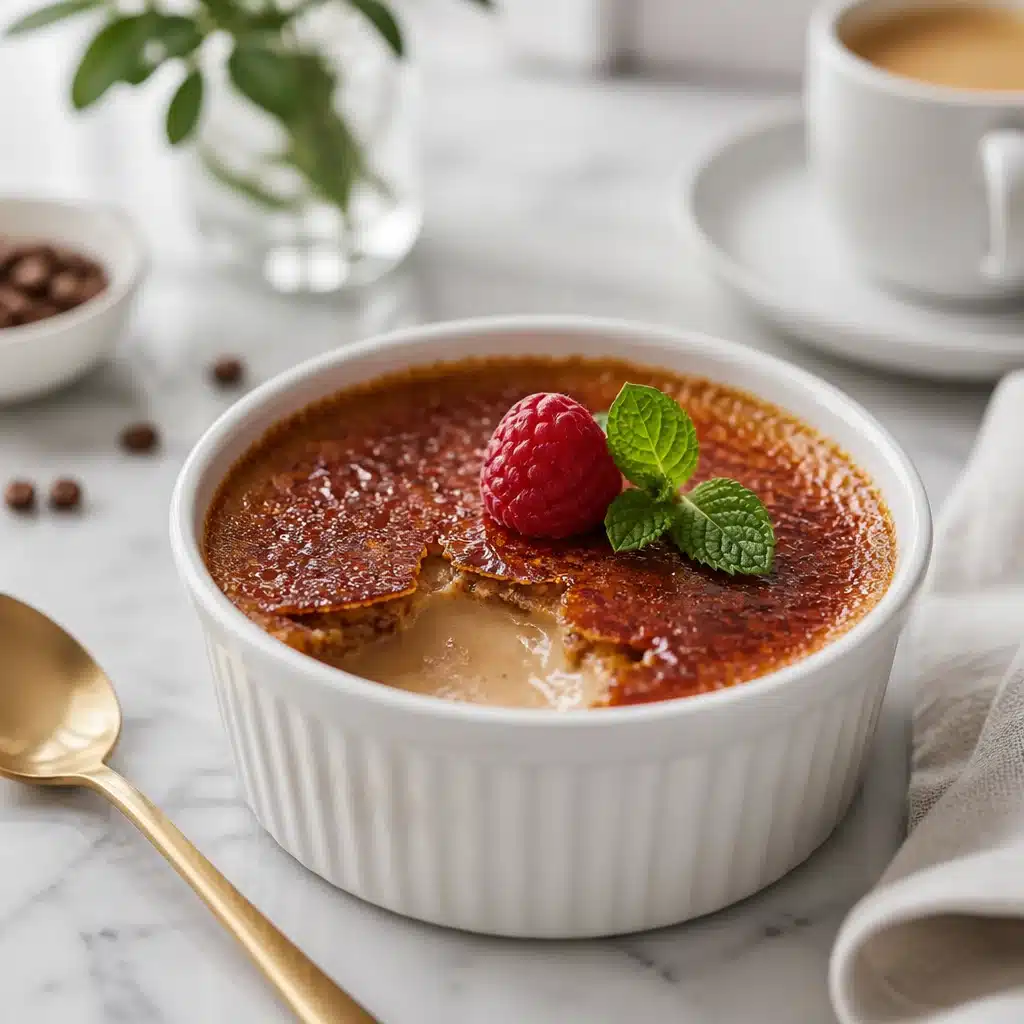
Overview: How to Make Crème Brûlée at Home
Let us keep it simple: the heart of this dessert is a gently cooked custard, and the magic is the caramelized sugar on top. My version leans into coffee flavor, so you get that slightly bitter espresso edge that balances the sweet cream perfectly. When I first started making this, I assumed it would be fussy. It is not, as long as you treat the heat like a soft whisper, not a shout.
Here is what you will need for this Easy Vintage Homemade Espresso Custard Recipe You’ll Love! I stick to a short list because that is the whole charm.
- Heavy cream (about 2 cups)
- Egg yolks (5 large yolks)
- Granulated sugar (1/2 cup, plus extra for topping)
- Espresso (2 to 3 tablespoons strong espresso, or 1 to 2 teaspoons espresso powder dissolved in hot water)
- Vanilla (1 teaspoon)
- Pinch of salt
And this is the basic flow:
Warm the cream just until it is steaming, not boiling. Whisk yolks and sugar until it looks a little lighter. Slowly pour the warm cream into the yolks while whisking the whole time so you do not scramble anything. Stir in espresso, vanilla, and salt. Strain it if you want that extra smooth, vintage diner style silkiness. Then pour into ramekins, set them in a baking pan, and add hot water around them. Bake until the edges are set but the center still jiggles like soft pudding.
When I am planning a custard night, I usually also plan a second treat for later in the week. If you love custard desserts as much as I do, you might want to peek at these apricot almond custard bars with a buttery shortbread crust. Totally different vibe, but still that creamy comfort.
One important note: this Easy Vintage Homemade Espresso Custard Recipe You’ll Love! is best after it chills for a few hours. Custard needs time to settle into itself. ; 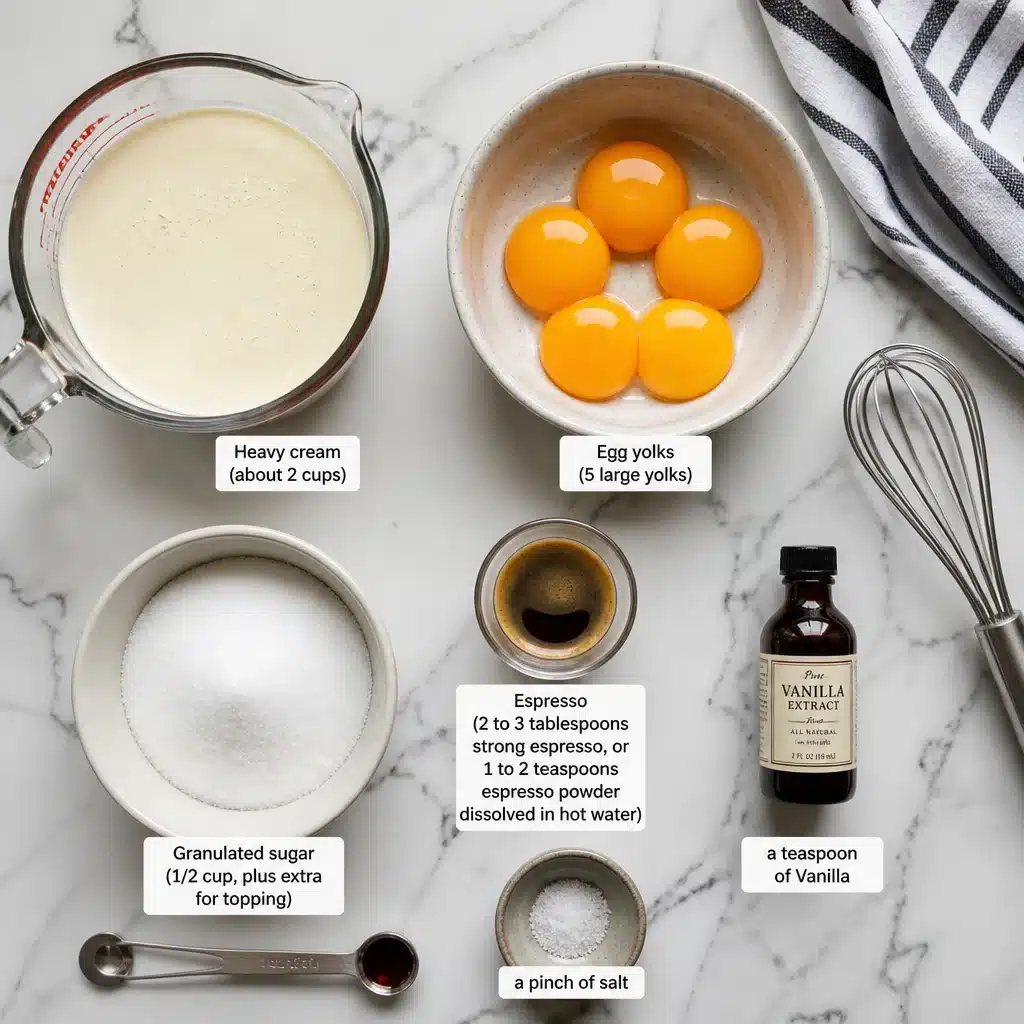
Crème Brûlée Success Tips
I have made every mistake at least once, so you do not have to. The good news is that espresso custard is forgiving if you keep an eye on temperature and do not rush the chill time. Also, do not let the fancy name scare you. You are basically making a baked pudding and then giving it a sugar hat.
My go to rules for creamy custard
- Go low and slow when heating cream. If it boils, it can taste a little cooked and you risk curdling later.
- Temper the eggs by adding hot cream slowly while whisking. Think steady stream, not a splash.
- Use a water bath so the custard bakes gently and evenly.
- Pull it early. If it is fully firm in the oven, it will be overbaked once it cools.
- Chill thoroughly before topping with sugar. Warm custard plus torch equals a sad, melted top.
I also like to taste the custard base before baking. If your espresso is super strong, you might not need as much. The goal is coffee flavor that feels deep, not bitter. This is the part where you make the Easy Vintage Homemade Espresso Custard Recipe You’ll Love! truly yours.
“I made this espresso custard for a small dinner and everyone thought I bought it from a bakery. The sugar top cracked perfectly and the coffee flavor was spot on.”
Burnt Sugar Topping Techniques
This is the moment. The topping is what turns a simple custard into that classic crackly crème brûlée experience. I keep it straightforward: a thin, even layer of sugar, then caramelize until it turns amber and glossy.
Here is what works best in my kitchen:
Use plain granulated sugar. Sprinkle about 1 to 2 teaspoons over each chilled custard. Tilt and tap the ramekin so it spreads evenly. If you see thick dunes of sugar, pour off the extra. Thick sugar layers tend to burn on top while staying grainy underneath, which is not the vibe.
Then caramelize. If you are using a torch, keep it moving in small circles. If you park in one spot, you will get a burnt patch that tastes like campfire. You want a deep golden color and that glassy shell. Let it sit for 1 to 2 minutes after torching so it hardens before you crack into it.
And yes, the topping is loud when you tap it with a spoon. That is basically the whole point.
Kitchen Torch vs Oven Broiler
I have done both, and I will be honest: a torch is easier, faster, and feels kind of fun. But you can still get a good sugar crust with a broiler if that is what you have.
Which method should you pick?
Kitchen torch: Best control, least risk of warming the custard, and you can caramelize evenly. This is my favorite for the Easy Vintage Homemade Espresso Custard Recipe You’ll Love! because espresso custard tastes best when it stays cold under that hot sugar layer.
Oven broiler: Works in a pinch. Put ramekins on a baking sheet, keep them close to the broiler, and watch like a hawk. It can go from perfect to burnt in seconds. Also, the broiler can warm the custard more than a torch, so chill the custards extra well before you start.
If you are broiling, I like to place the ramekins in a cold pan or even rest them on a larger tray with a thin layer of ice water underneath, just to slow down the heat transfer. It is not required, but it helps protect that creamy center.
Common Mistakes to Avoid
If your custard has ever come out with bubbles, a weird texture, or an eggy smell, you are not alone. Here are the big pitfalls and how to dodge them.
Small fixes that make a big difference
Mistake: Boiling the cream. Fix: heat it until you see steam and tiny bubbles at the edges, then stop.
Mistake: Pouring hot cream into yolks too fast. Fix: drizzle slowly while whisking, always.
Mistake: Overbaking. Fix: look for set edges with a gentle jiggle in the middle. It should not slosh like soup, but it should not be firm like cheesecake either.
Mistake: Skipping the strain. Fix: if you see any bits or foam, pour through a fine strainer. It is a quick step that makes the texture feel extra smooth.
Mistake: Torching too soon. Fix: chill at least 4 hours, ideally overnight, then brûlée right before serving.
Also, let us talk ramekins. If you do not have them, you can use any small oven safe dishes, but try to keep them similar in size so they bake evenly. And if you want a cute brunch idea that still gives custard energy, this cherry vanilla custard toast is such a good weekend treat.
Common Questions
Can I make espresso custard without a torch?
Yes. Use your oven broiler and watch closely. Chill the custards very well first so they do not warm up too much while the sugar caramelizes.
How do I know when the custard is done baking?
The edges should look set, and the center should jiggle a little when you gently shake the pan. If it is fully firm, it is probably overbaked.
Can I make this ahead for a dinner party?
Absolutely. Bake and chill the custards up to 2 days ahead. Add sugar and caramelize right before serving for the best crackly top.
Why did my custard turn grainy?
Usually it is from too much heat, either the oven was hot or the custard baked too long. A water bath helps a lot, and pulling it while it still has a soft jiggle is key.
What espresso works best?
Fresh brewed espresso tastes amazing, but espresso powder works too. Just dissolve it well so you do not get specks in the custard.
A sweet little send off from my kitchen
If you try this Easy Vintage Homemade Espresso Custard Recipe You’ll Love!, do not stress about making it perfect on the first go. Focus on gentle heat, a good chill, and that thin sugar layer for the crack. If you want more classic guidance, I also like reading this Easy Crème Brûlée Recipe (6 Ingredients) – Sally’s Baking Addiction because it is clear and comforting. Now go make that espresso custard, crack the top with a spoon, and enjoy the quiet little moment that follows.
Print
Easy Vintage Homemade Espresso Custard
- Total Time: 45 minutes
- Yield: 4 servings
- Diet: Vegetarian
Description
A creamy espresso custard with a crackly burnt sugar top that’s both easy to make and impressively delicious.
Ingredients
- 2 cups Heavy cream
- 5 large Egg yolks
- 1/2 cup Granulated sugar, plus extra for topping
- 2 to 3 tablespoons Strong espresso, or 1 to 2 teaspoons espresso powder dissolved in hot water
- 1 teaspoon Vanilla extract
- Pinch of salt
Instructions
- Warm the cream just until steaming, not boiling.
- Whisk yolks and sugar until lighter.
- Slowly pour the warm cream into the yolks while whisking continuously.
- Stir in espresso, vanilla, and salt.
- Strain if desired for a smoother texture.
- Pour into ramekins and place in a baking pan.
- Add hot water around the ramekins.
- Bake until edges are set but center still jiggles.
- Chill for several hours before topping with sugar and caramelizing.
Notes
For best results, chill thoroughly before adding the sugar topping and caramelizing. Use a kitchen torch for the best control over the caramelization process.
- Prep Time: 15 minutes
- Cook Time: 30 minutes
- Category: Dessert
- Method: Baking
- Cuisine: French