
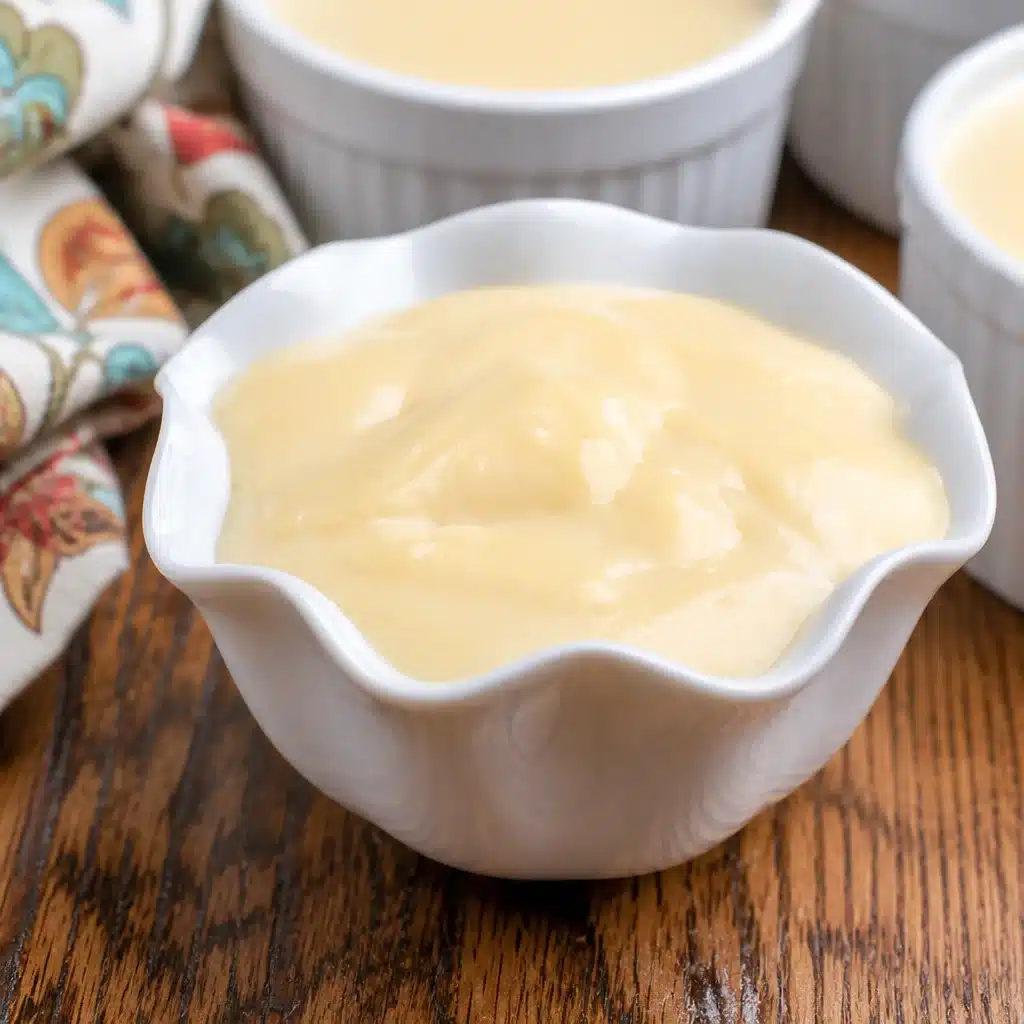
Homemade Vanilla Pudding (Easy Vintage Recipe) is my go to fix for those nights when you want something sweet but you do not want to bake a whole cake. You know the feeling, you open the pantry, you stare for a second, and you just want comfort in a bowl. This is the kind of dessert that tastes like childhood, even if you did not grow up eating it. It is warm and cozy when it is fresh, and it is cool and dreamy after a chill in the fridge. Plus it uses simple ingredients you probably already have. 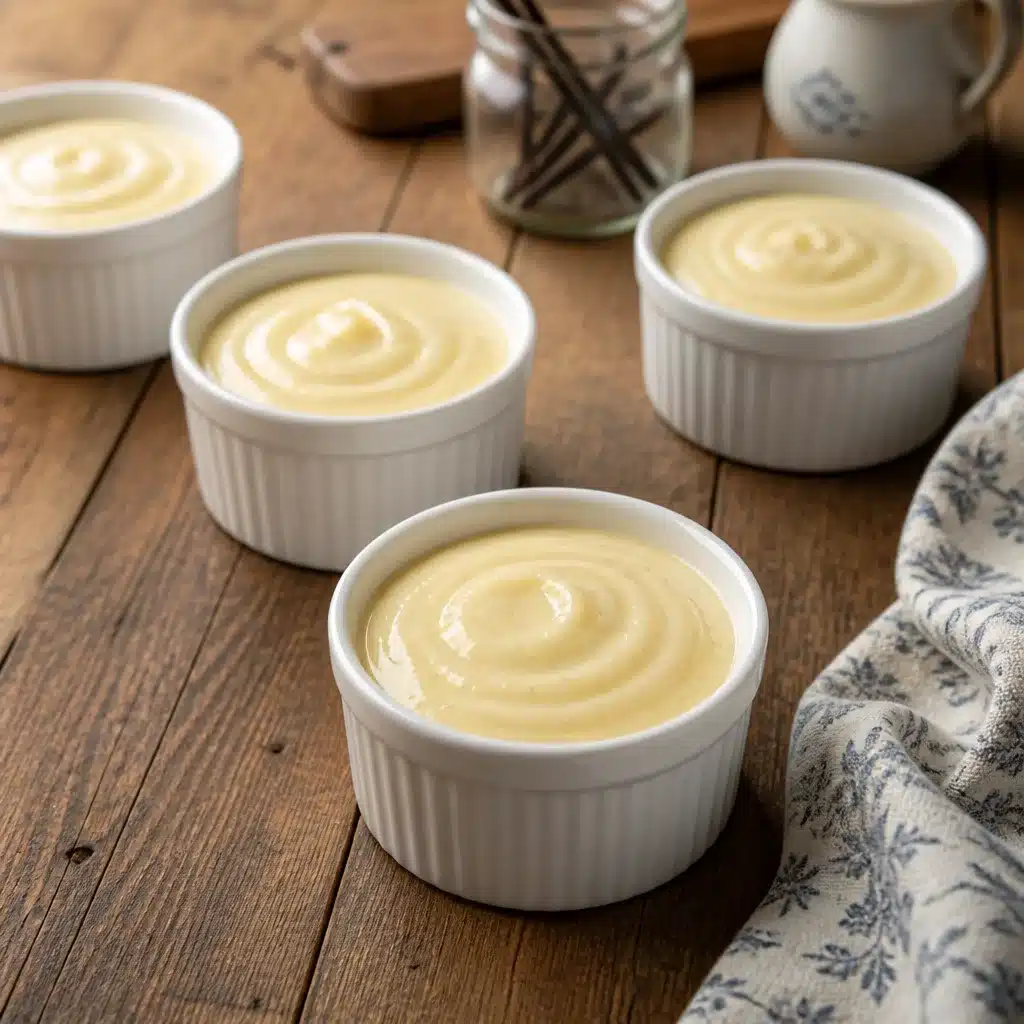
What is Vanilla Pudding?
Vanilla pudding is a soft, creamy dessert that is cooked on the stove until it thickens, then served warm or cold. The vintage style version is usually thickened with egg yolks plus a little starch, which gives it that rich, old fashioned texture. It is not the same as a boxed mix, and honestly, that is the whole point.
When you make Homemade Vanilla Pudding yourself, you control everything. The vanilla flavor is real, the sweetness is just right, and the texture is smooth instead of weirdly bouncy. I also love that it feels fancy without being fussy. Like, you can serve it in a mug or in a pretty glass and it still feels special.
If you are the kind of person who likes little dessert projects that actually pay off, this one is worth it. It is simple enough for a weeknight and still feels like a treat you would get at a diner.
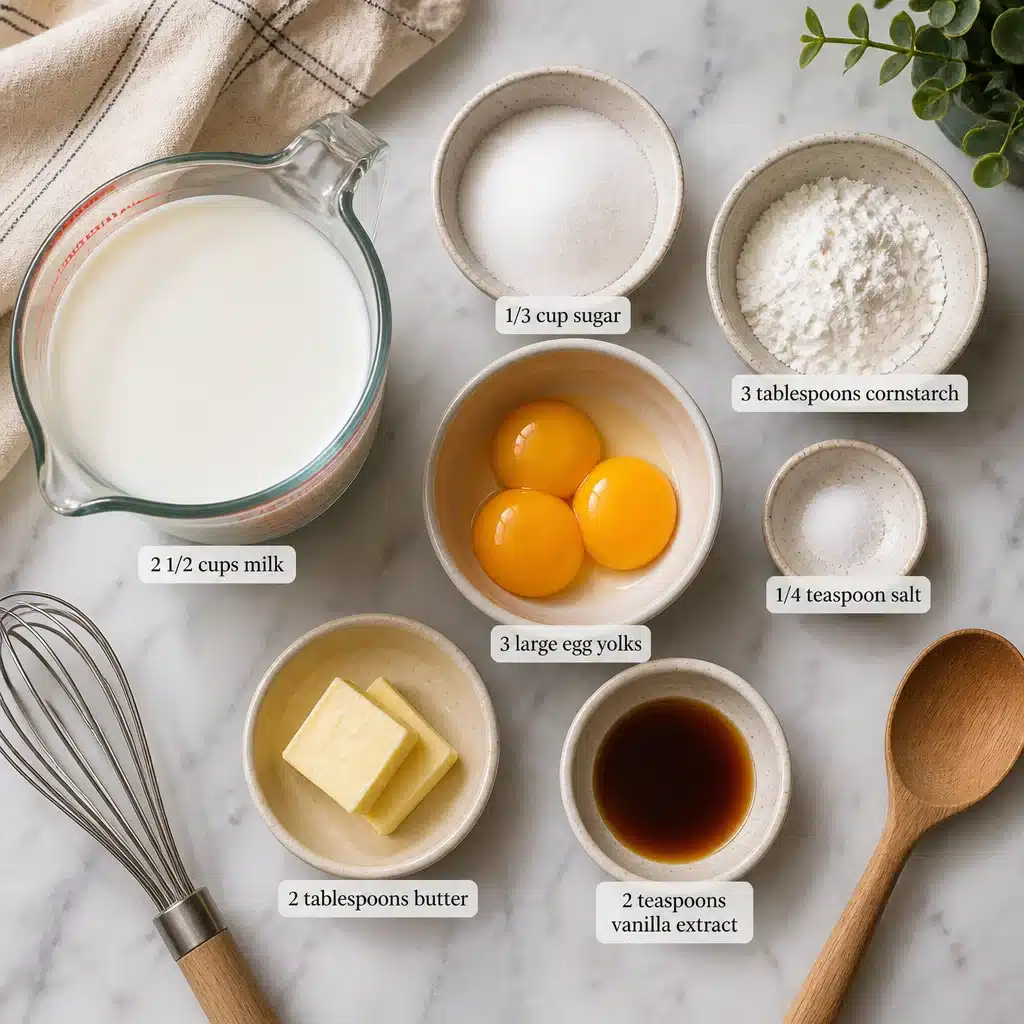
Key Ingredients for Homemade Vanilla Pudding
This is one of those recipes where the basics matter. Since there are not many ingredients, use the best you can, especially the vanilla. Here is what you will need for a classic batch.
- Milk: Whole milk gives the creamiest result, but 2 percent works too.
- Egg yolks: These add richness and that vintage custardy vibe.
- Sugar: Plain white sugar keeps the flavor clean and classic.
- Cornstarch: Helps thicken the pudding without making it heavy.
- Salt: Just a pinch makes the vanilla pop.
- Butter: Stirred in at the end for extra smoothness and shine.
- Vanilla extract: Use a good one, because this is the main flavor.
I will say this gently but honestly, if your vanilla extract is ancient and smells like nothing, it might be time to replace it. Vanilla is the star here.
And if you are already thinking about what to serve with it, keep it simple. I love it with a crisp cookie on the side, like these easy homemade old fashioned vanilla shortbread cookies. The buttery crunch next to the creamy pudding is so good.
Step-by-Step Instructions to Make Vanilla Pudding
This is the part that makes people nervous, but it really is straightforward. The main trick is to stay close to the stove and keep whisking. You do not need chef skills, just a little attention for about 10 minutes.
My easy method (no stress, just whisk)
Ingredients (makes about 4 servings):
- 2 and 1 2 cups milk
- 1 3 cup sugar
- 3 tablespoons cornstarch
- 1 4 teaspoon salt
- 3 large egg yolks
- 2 tablespoons butter
- 2 teaspoons vanilla extract
Directions:
1) In a medium saucepan, whisk together the sugar, cornstarch, and salt. This helps the cornstarch dissolve evenly later, so you do not end up with lumps.
2) Slowly whisk in the milk until everything looks smooth. Set the pan over medium heat.
3) In a small bowl, whisk the egg yolks. Once the milk mixture is warm (not boiling), scoop out a little of it and whisk it into the yolks. Do this twice. This step gently warms the yolks so they do not scramble.
4) Pour the warmed yolk mixture back into the saucepan while whisking the whole time.
5) Keep cooking and whisking until it thickens. For me, that is usually 5 to 8 minutes. You will feel it change. The whisk starts leaving tracks, and the pudding looks glossy and a bit slower to move.
6) Once it bubbles gently, cook for about 30 to 60 seconds more, whisking, just to make sure the starch is fully cooked.
7) Turn off the heat. Stir in the butter and vanilla until it melts and the pudding looks silky.
8) Pour into cups or a bowl. If you hate pudding skin, press plastic wrap right onto the surface. Chill for at least 2 hours for the classic cold pudding vibe.
This is the kind of dessert that makes your kitchen smell like vanilla and warm milk in the best way. The first time I made Homemade Vanilla Pudding, I ate it warm out of a mug and did not regret it for a second.
“I made this for my kids and my husband said it tasted like the pudding his grandma used to make. It set perfectly and the vanilla flavor was so real. We finished it in one night.”
Tips for Perfect Vanilla Pudding
Once you make this a couple times, it becomes almost automatic. Until then, here are the tips that keep it smooth and foolproof.
Little tricks that actually make a difference
Whisk before heat: Mixing the dry ingredients first keeps the cornstarch from clumping.
Do not walk away: Vanilla pudding goes from thin to thick pretty quickly. Stay nearby once it starts warming up.
Temper the yolks: This sounds fancy, but it is just adding a little warm liquid to the yolks before combining everything. It prevents scrambled egg bits.
Use medium heat: High heat can scorch the milk or cook the eggs too fast.
Strain if you want extra smooth: If you see even tiny lumps, pour it through a fine mesh strainer. Nobody has to know.
Chill with plastic wrap on top: If pudding skin bothers you, this is the easiest fix.
If you are serving this for guests, layering it into something fun is an easy win. I have used it as the creamy layer in a trifle, and it feels like you tried really hard even if you did not. If you want a cute idea, check out this homemade old fashioned vanilla strawberry trifle for inspiration.
Popular Variations of Vanilla Pudding
Once you have the base down, you can play with it. The main thing is keeping the texture right, so do not go too wild with extra liquid add ins. Here are a few variations I have actually made more than once.
Easy flavor swaps and mix ins
Chocolate swirl: Stir in a couple tablespoons of cocoa powder with the dry ingredients, or drizzle chocolate sauce into the cups and lightly swirl.
Banana pudding style: Layer the pudding with sliced bananas and vanilla wafers. Let it sit in the fridge so the cookies soften.
Strawberries and cream: Fold in a spoonful of whipped cream right before serving, then top with sliced strawberries.
Extra vanilla bean vibe: Add a tiny splash of vanilla bean paste or scrape in a little vanilla bean if you have it. It looks pretty with the specks.
Butterscotch mood: Swap a little white sugar for brown sugar. It adds a deeper caramel note.
If you love the strawberry dessert situation, you might also like this version too: homemade old fashioned vanilla strawberry trifle. It is one of those crowd pleasing desserts that disappears fast at potlucks.
One more note from my kitchen: Homemade Vanilla Pudding is also amazing as a pie filling. Just pour it into a baked crust, chill it well, and top with whipped cream.
Common Questions
Can I make vanilla pudding ahead of time?
Yes. It is actually better after a few hours in the fridge. I usually make it the day before if I am serving it to friends.
How do I stop lumps from happening?
Whisk the dry ingredients first, then add milk slowly. If lumps still happen, strain the pudding at the end. It fixes almost everything.
Why did my pudding turn out too thin?
Usually it just needs a bit more cooking time. It should gently bubble for a short moment while you whisk, which activates the cornstarch fully.
Why did my pudding taste eggy?
This can happen if the yolks cook too fast. Keep the heat at medium and do not skip tempering the yolks.
How long does it last in the fridge?
About 3 days, covered. After that it is still safe, but the texture starts to lose that fresh creamy feel.
A sweet little wrap up before you grab a spoon
If you have been craving a cozy dessert that feels familiar, Homemade Vanilla Pudding is such a satisfying place to start. It is simple, budget friendly, and it tastes like something that has been made in home kitchens forever. If you want a reliable reference point for the classic method, I also like browsing Classic Vanilla Pudding from Scratch – These Old Cookbooks because it really leans into that old school comfort. Now go make yourself a batch, taste it warm if you cannot wait, and stash the rest in the fridge for later. You deserve a dessert that feels easy and happy.
Print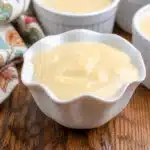
Homemade Vanilla Pudding
- Total Time: 120 minutes
- Yield: 4 servings
- Diet: Vegetarian
Description
A soft, creamy dessert that tastes like childhood, perfect for satisfying sweet cravings without the need to bake.
Ingredients
- 2½ cups whole milk
- ⅓ cup sugar
- 3 tablespoons cornstarch
- ¼ teaspoon salt
- 3 large egg yolks
- 2 tablespoons butter
- 2 teaspoons vanilla extract
Instructions
- Whisk together the sugar, cornstarch, and salt in a medium saucepan.
- Slowly whisk in the milk until smooth and set over medium heat.
- In a small bowl, whisk the egg yolks. Scoop out some warm milk mixture and whisk it into the yolks to temper them.
- Pour the warmed yolk mixture back into the saucepan while continuously whisking.
- Continue cooking and whisking until the mixture thickens, about 5 to 8 minutes.
- Once it bubbles gently, cook for an additional 30 to 60 seconds while whisking.
- Turn off the heat and stir in the butter and vanilla until completely melted.
- Pour into cups or bowls; cover with plastic wrap to prevent skin and chill for at least 2 hours.
Notes
Serve warm or chilled, excellent with cookies on the side.
- Prep Time: 10 minutes
- Cook Time: 10 minutes
- Category: Dessert
- Method: Stovetop
- Cuisine: American