
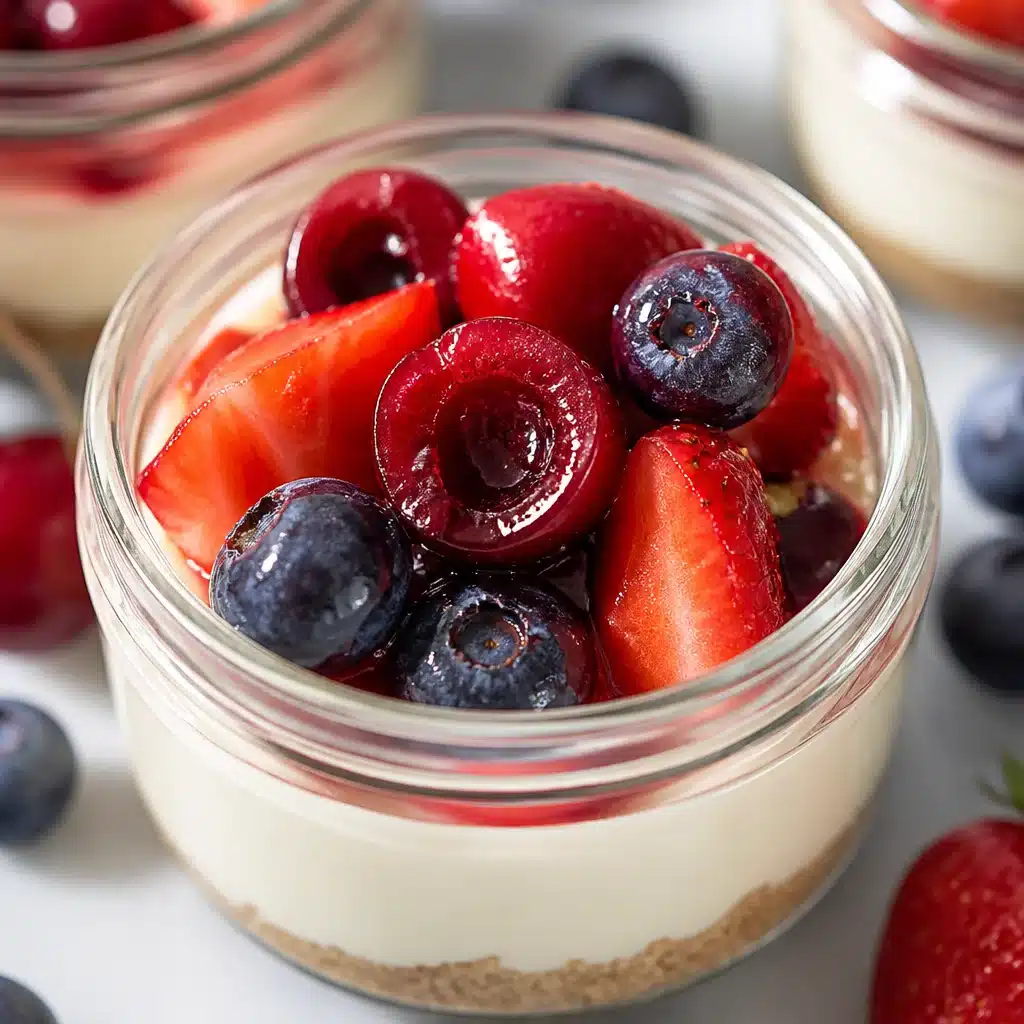
No-Bake Espresso Cheesecake Jars (Easy Dessert for a Crowd) are basically my secret weapon for those nights when I want to serve something cute and impressive, but I do not want to turn my kitchen into a disaster zone. You know the vibe: friends are coming over, the house is mostly clean, and you suddenly remember dessert. These jars solve that. They taste like a coffee shop treat and a creamy cheesecake had a really good day together. Plus, there is no oven stress, no slicing drama, and everyone gets their own little jar. 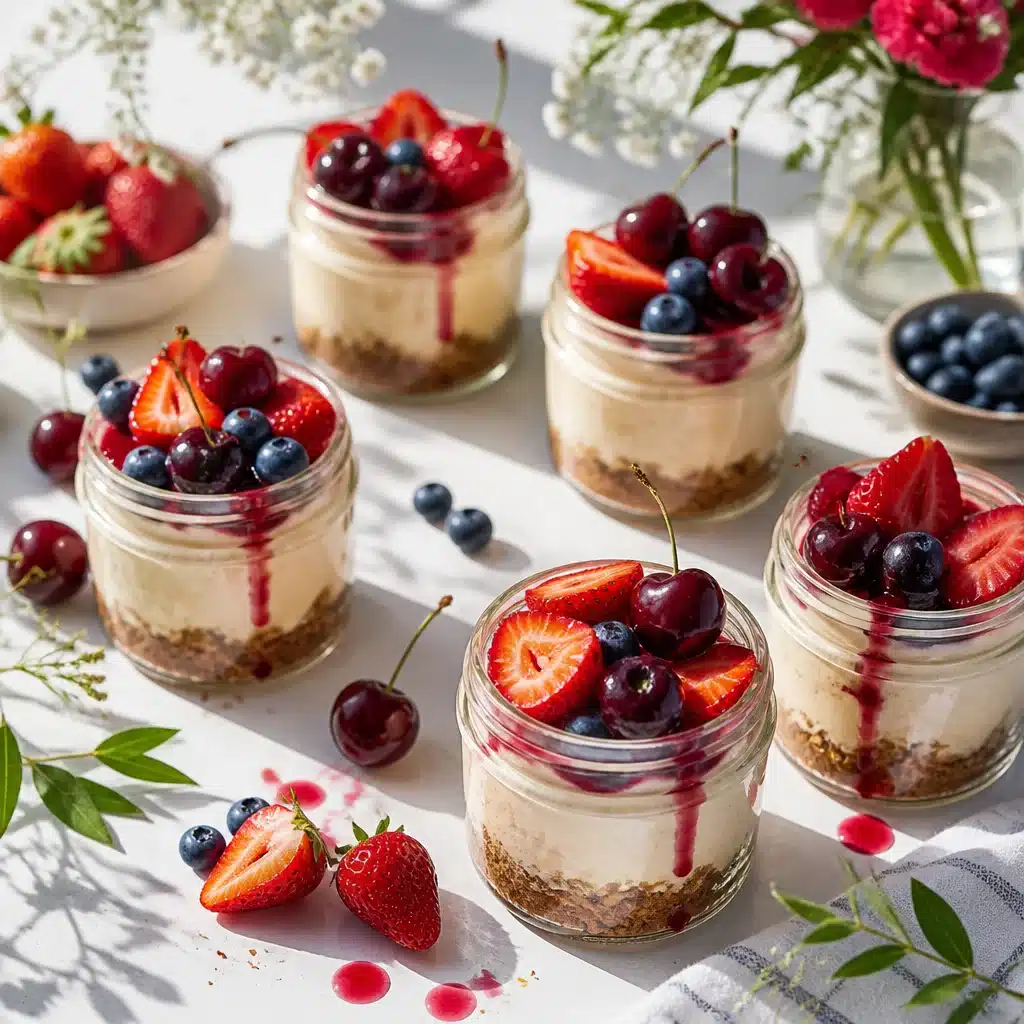
Why You’ll Love These Easy Mini Cheesecakes
I started making Delicious No-Bake Espresso Cheesecake Jars for Easy Entertaining because I wanted a dessert that felt special, but still fit real life. If you have ever tried to cut a soft cheesecake for guests and ended up with messy wedges, these jars are the answer.
Here is what makes them so lovable:
- No baking, so your oven stays off and your kitchen stays cooler.
- They are portion perfect, which makes serving super simple.
- The espresso flavor gives that slightly grown up, not too sweet finish.
- You can dress them up for parties or keep them casual for a Tuesday night.
- They travel well, so they are great for potlucks and family dinners.
If you are into this whole coffee and creamy dessert thing, you might also like these chocolate espresso mascarpone cheesecake jars. Similar vibe, and honestly, it is hard to go wrong with chocolate plus espresso.
“I made these for game night and everyone kept asking where I bought them. The espresso flavor was perfect and they looked so cute in little jars.”
How to Make These Mini Cheesecakes
Okay, let us get into the fun part. The process is basically: make a quick crumb base, whip up an espresso cheesecake filling, then layer it all into jars. That is it. The chilling time does the rest of the work for you.
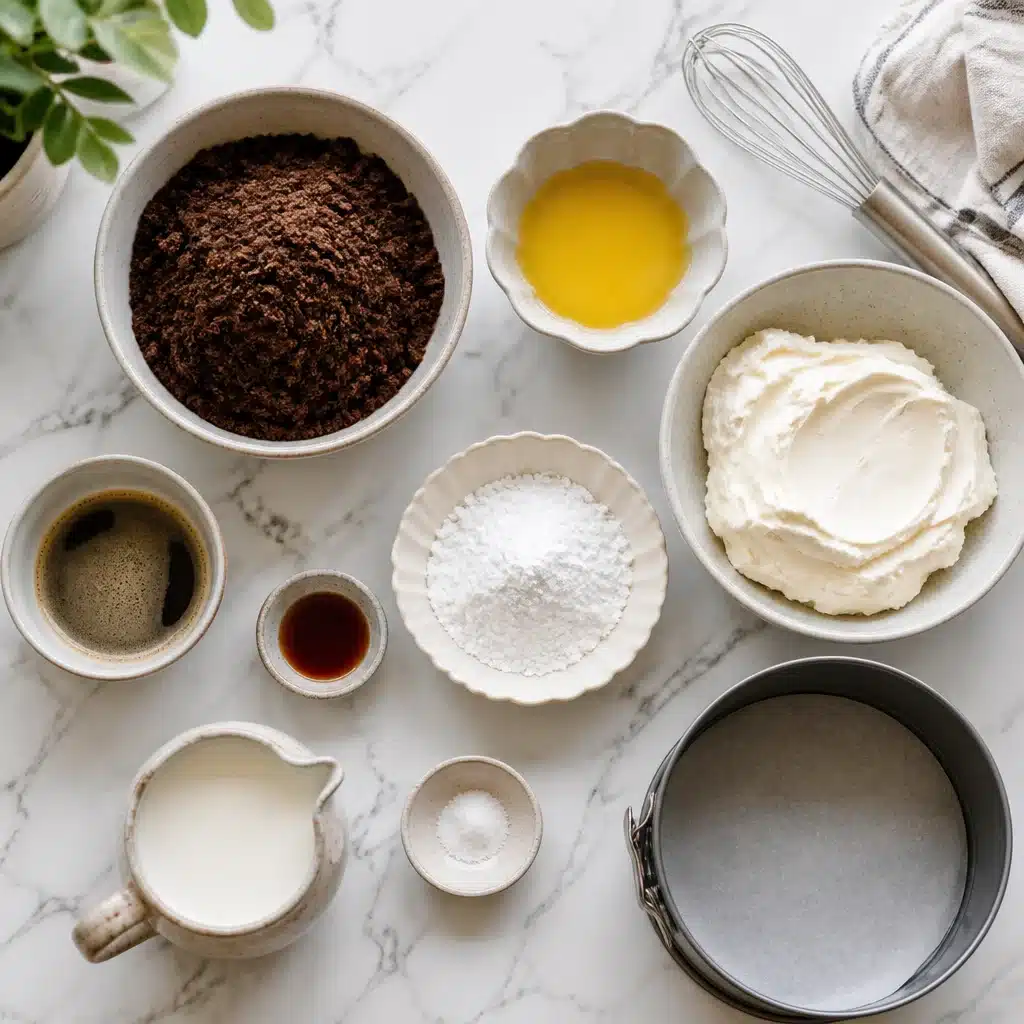
What you will need
I keep this recipe pretty straightforward. Nothing weird, nothing fussy.
- Cookie crumbs: graham crackers, digestive biscuits, or chocolate cookies all work.
- Melted butter: to hold the crust together.
- Cream cheese: full fat is best for that classic cheesecake feel.
- Powdered sugar: dissolves smoothly and keeps it silky.
- Espresso: cooled, strong, and flavorful. You can use instant espresso mixed with hot water, then cooled.
- Vanilla and a small pinch of salt: they make everything taste more like itself.
- Heavy cream: whipped, so the filling turns fluffy and spoonable.
- Optional toppings: cocoa powder, chocolate shavings, crushed cookies, or a tiny swirl of whipped cream.
Simple step by step directions
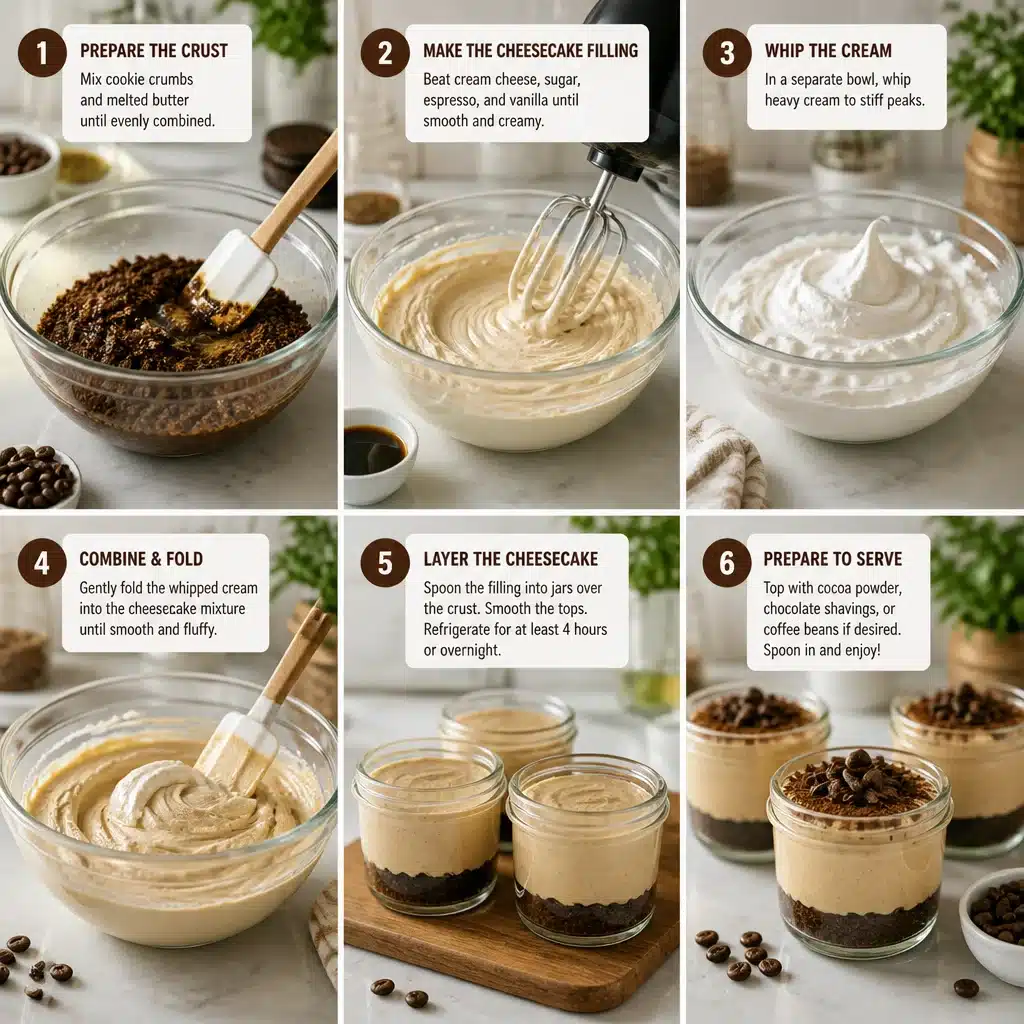
1) Mix your cookie crumbs with melted butter until it looks like wet sand. Spoon a couple tablespoons into each jar and press lightly.
2) In a bowl, beat the cream cheese until smooth. Add powdered sugar, vanilla, salt, and cooled espresso. Mix again until it looks creamy and even in color.
3) In a separate bowl, whip the heavy cream until it holds soft peaks. Then fold it into the espresso cream cheese mixture. Go gentle here. You want it airy, not deflated.
4) Spoon or pipe the filling into your jars over the crust. I like using a zip top bag with the corner snipped off for quick piping.
5) Cover and chill for at least 4 hours. Overnight is even better if you have the time.
6) Right before serving, add your toppings. A dusting of cocoa makes them look bakery level with almost no effort.
Quick note on espresso strength: if your espresso is weak, the flavor can get lost. I like it bold because it balances the creamy sweetness. This is one reason I keep coming back to Delicious No-Bake Espresso Cheesecake Jars for Easy Entertaining when I want something that tastes like it came from a cafe.
How to Store This Easy No Bake Cheesecake
These jars store beautifully, which is part of why I love them for hosting. Once they are chilled and set, they are pretty sturdy.
Here is what I do at home:
In the fridge: Keep them covered (lids, plastic wrap, or foil) and refrigerate for up to 4 days. The crust will soften a bit over time, but the flavor stays great.
Toppings: If you want that fresh look, wait to add whipped cream or cocoa until right before serving. Crushed cookies can soften, so I also add those last minute.
Freezing: You can freeze them, but the texture can change slightly once thawed. If you do freeze, skip fresh whipped cream toppings and thaw overnight in the fridge.
If you are someone who loves cozy, creamy desserts you can stash in the fridge, you might also want to peek at this creamy almond dessert. It is a totally different flavor, but the comfort factor is real.
Can You Make This Cheesecake Ahead of Time?
Yes, and honestly you should. Delicious No-Bake Espresso Cheesecake Jars for Easy Entertaining are at their best after they have had time to chill and firm up. I usually make them the night before a get together, then I just pull them out when it is dessert time.
My go to timeline:
1 day ahead: Make the crust and filling, assemble the jars, cover, and chill.
Day of: Add toppings right before serving.
Two days ahead: Still fine, but the crust will be a bit softer. Not bad, just more of a spoon dessert feel.
This is also why they are great for holidays. When everything else is chaotic, it is nice to have dessert already done and waiting in the fridge.
Tips for Serving and Variations
This is the part where you can make them feel like your own. I have served these at casual dinners in mismatched jars, and I have served them at a fancy brunch in little glass cups with tiny spoons. Both worked.
Serving tips I actually use
- Use small jars (around 6 to 8 ounces). People love a personal dessert, and it keeps things from feeling too heavy.
- Wipe the inside rim with a paper towel before serving, especially if you piped the filling. It makes them look instantly prettier.
- Set out a topping bar if you are entertaining. Cocoa, chocolate curls, caramel drizzle, and crushed cookies let everyone customize.
- Serve cold. These taste best straight from the fridge.
Easy variations
Mocha: Add 1 to 2 tablespoons cocoa powder to the filling for a chocolate coffee moment.
Salted caramel latte: Swirl a little caramel sauce into the filling and add a tiny pinch of flaky salt on top.
Nutty twist: Sprinkle chopped toasted almonds or pistachios on top. If you are into pistachio desserts, you will probably love this creamy pistachio dessert too.
Decaf: Use decaf espresso if you are serving kids or sensitive coffee drinkers. You still get the flavor without the buzz.
When I am hosting, I like to keep it simple: cocoa powder, a few chocolate shavings, and maybe one espresso bean on top if I am feeling fancy. It makes Delicious No-Bake Espresso Cheesecake Jars for Easy Entertaining look like a dessert you planned way longer than you actually did.
Common Questions
1) Can I use instant coffee instead of espresso?
Yes. Use instant espresso powder if you can, but regular instant coffee works too. Mix it strong, then cool it before adding so it does not melt the mixture.
2) My filling feels a little runny. What happened?
Usually it is because the whipped cream was not whipped enough, or the espresso was still warm. Chill the jars longer and they should firm up.
3) What kind of cookies make the best crust?
Graham crackers are classic, chocolate cookies make it richer, and digestive biscuits are a nice middle ground. Use what you have.
4) How many jars does this recipe make?
It depends on jar size, but usually 6 to 8 small jars. If you are feeding a crowd, double it. People will go back for seconds.
5) Can I make this without dairy?
You can try dairy free cream cheese and coconut cream, but the texture and flavor will change. It can still be tasty, just different.
A sweet little wrap up before you start
If you need a dessert that is low stress but still feels special, these jars really deliver. They are creamy, coffee kissed, and perfect for planning ahead so you can actually enjoy your own party. If you want another no bake mini dessert idea, I found this helpful inspiration from No-Bake Mascarpone Mini Cheesecakes (+Video) – Fork Knife Swoon and it totally fits the same easy entertaining mood. Now go grab a few jars and make it happen, because you deserve a dessert that looks adorable and tastes even better. 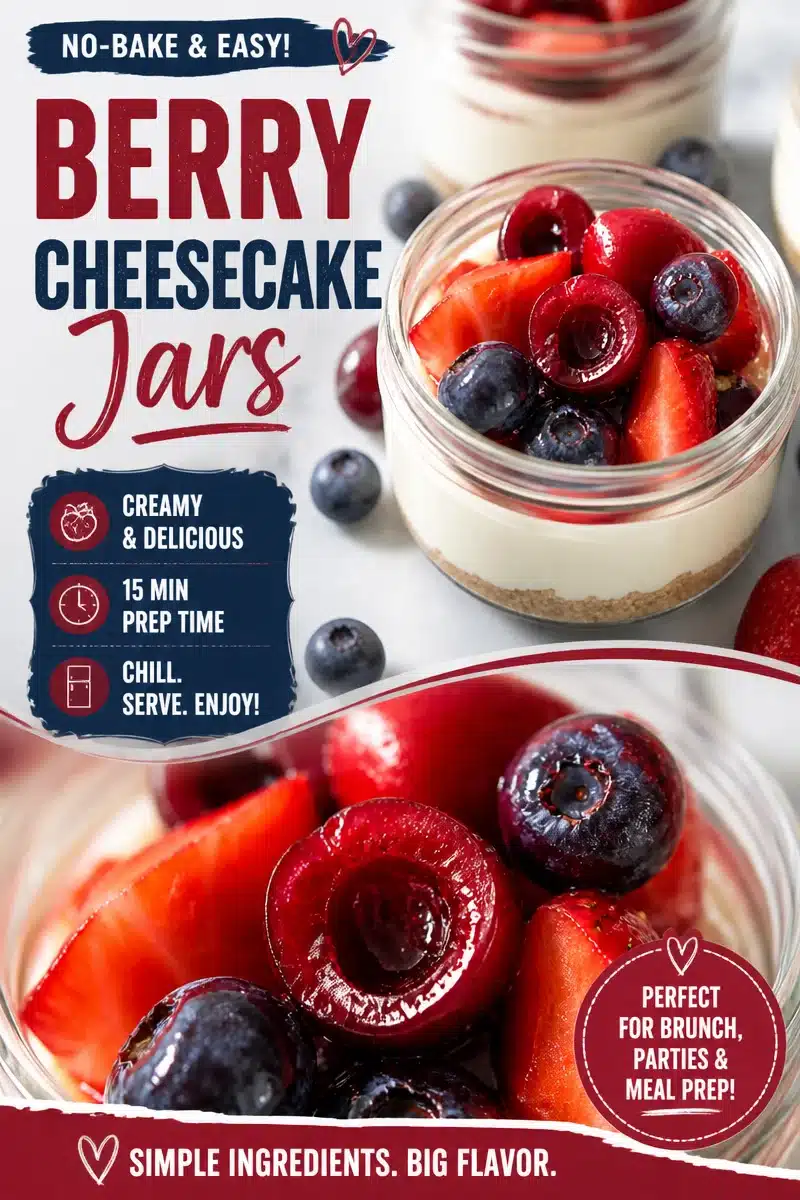
No-Bake Espresso Cheesecake Jars
- Total Time: 240 minutes
- Yield: 6-8 servings
- Diet: Vegetarian
Description
Delicious mini cheesecakes with a rich espresso flavor, served in jars for easy entertaining. No baking required!
Ingredients
- 1 cup cookie crumbs (graham crackers, digestive biscuits, or chocolate cookies)
- 4 tablespoons melted butter
- 8 oz cream cheese, full fat
- 1/2 cup powdered sugar
- 1/2 cup cooled espresso
- 1 teaspoon vanilla extract
- 1/4 teaspoon salt
- 1 cup heavy cream, whipped
- Optional toppings: cocoa powder, chocolate shavings, crushed cookies, or whipped cream
Instructions
- Mix cookie crumbs with melted butter until it resembles wet sand. Spoon a couple tablespoons into each jar and press down lightly.
- In a bowl, beat cream cheese until smooth. Add powdered sugar, vanilla, salt, and cooled espresso. Mix until creamy.
- In a separate bowl, whip heavy cream until it holds soft peaks. Gently fold it into the espresso mixture.
- Spoon or pipe the filling into the jars over the crust.
- Cover and chill for at least 240 minutes, preferably overnight.
- Add toppings just before serving.
Notes
These jars can be made ahead of time and store well. The crust will soften slightly after a few days.
- Prep Time: 15 minutes
- Cook Time: 0 minutes
- Category: Dessert
- Method: No-Bake
- Cuisine: American